Procharger F1X Supercharger Installation on a 1968 Chevy Camaro
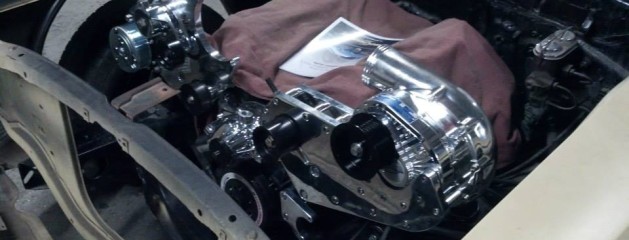
This 1968 Chevy Camaro underwent an exciting transformation here at JEP Autoworks. The build features a Procharger F1X supercharger paired with a 496 cubic inch motor. Delivering an estimated 1000 horsepower at the flywheel, this setup blends incredible power with reliable street performance. Modern fuel injection, air conditioning, and power steering make the car both comfortable and extremely capable.
Initial Fabrication and Intercooler Installation
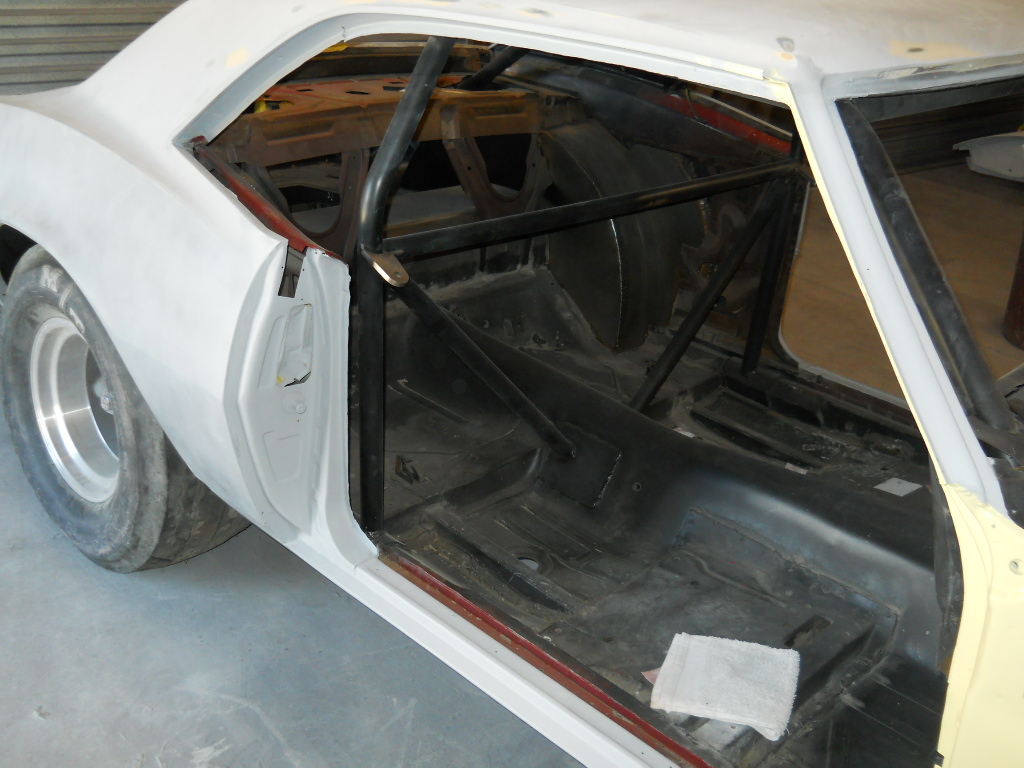
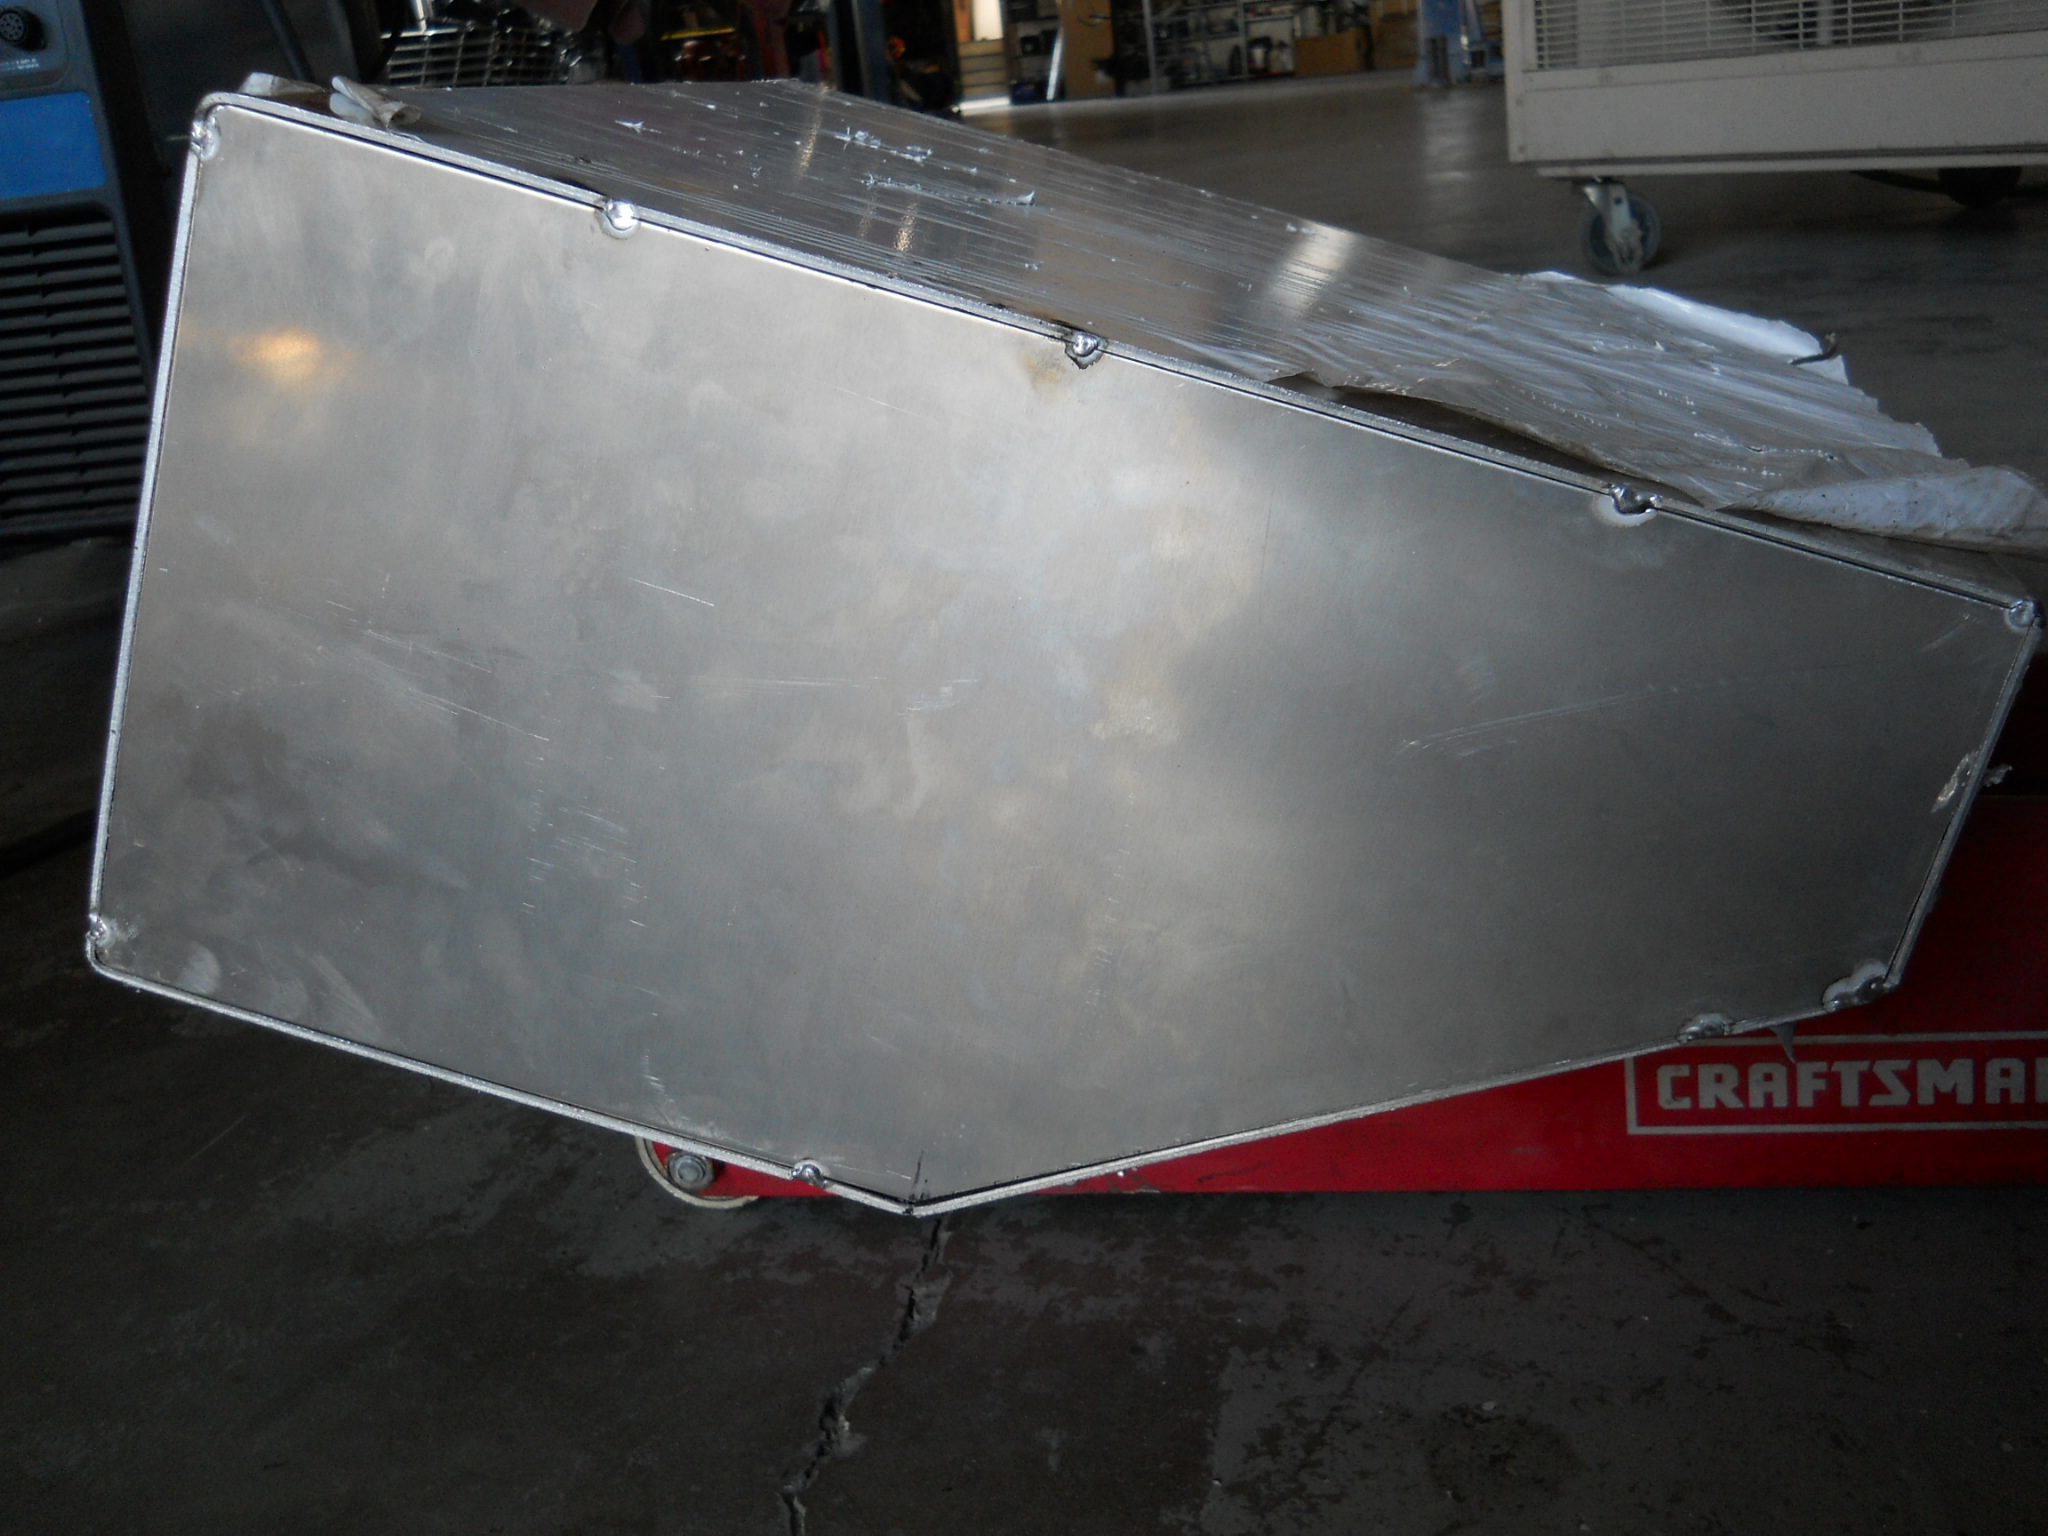
We started by mounting the intercooler and fabricating boost tubes for maximum efficiency. At the same time, we began fitting the front section of the 8.50 legal roll cage to meet strict safety regulations. During this process, our team mocked up the charge pipe to the intake using 1 5/8″ .120 DOM tubing. Careful clearance checks ensured the front down bars fit perfectly with no interference.
Progress Toward Paint and Interior Fabrication
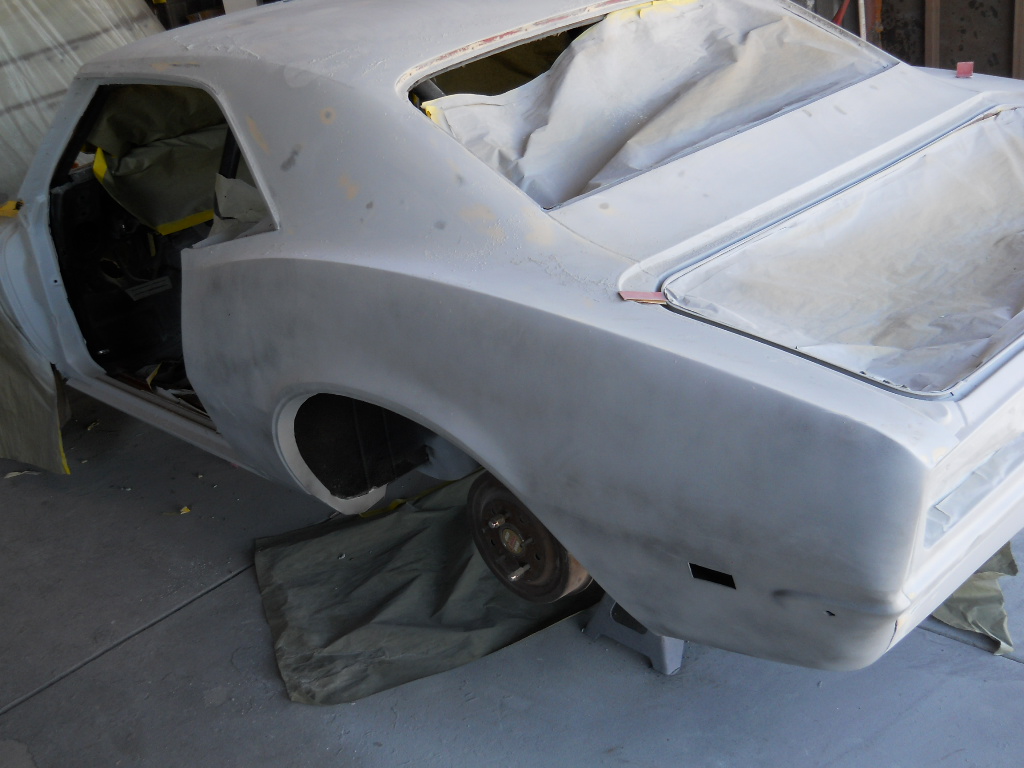
Although some time has passed since our last update, steady progress continues. The Camaro is now in paint prep, and all interior fabrication is complete. Every step moves the project closer to final assembly and delivery.
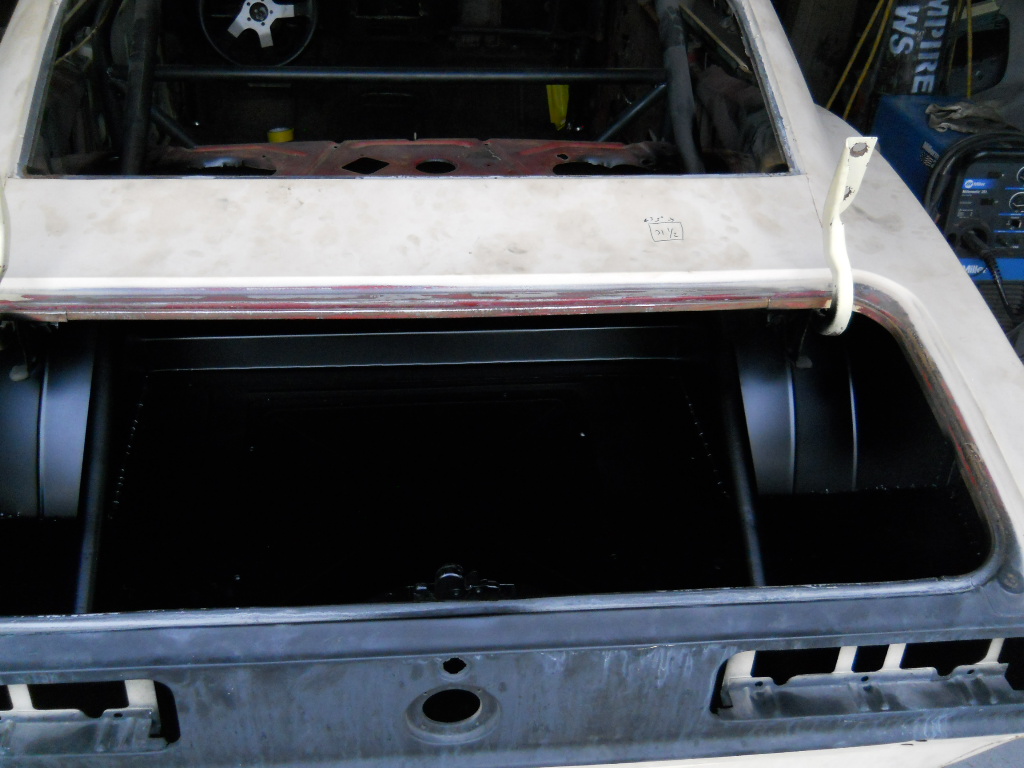
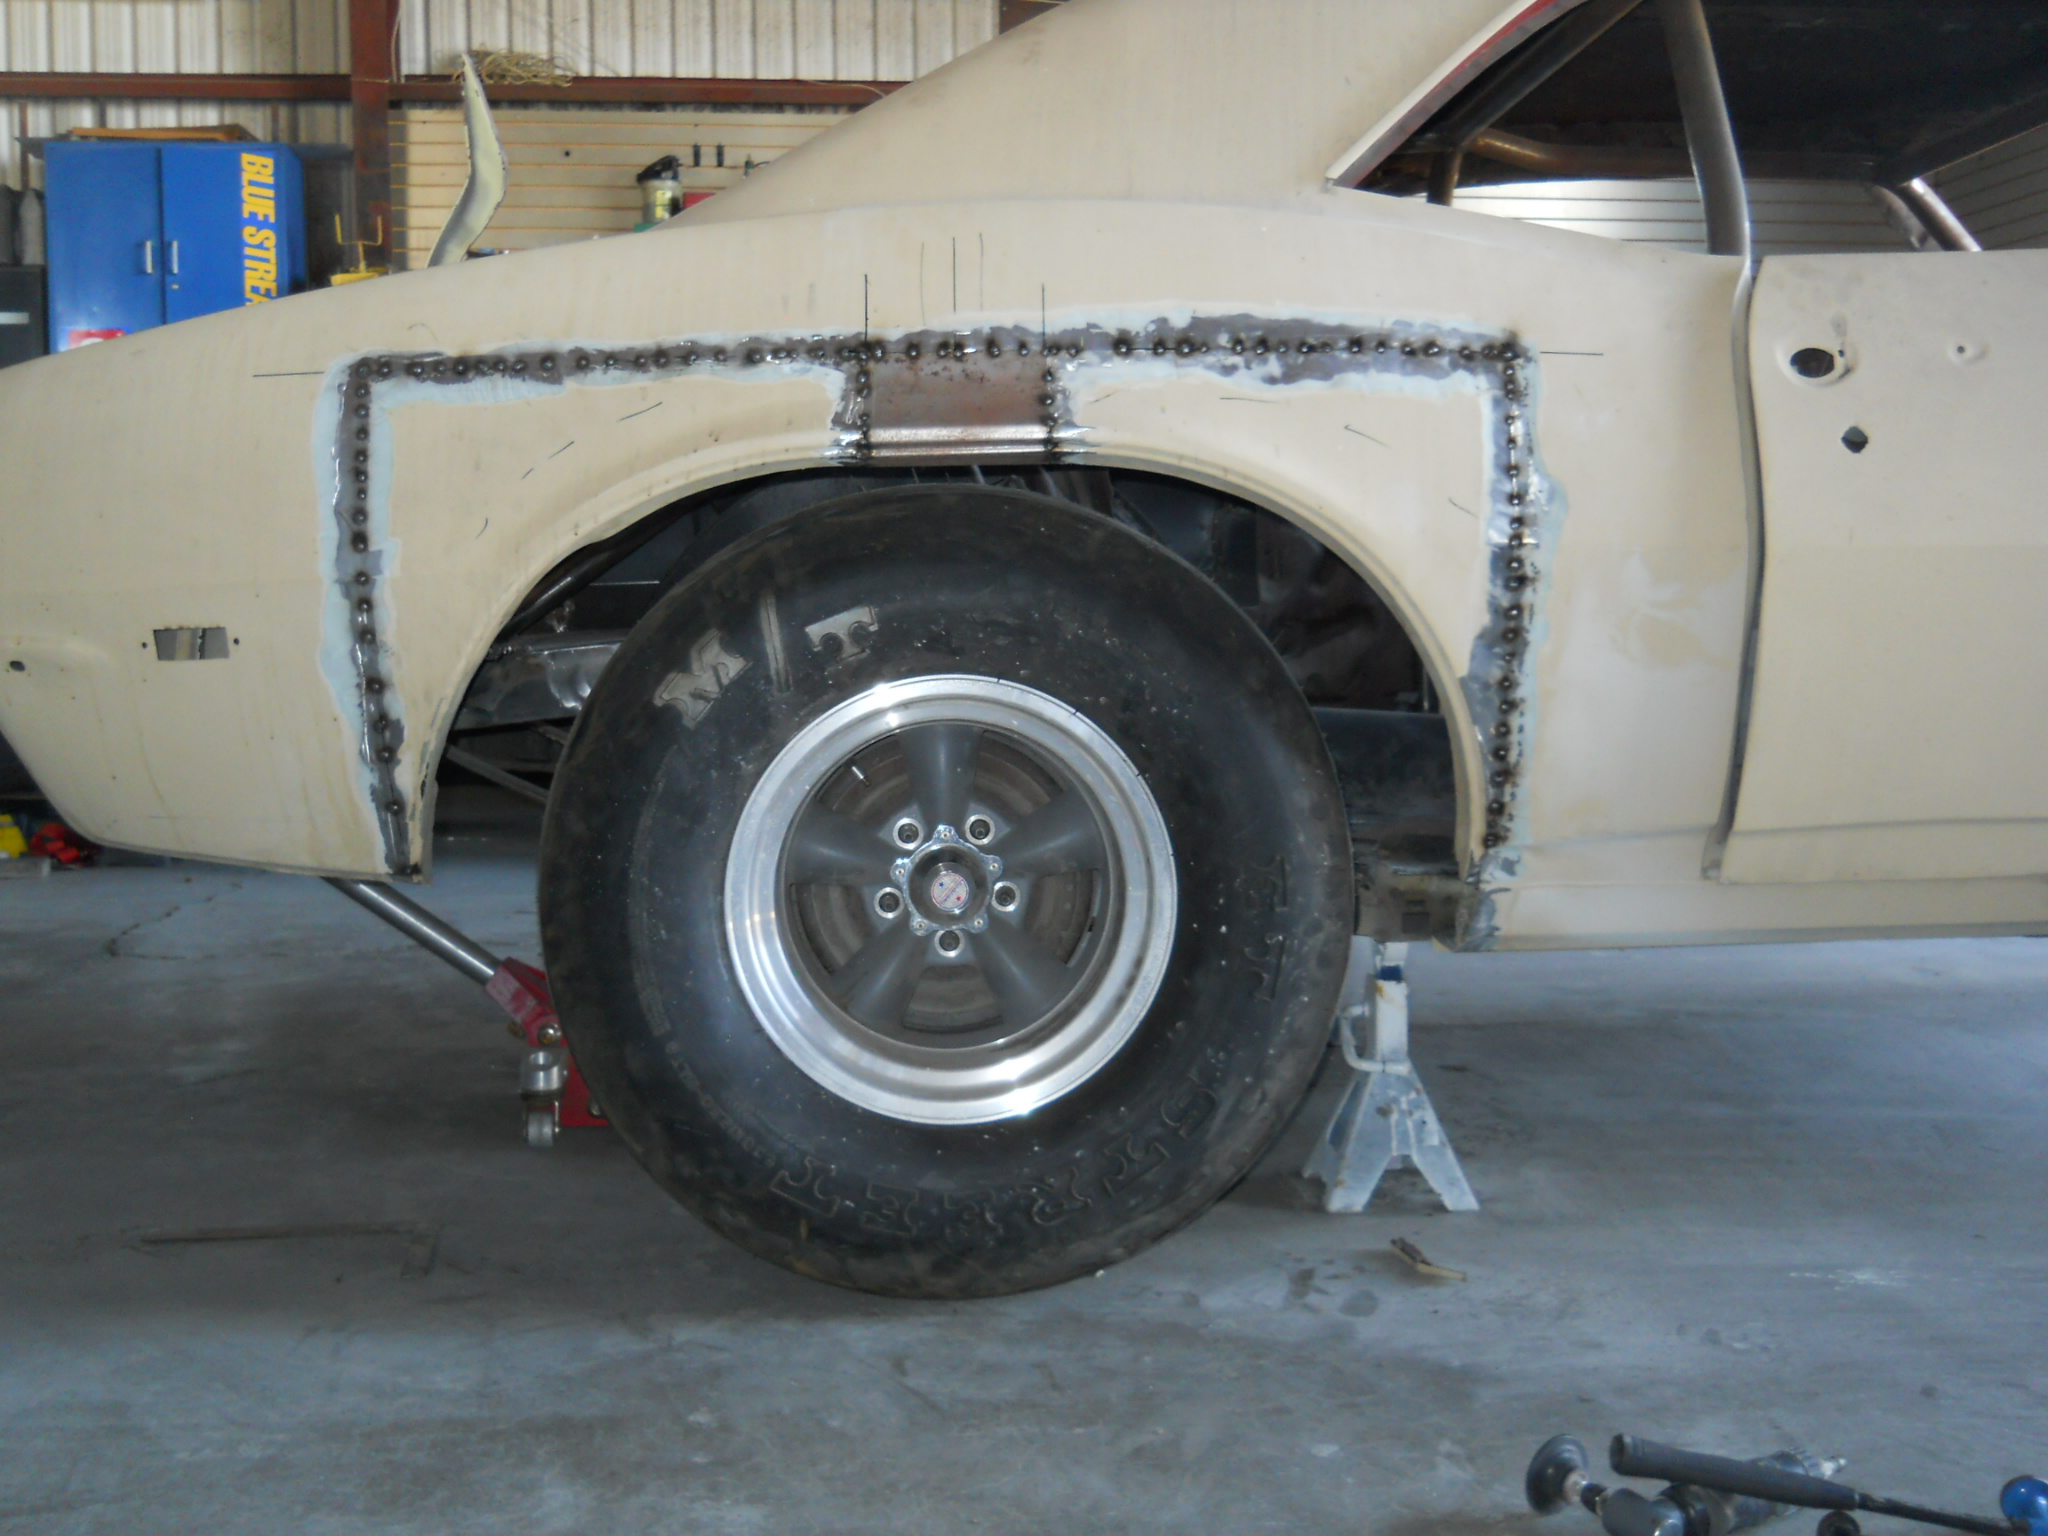
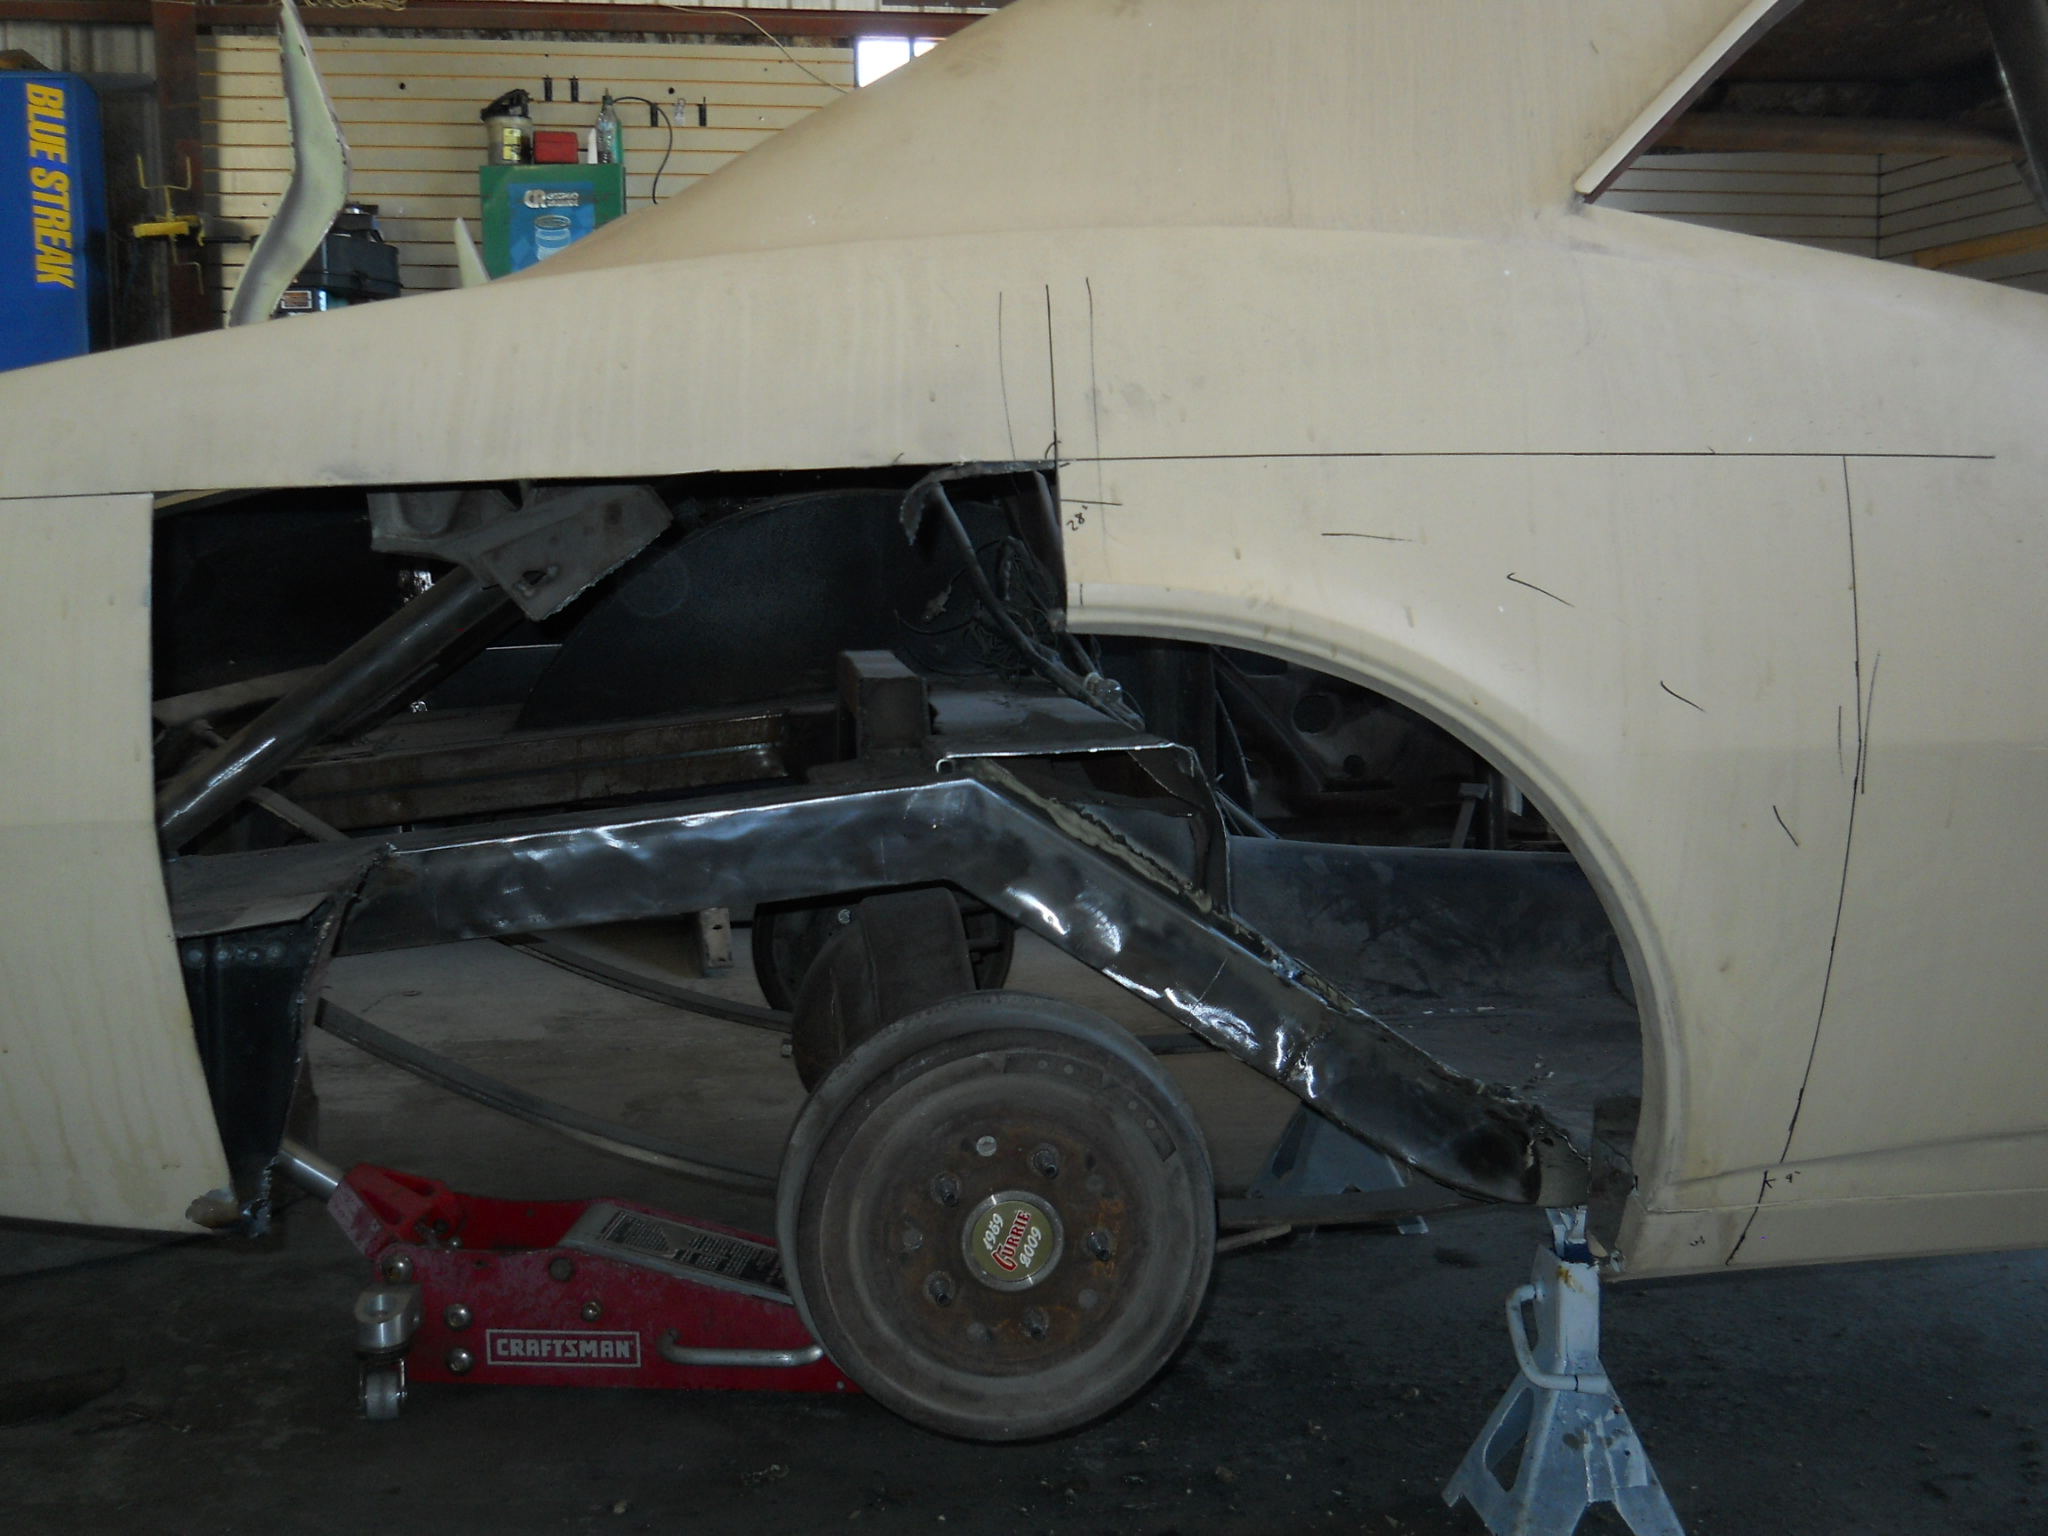
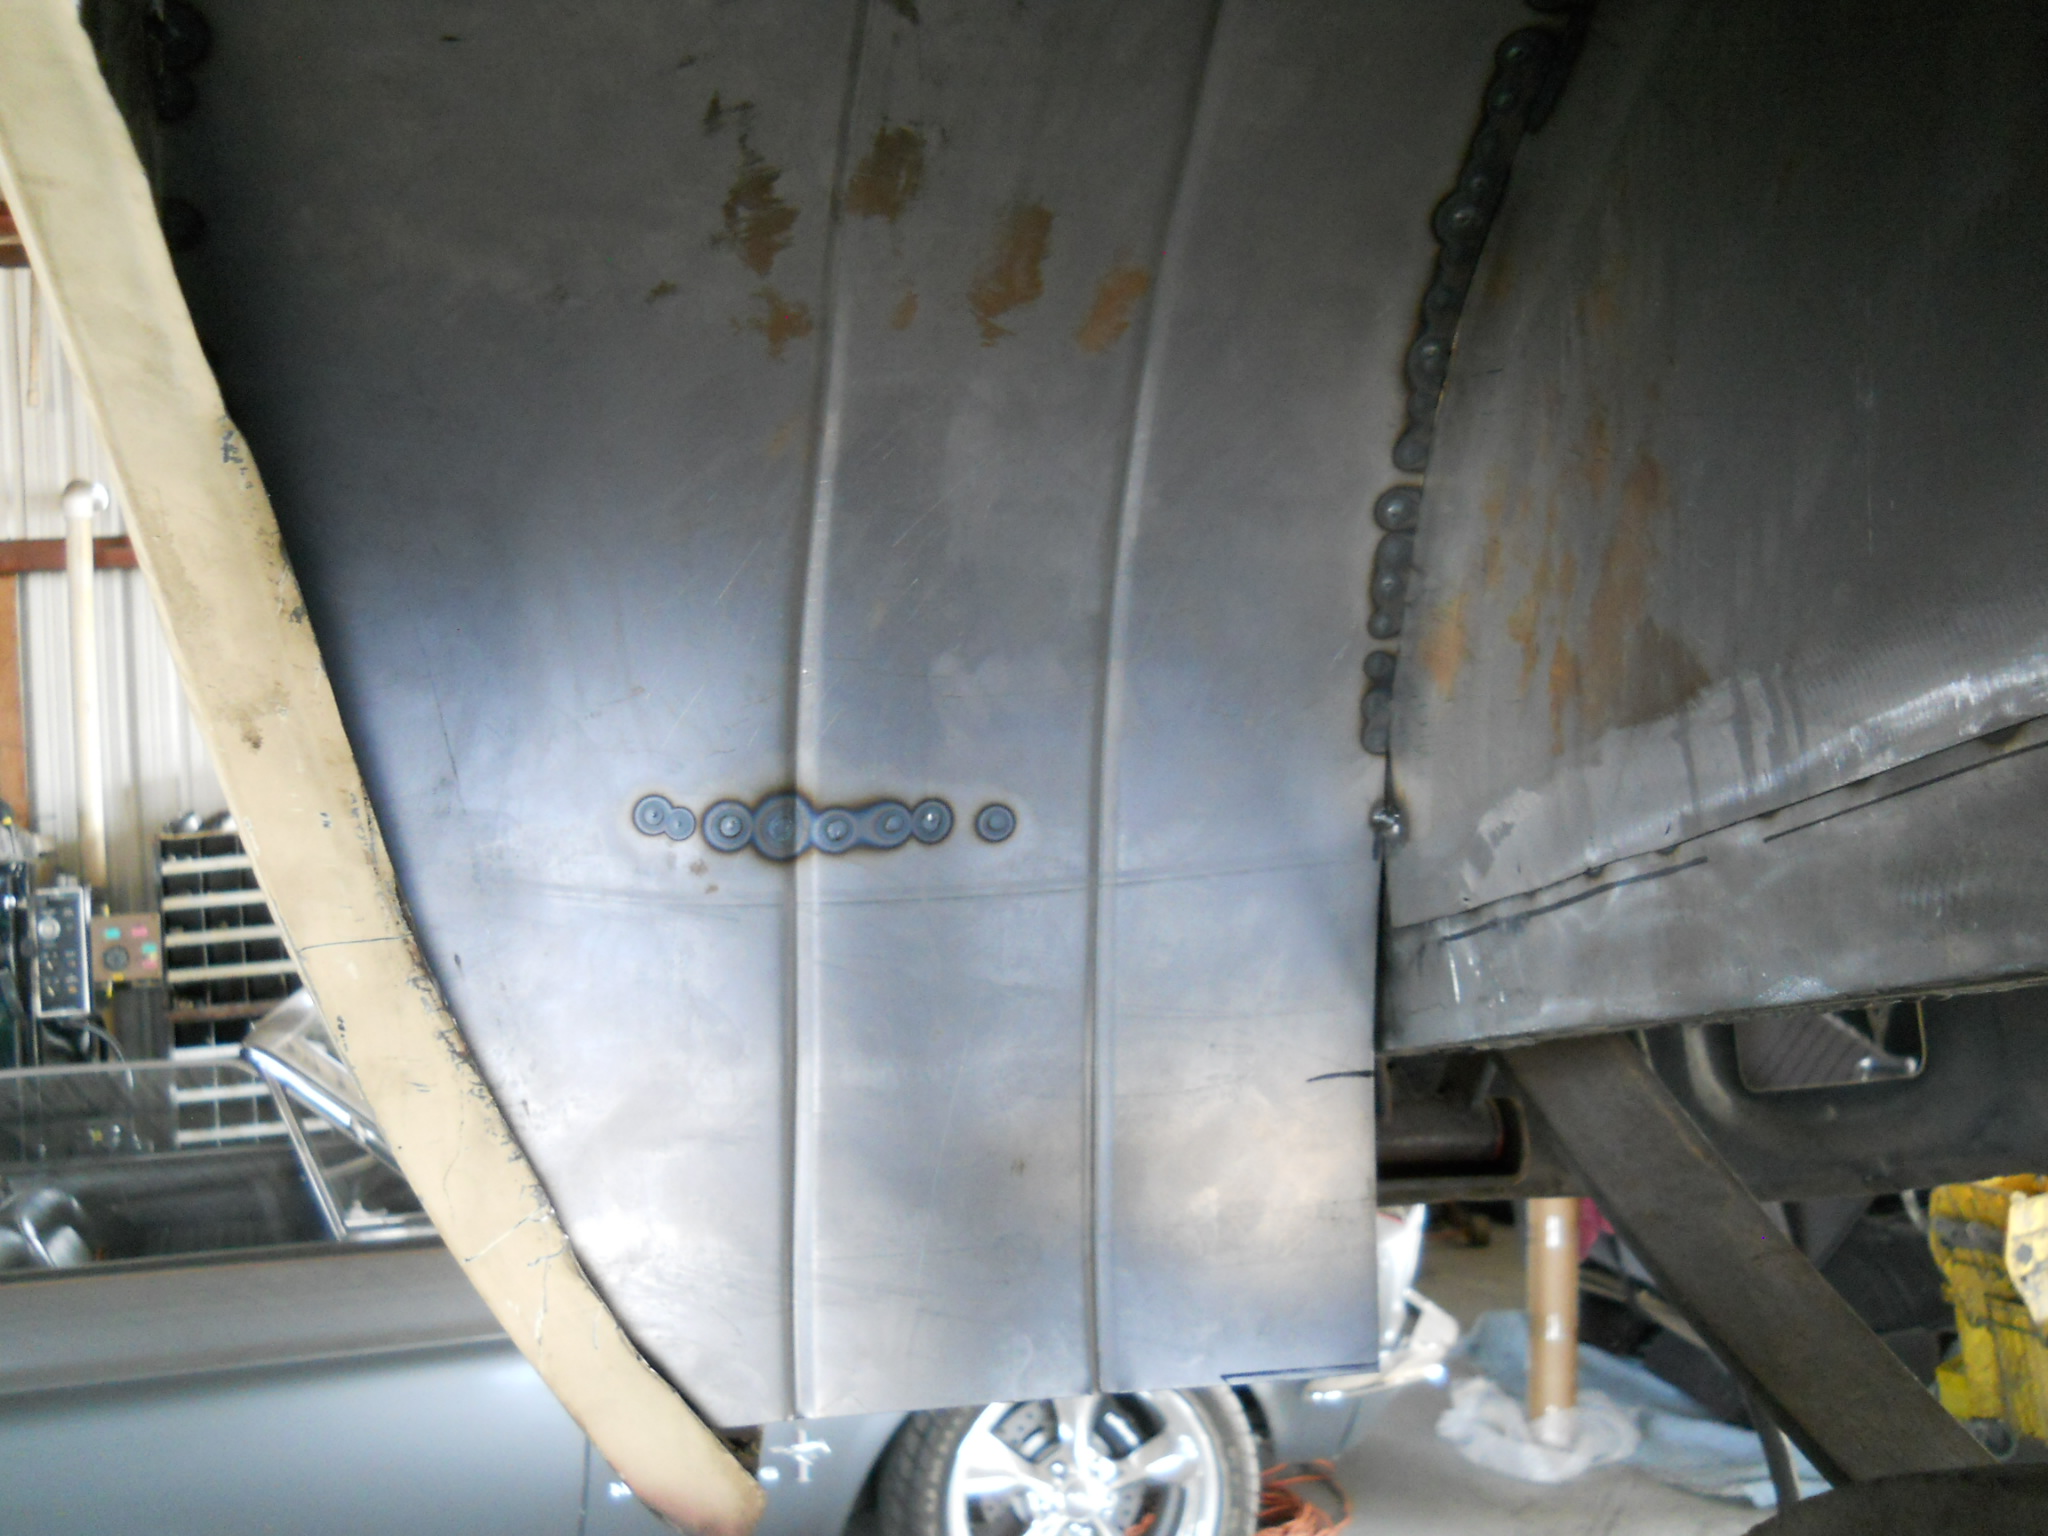
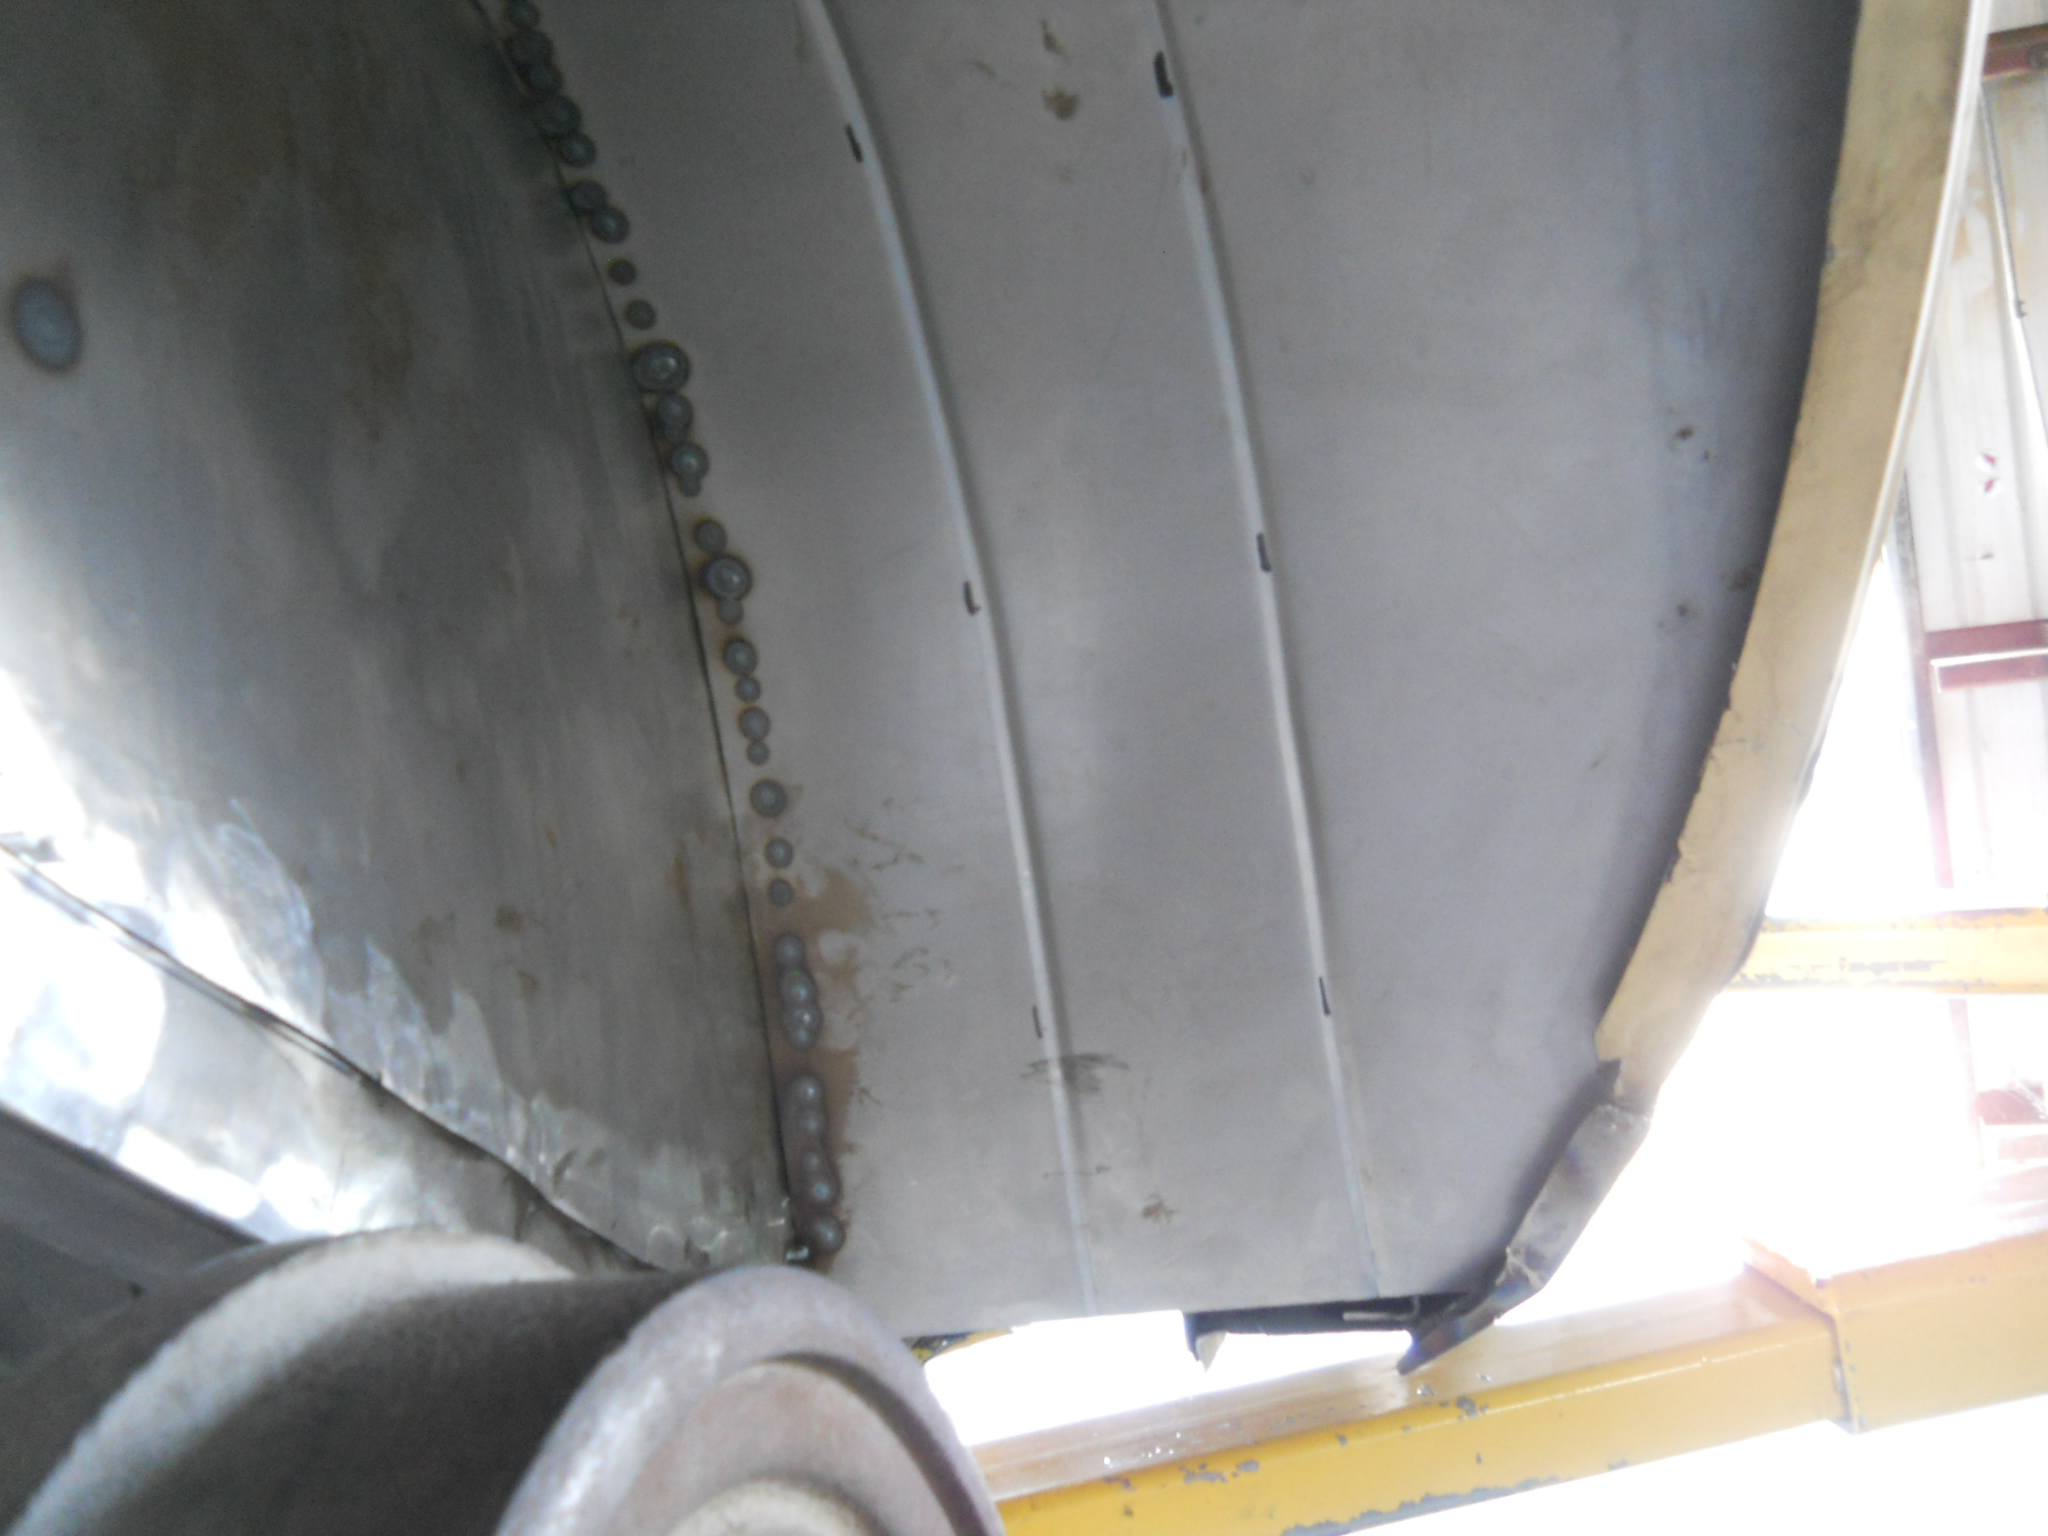
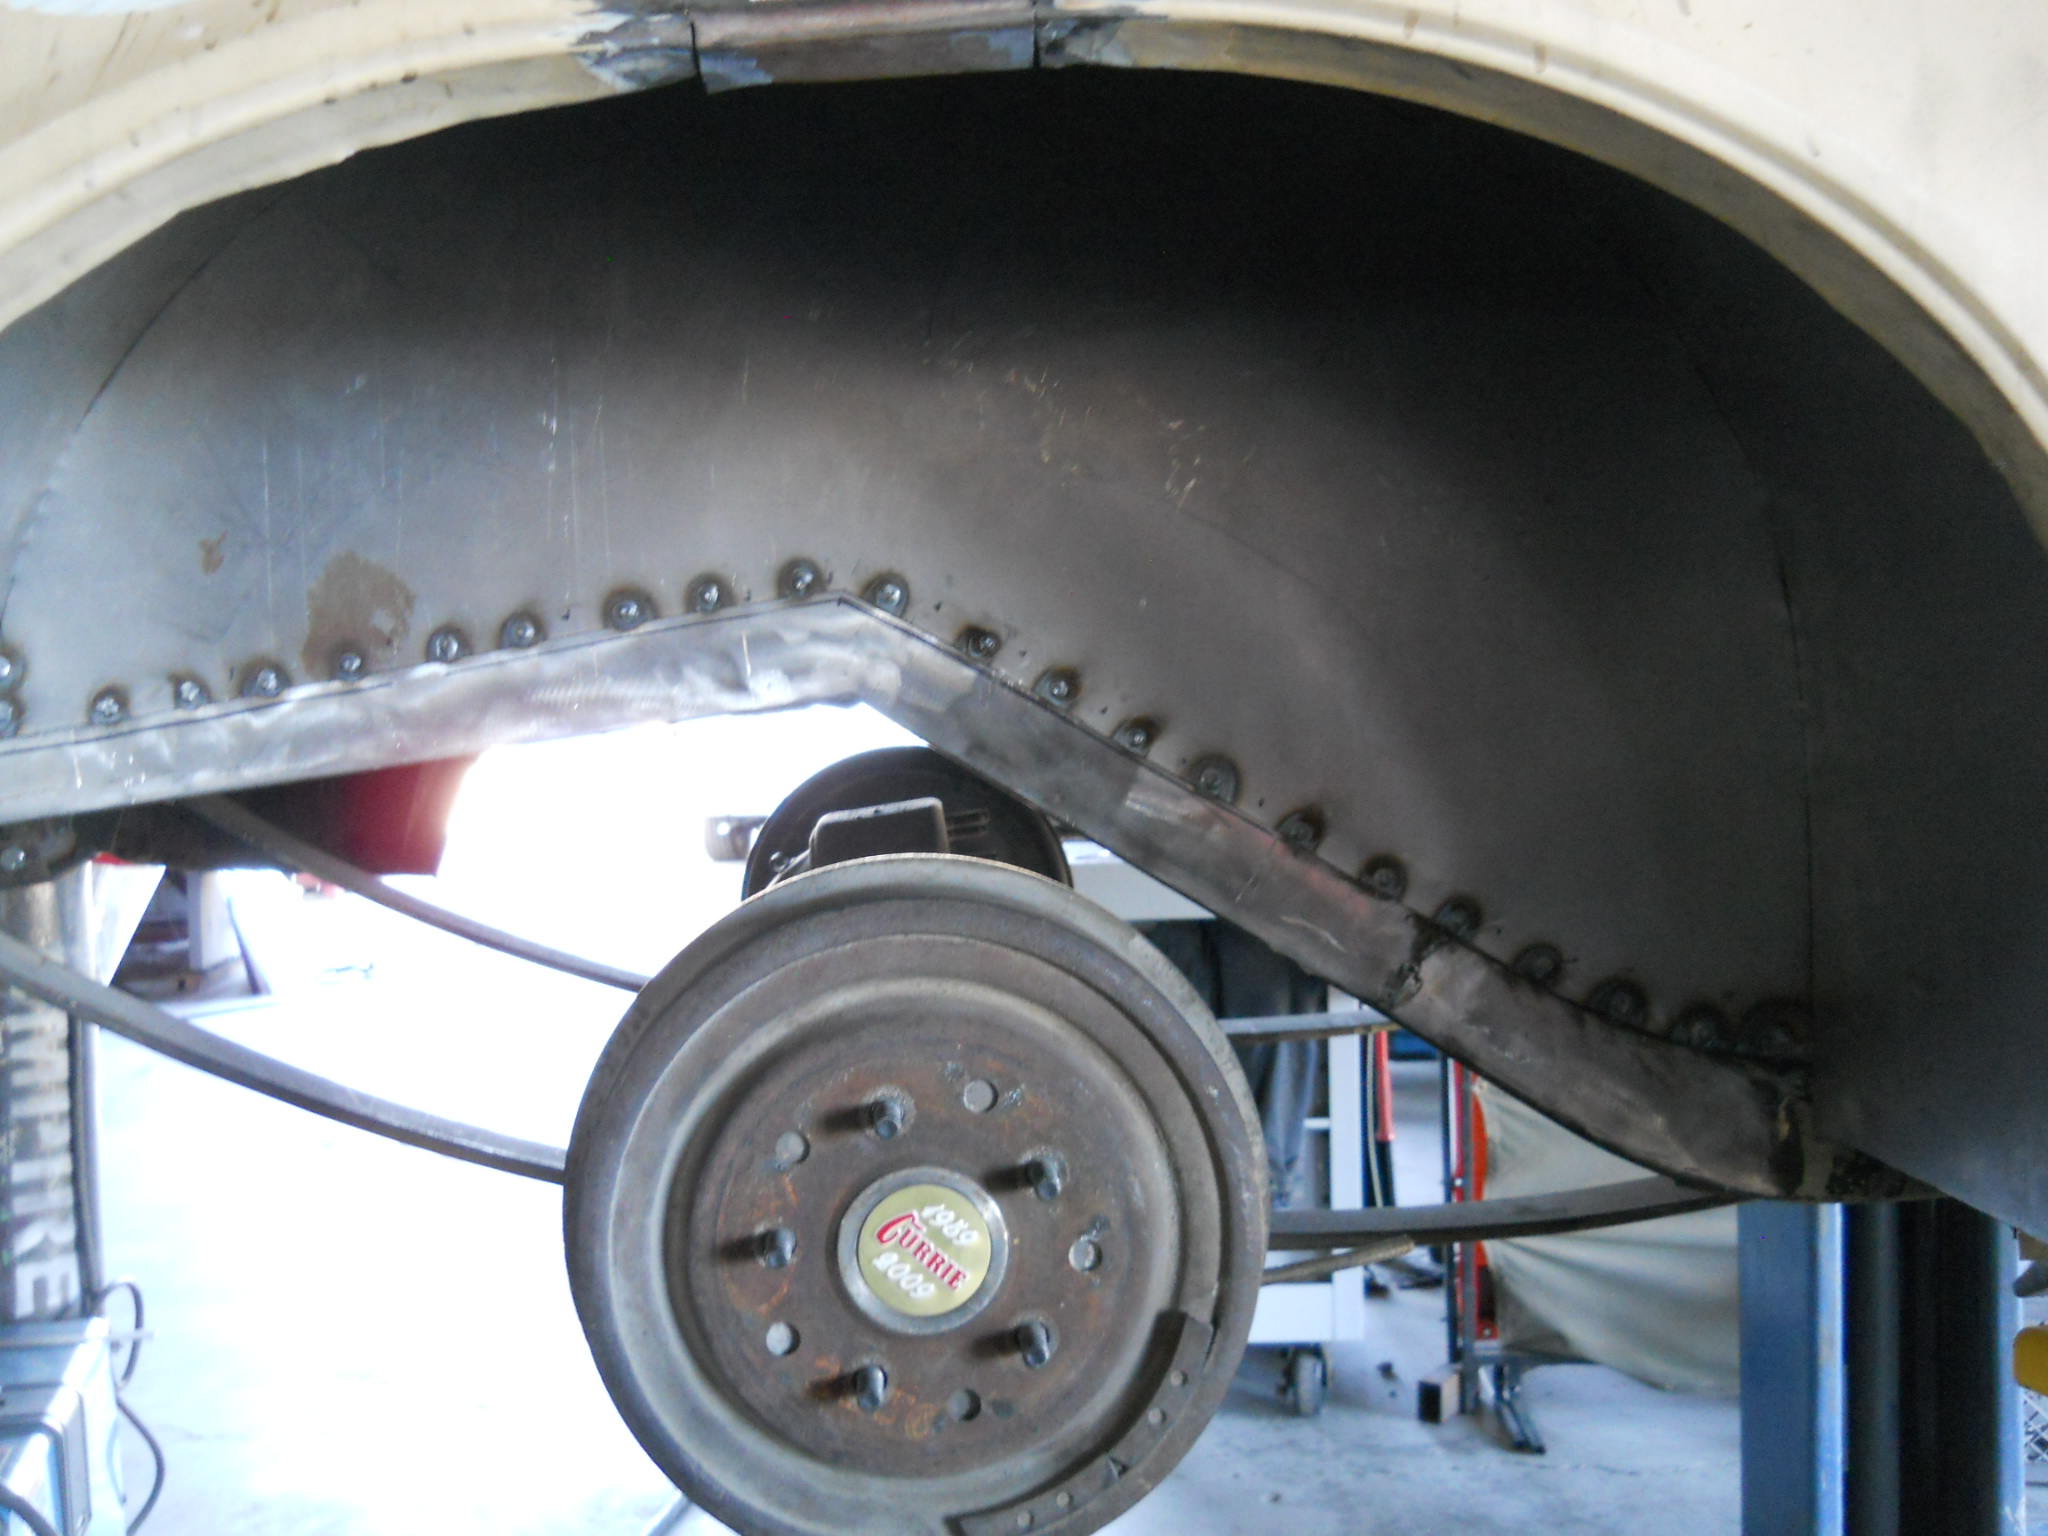
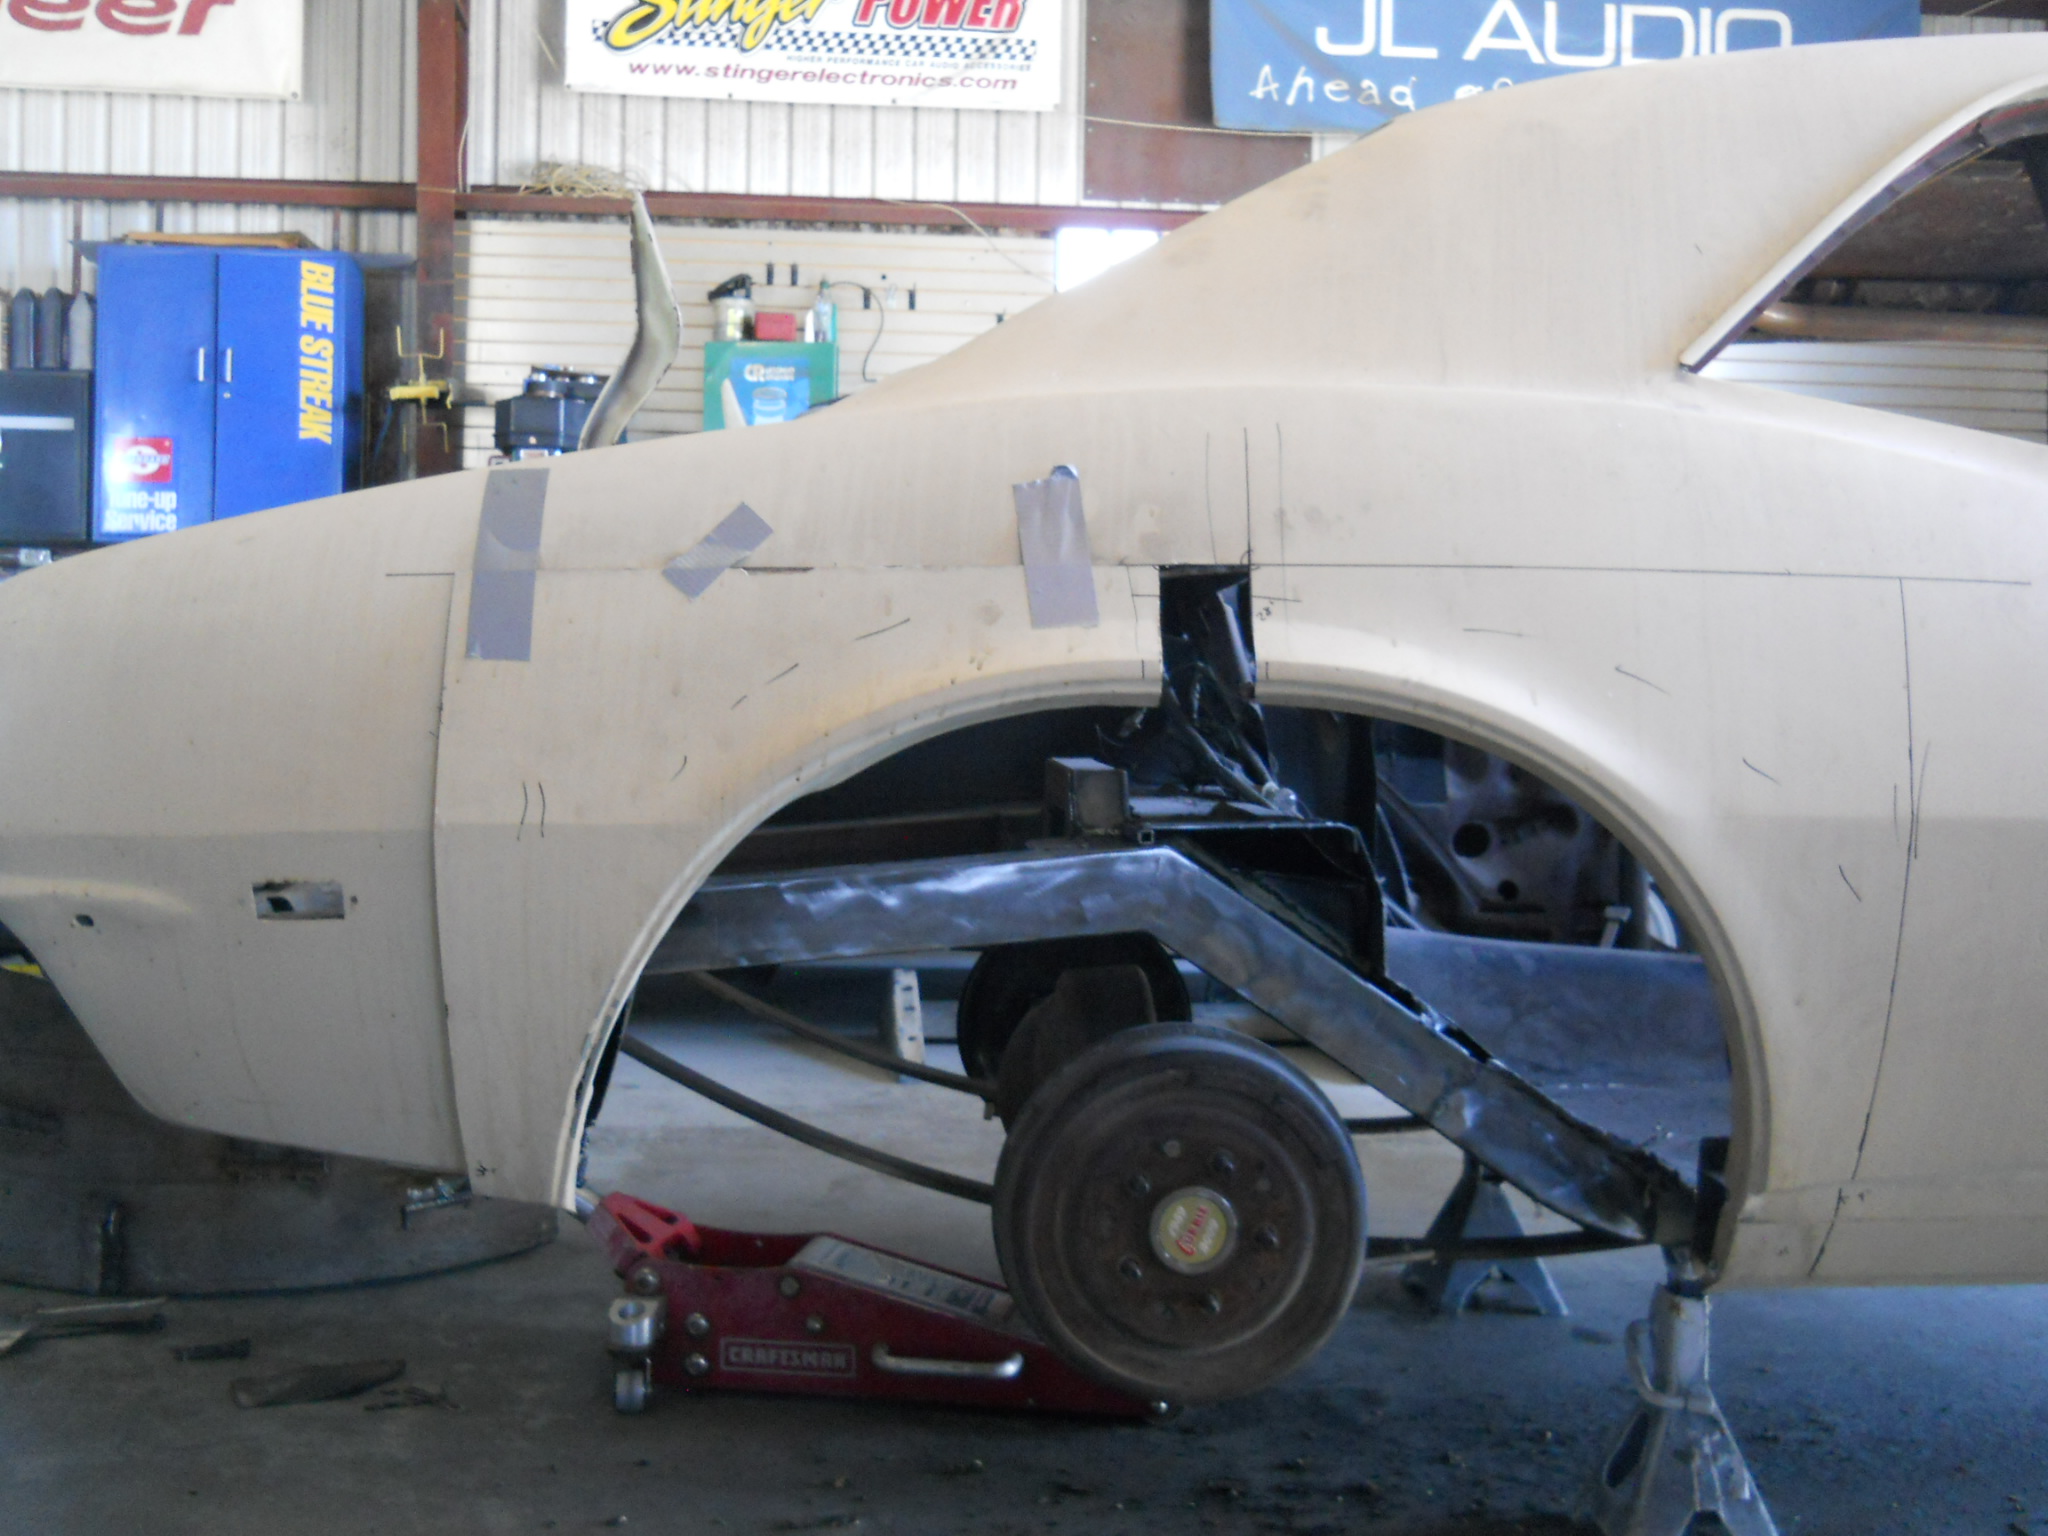
Quarter Panel and Wheel Tub Repairs
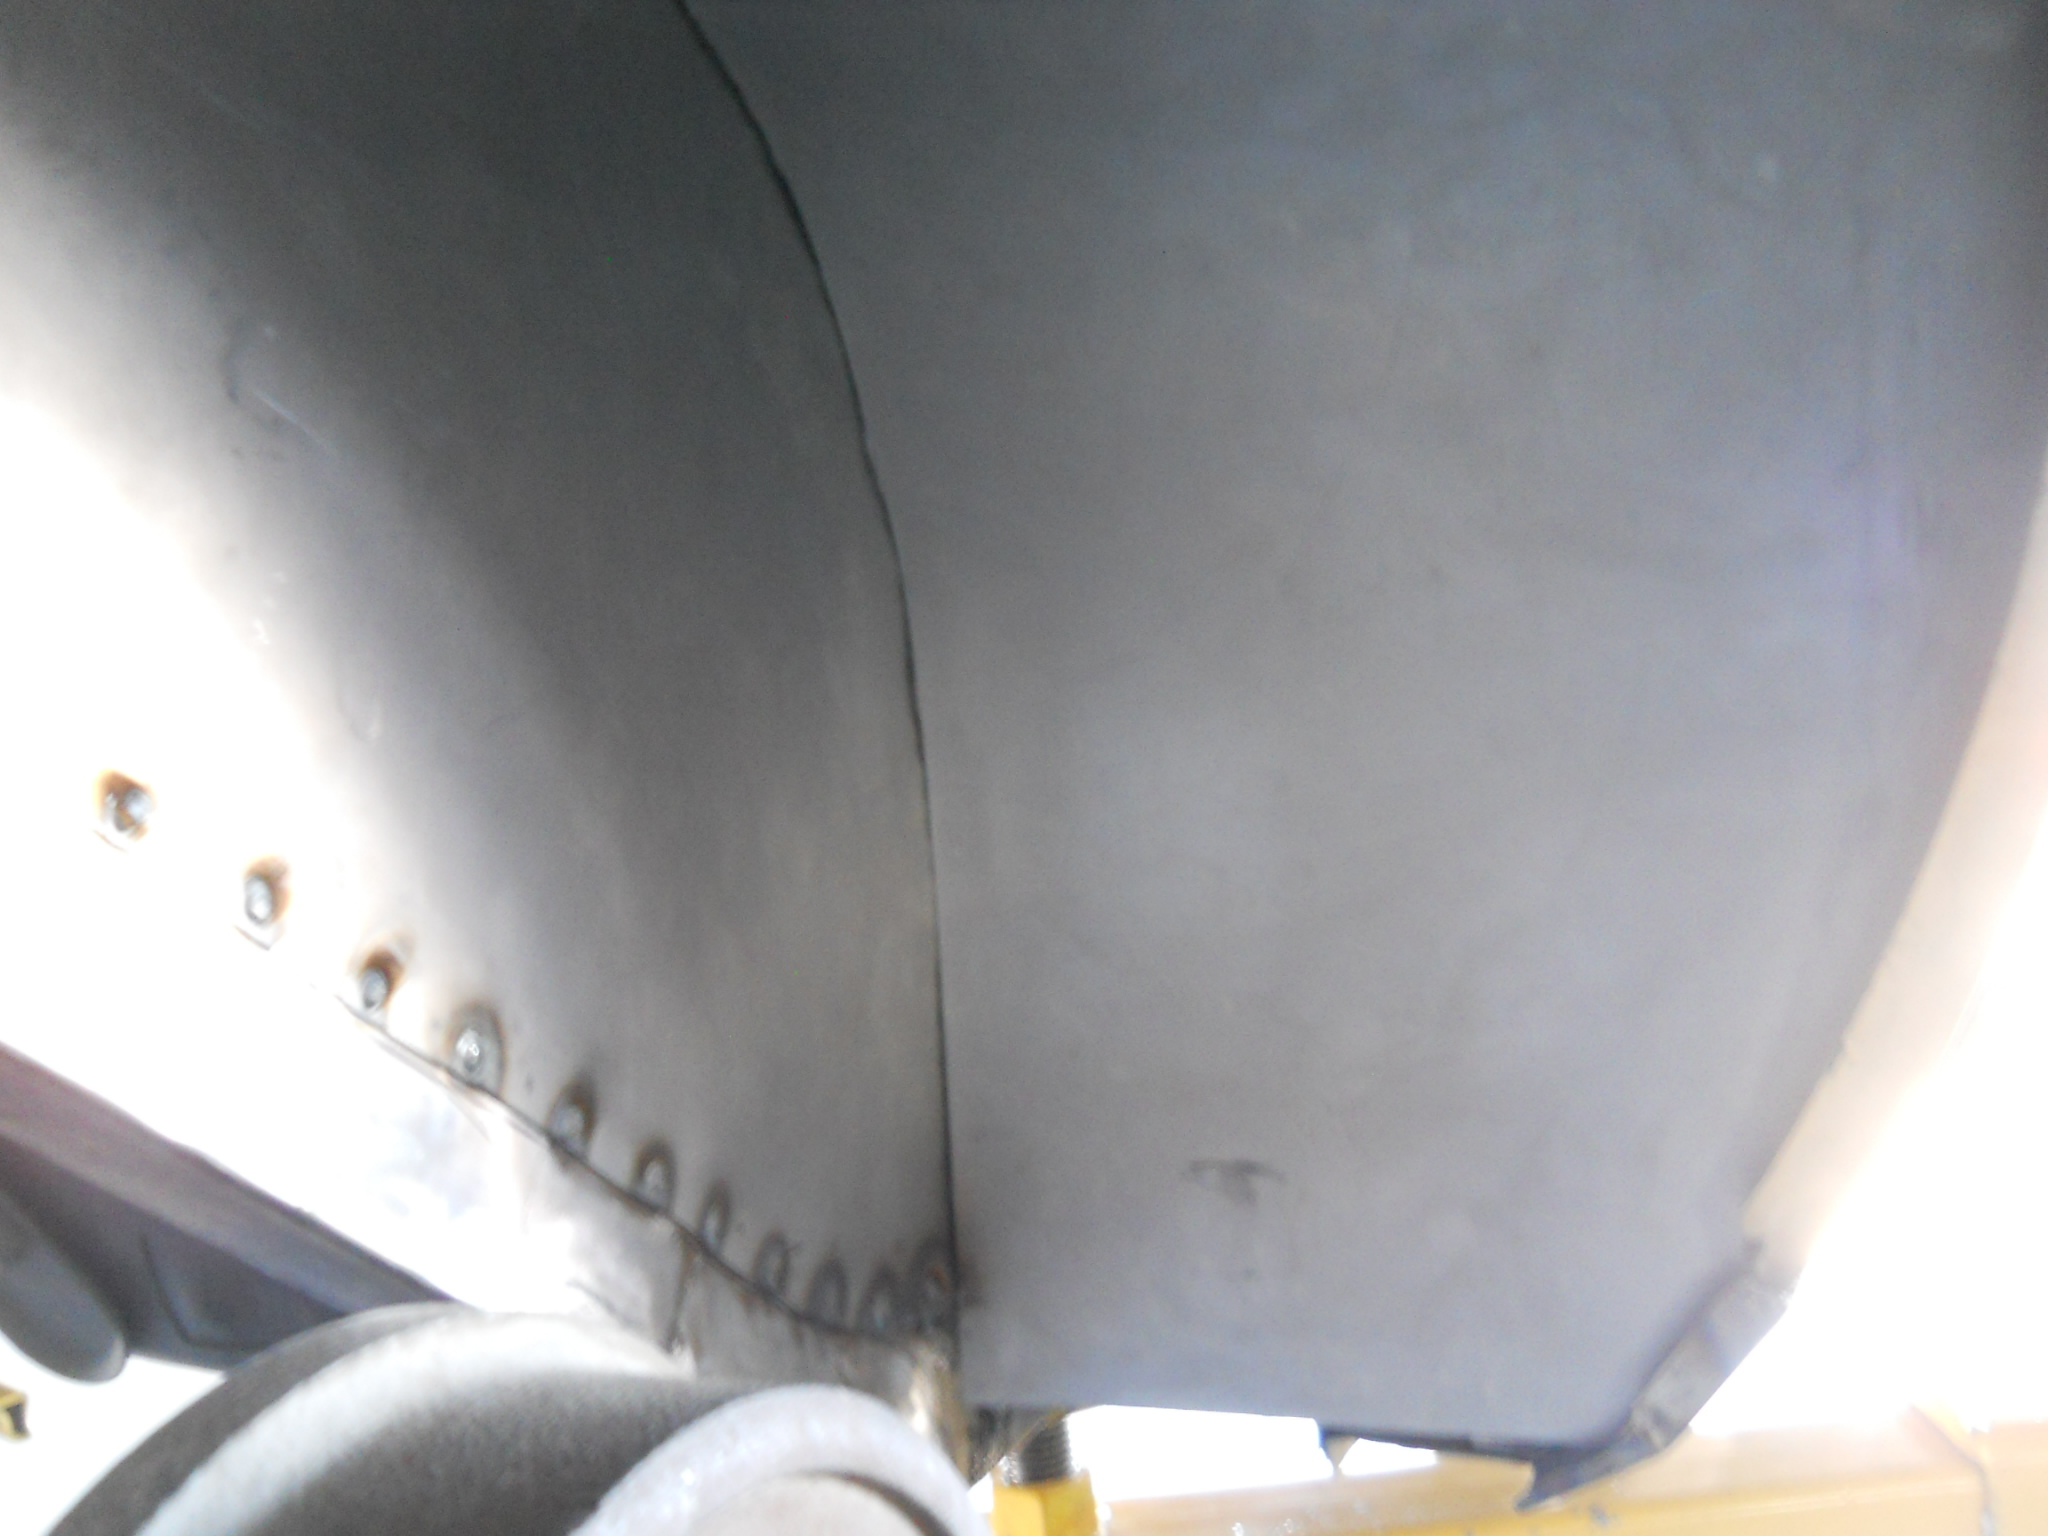
Another shop had previously replaced the quarter panels, but unfortunately, the installation was incorrect. The passenger side sat 2″ forward of center, and the driver’s side was 1″ too far back. We cut, repositioned, and realigned both panels to restore proper fitment.
The original wheel tubs also lacked the space needed for the planned wide tires. To correct this, we sectioned the quarters for clearance and recentered the tubs. New steel tubs were fabricated from scratch, correcting the poor original placement that caused interference. This upgrade ensures proper tire clearance and matches the Camaro’s lowered stance.
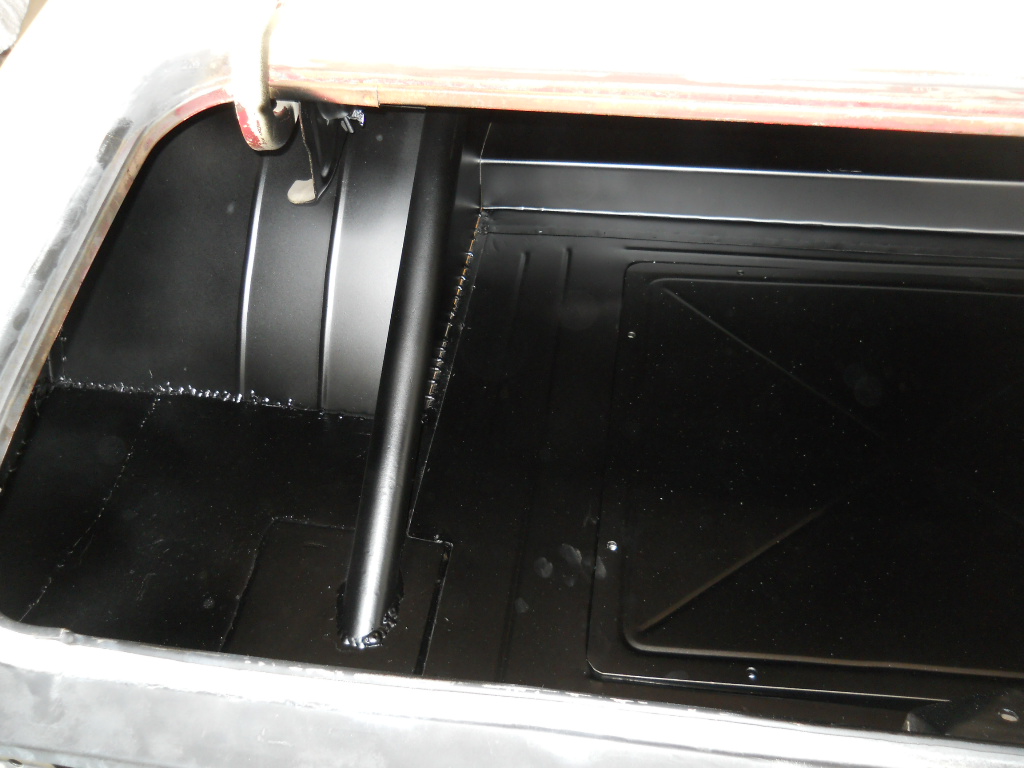
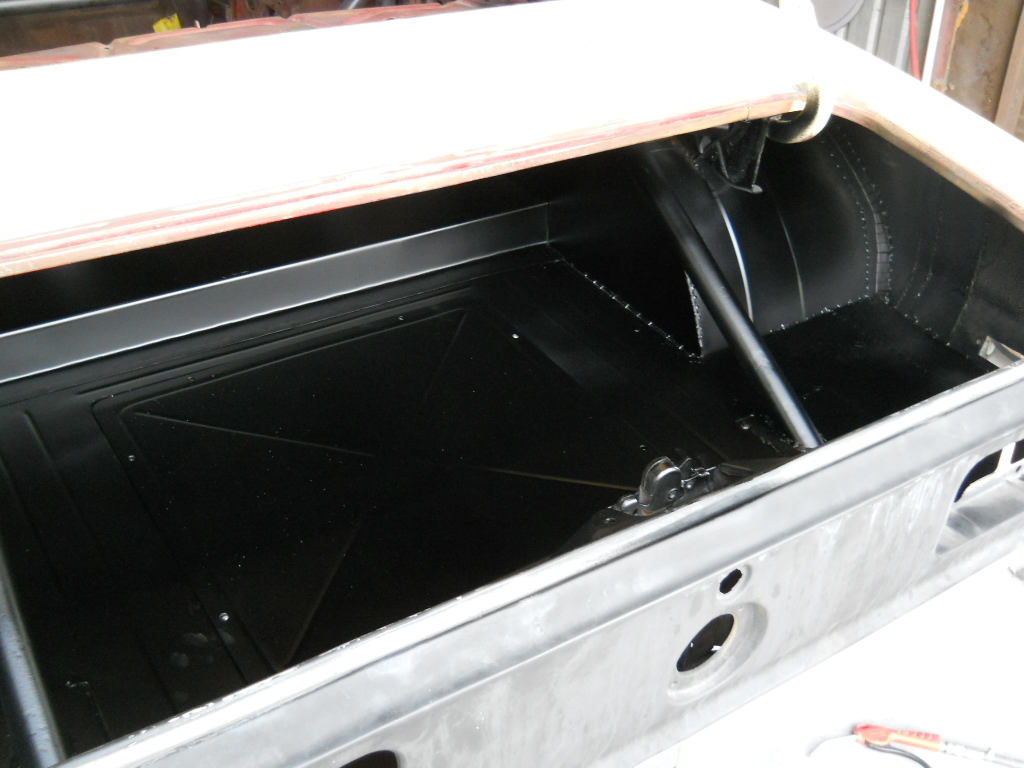
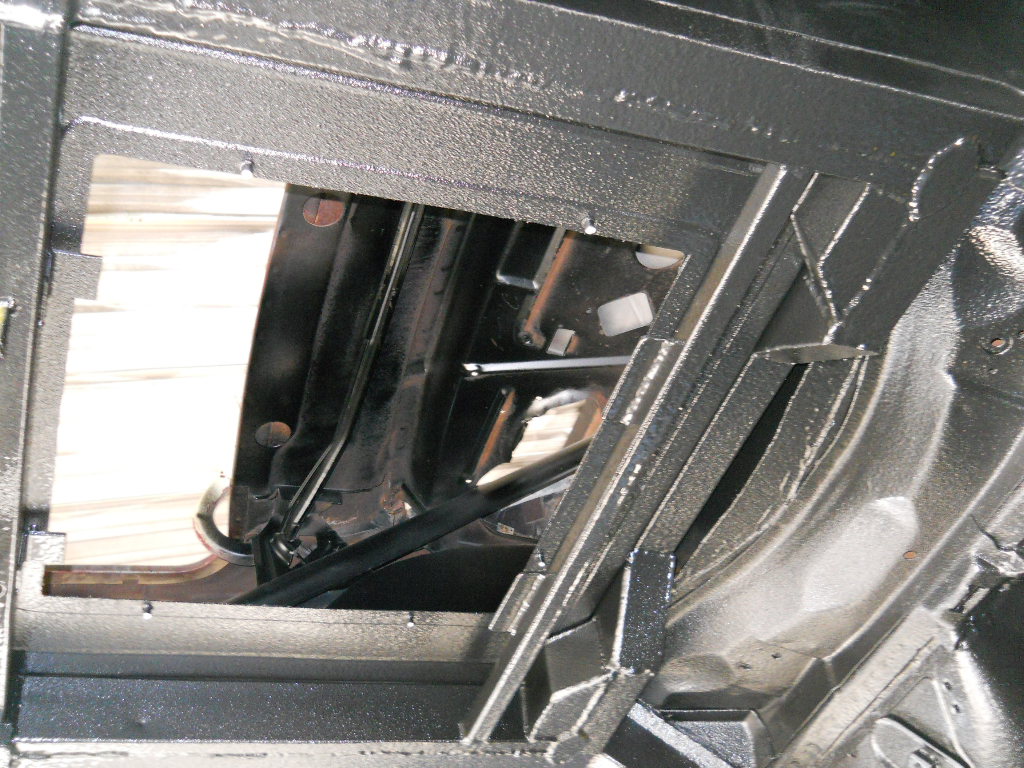
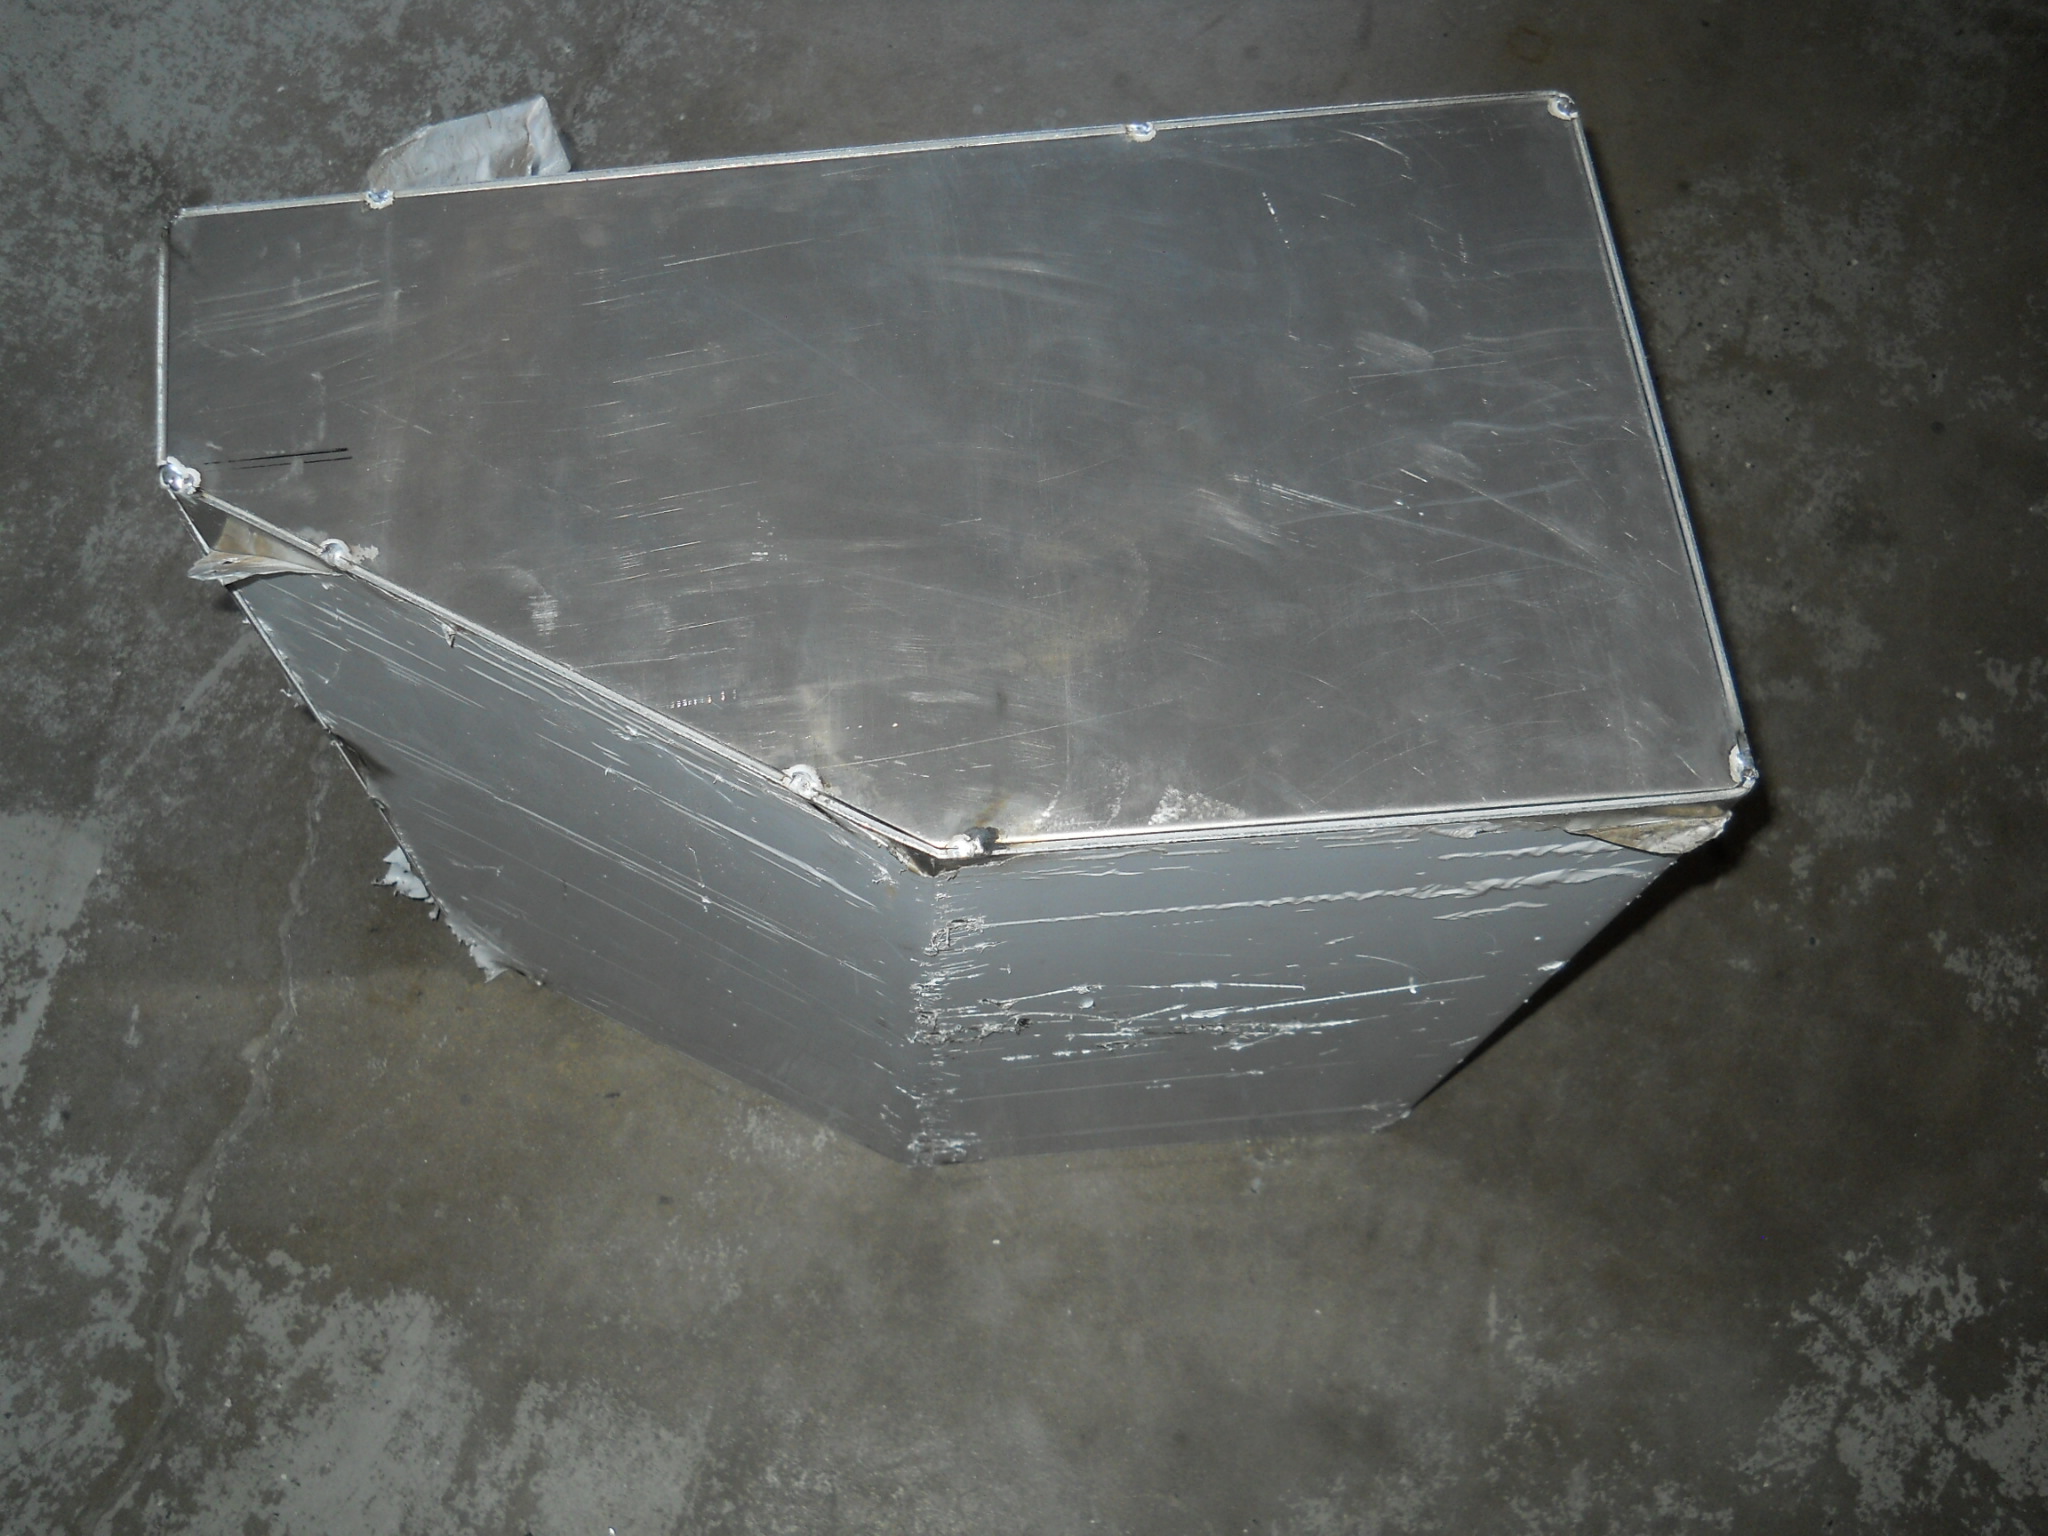
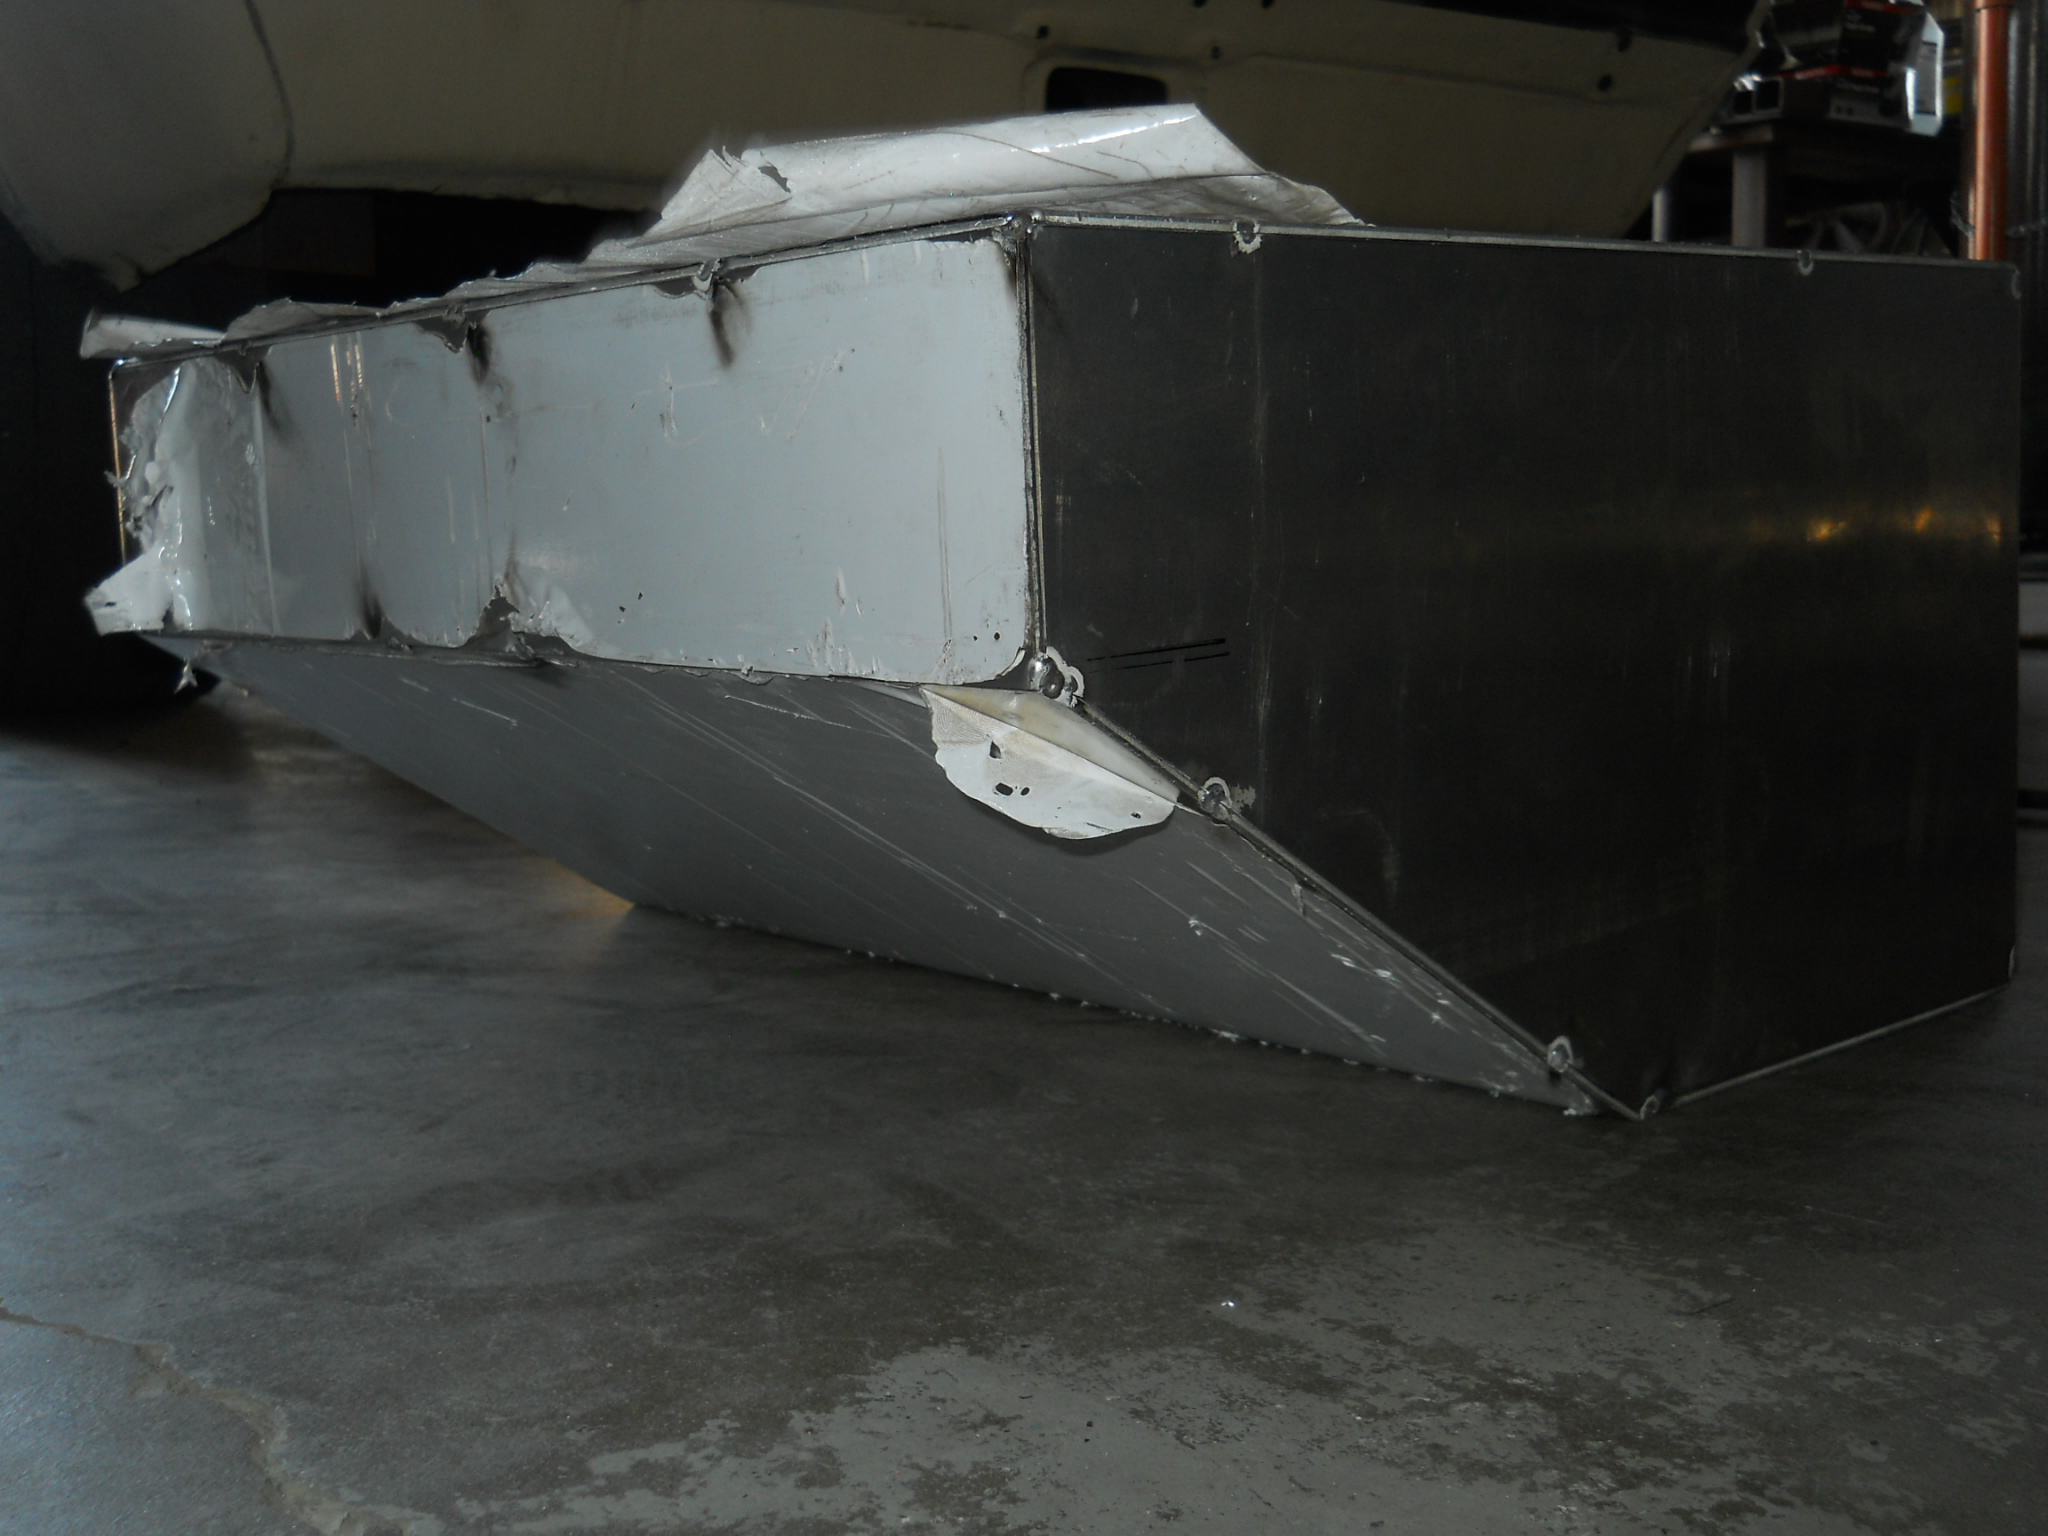
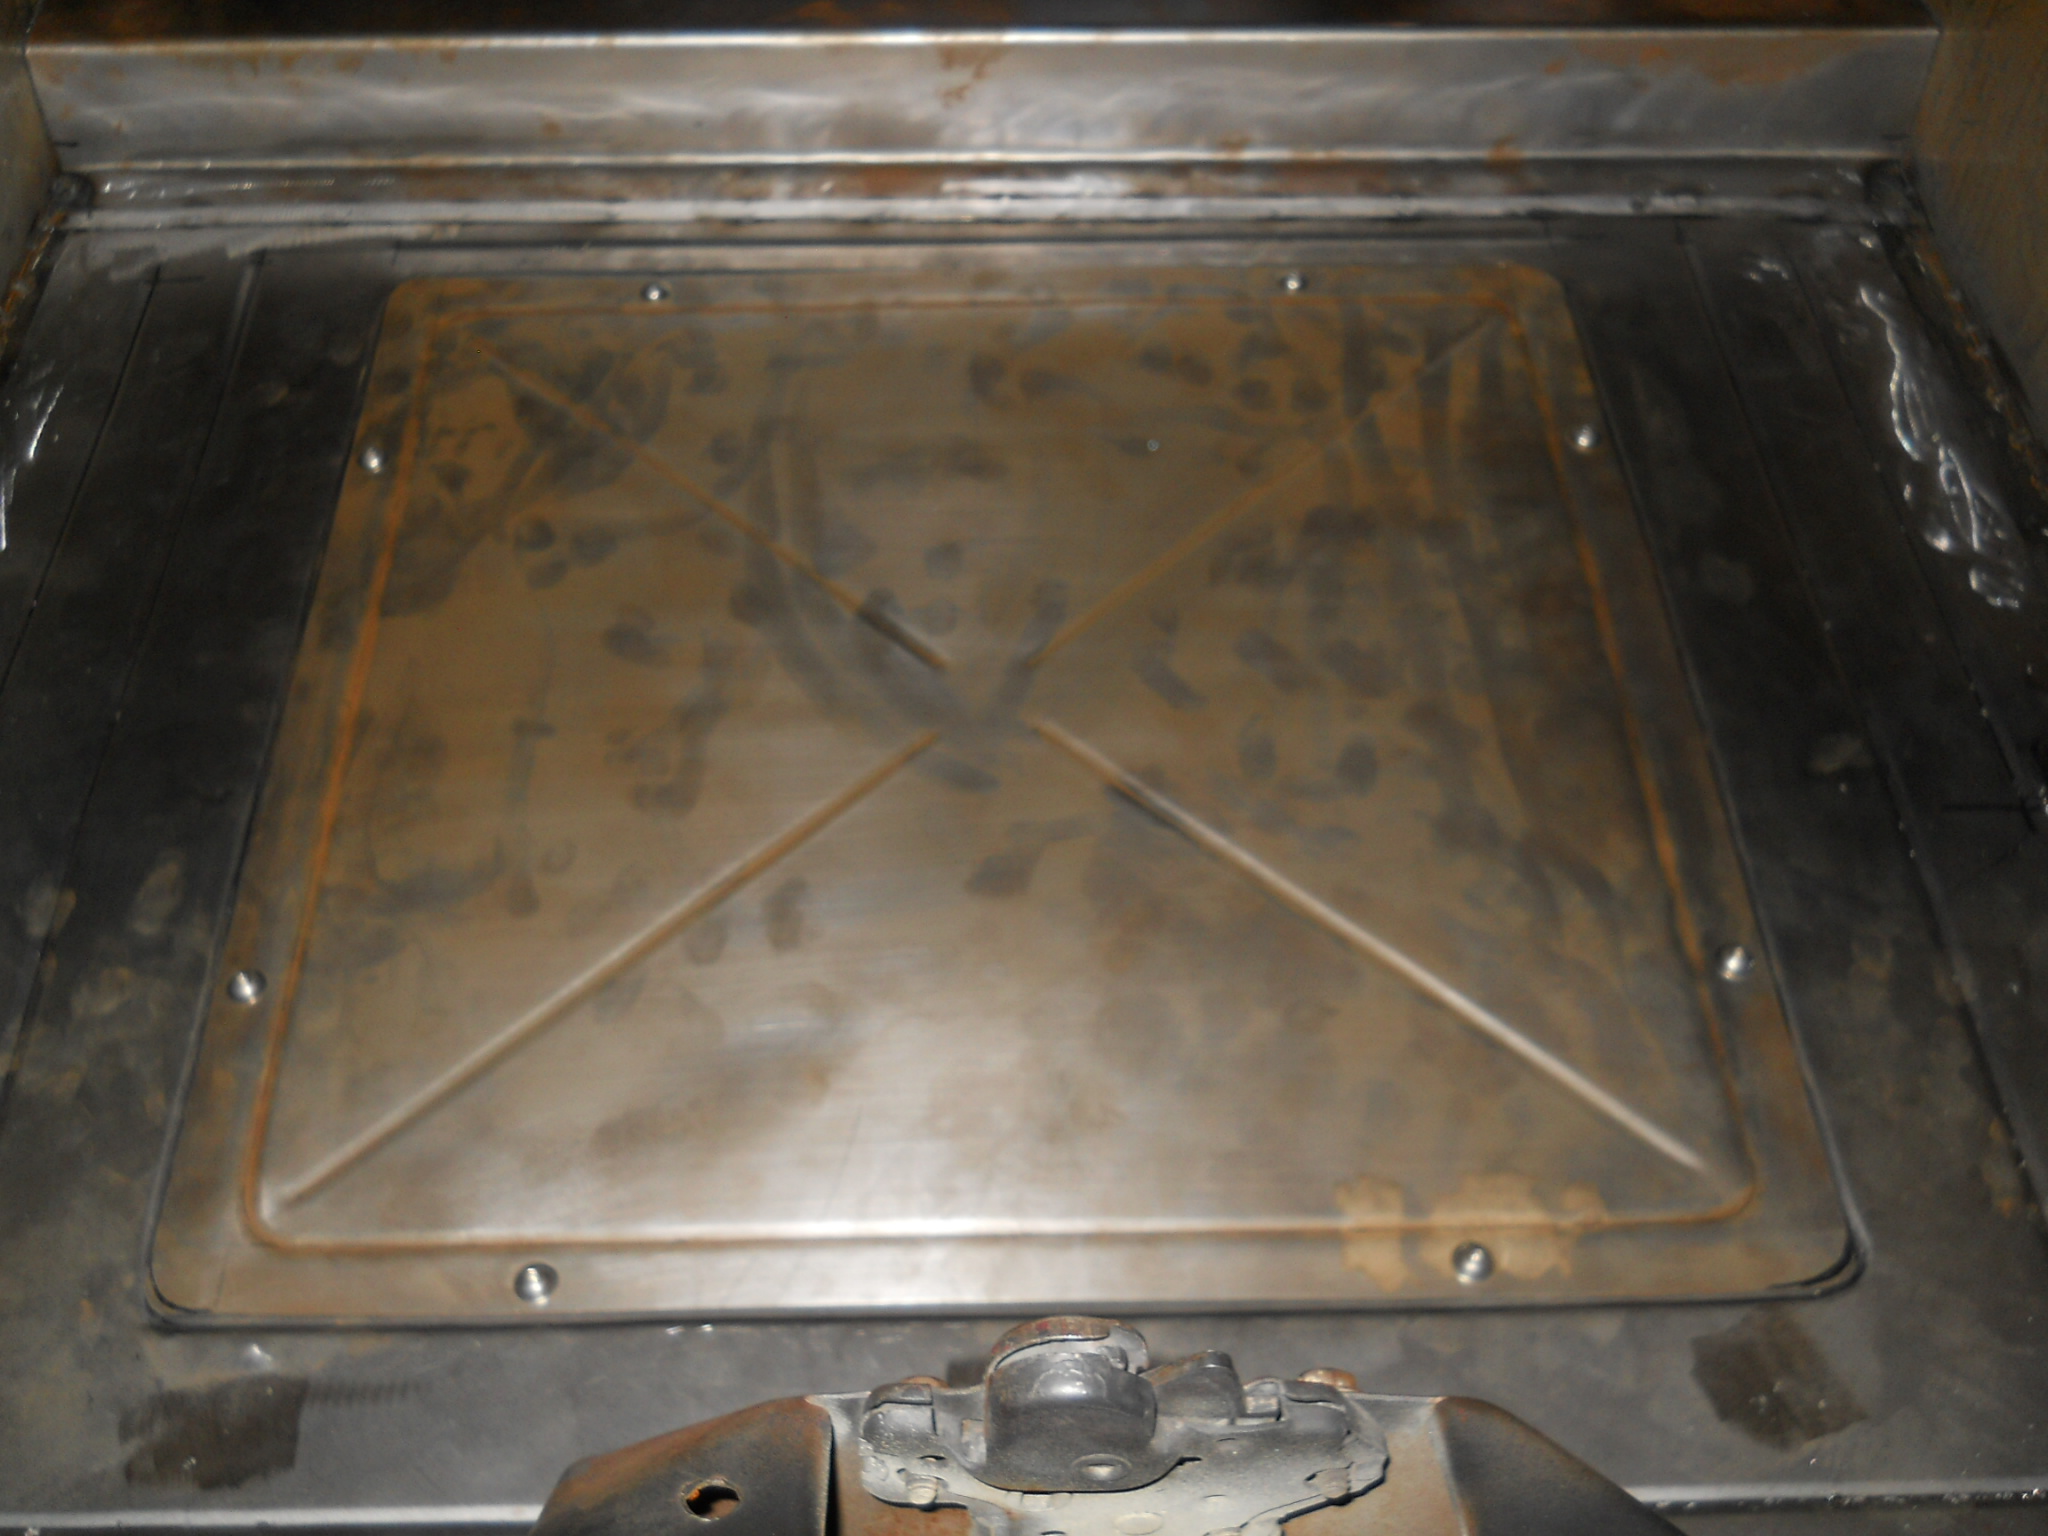
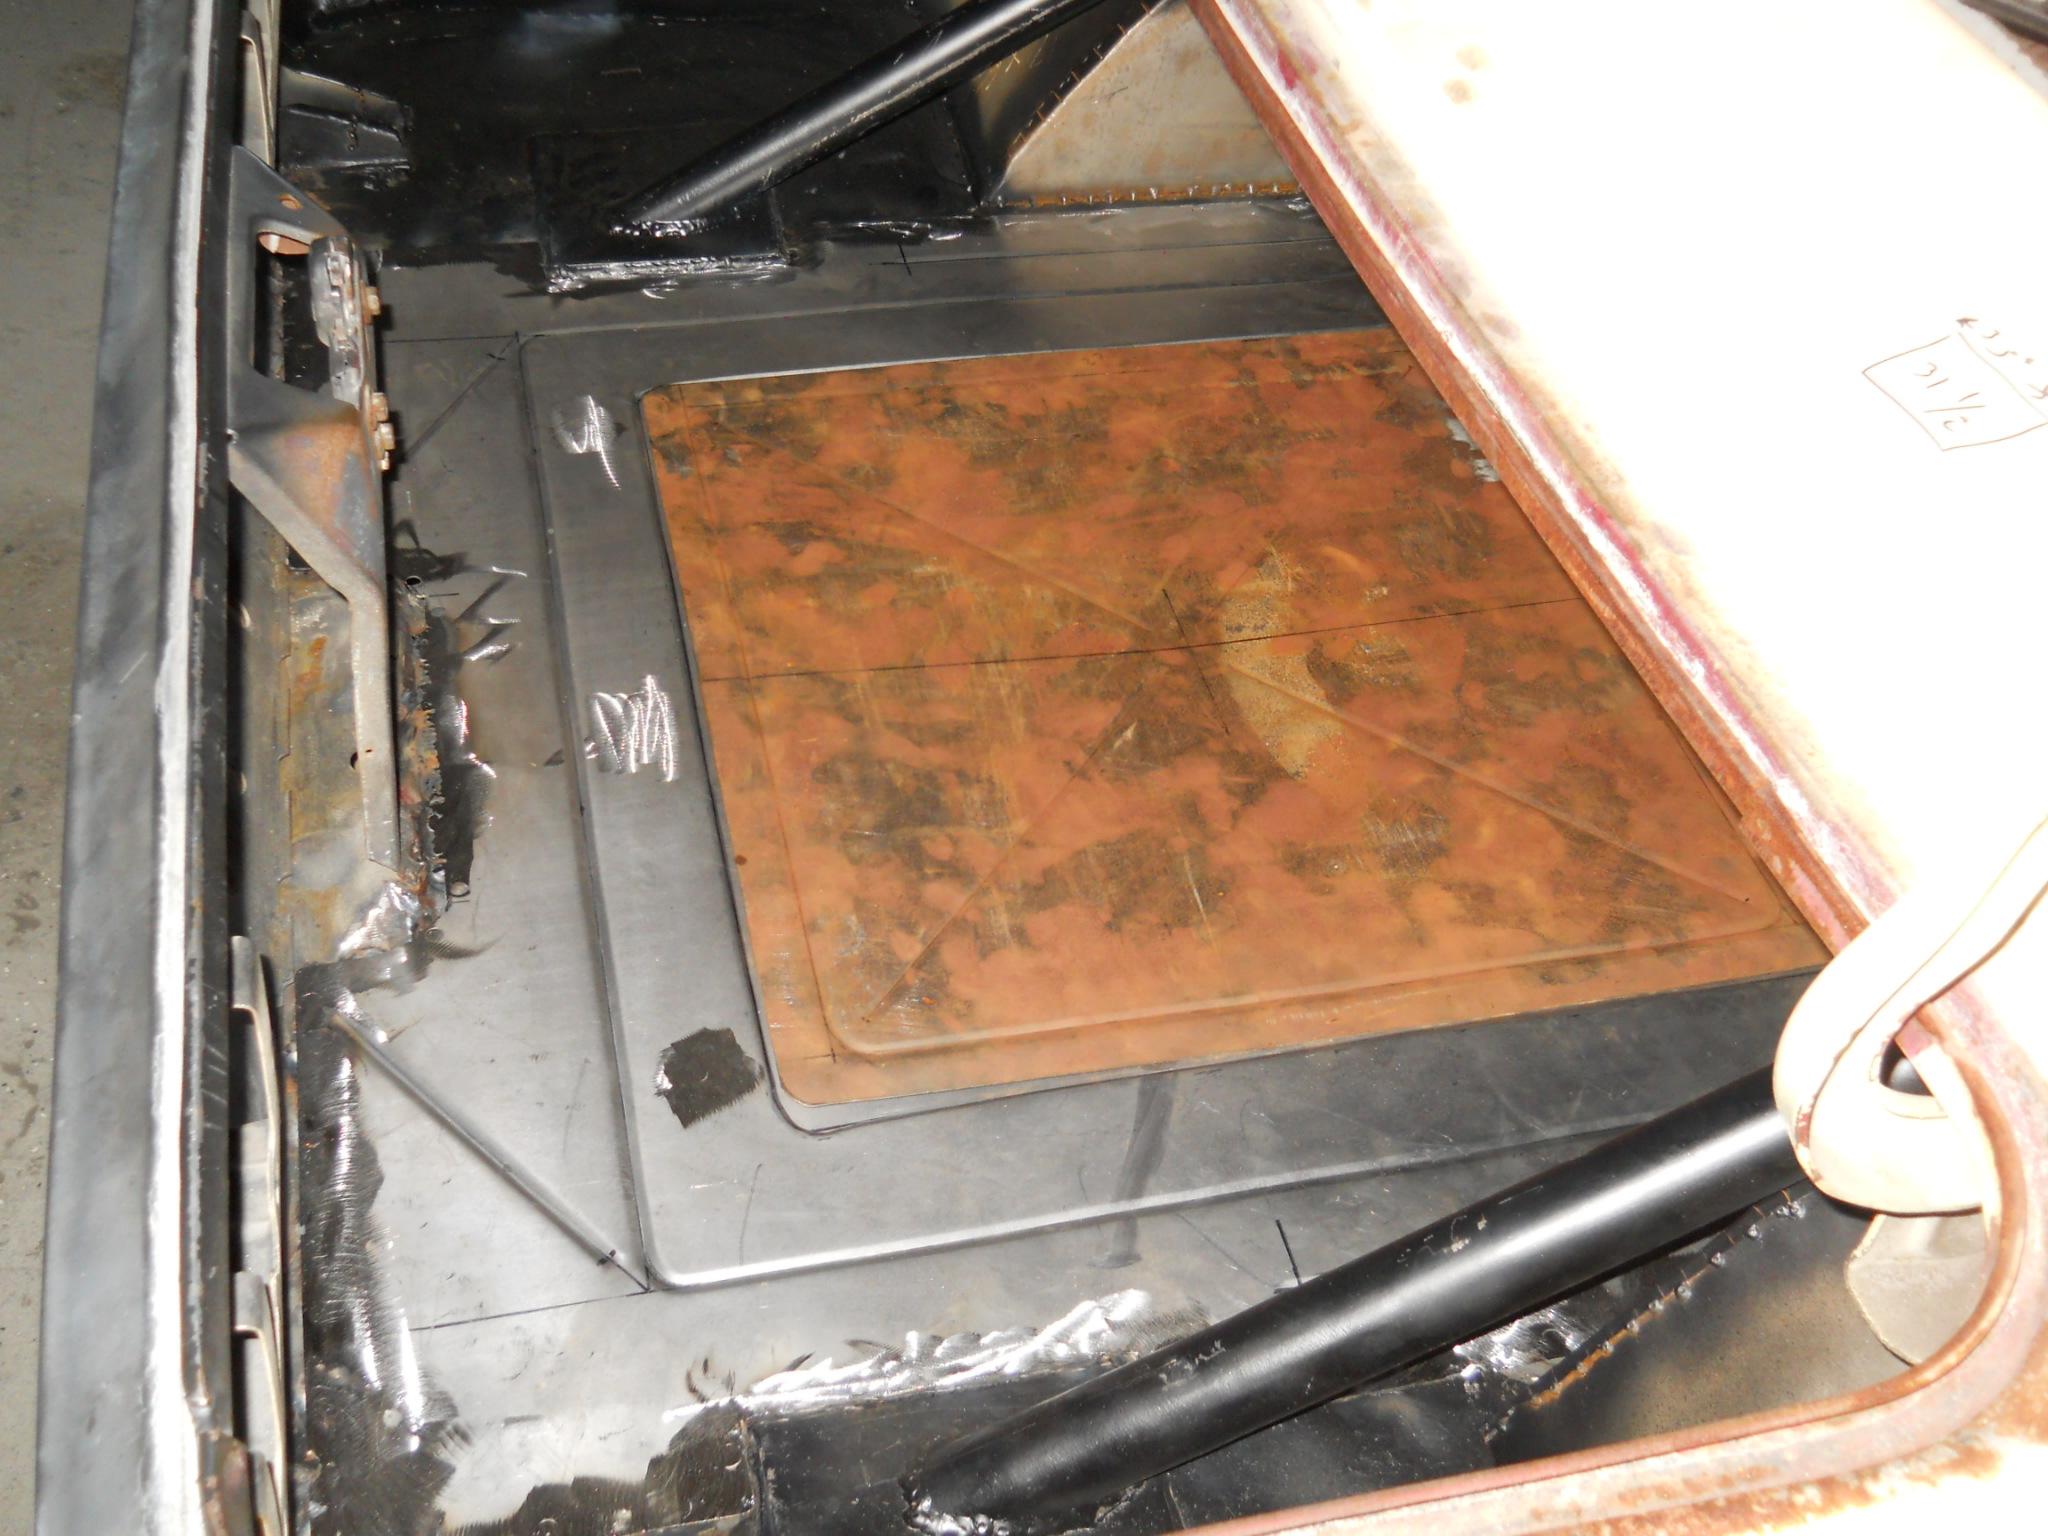
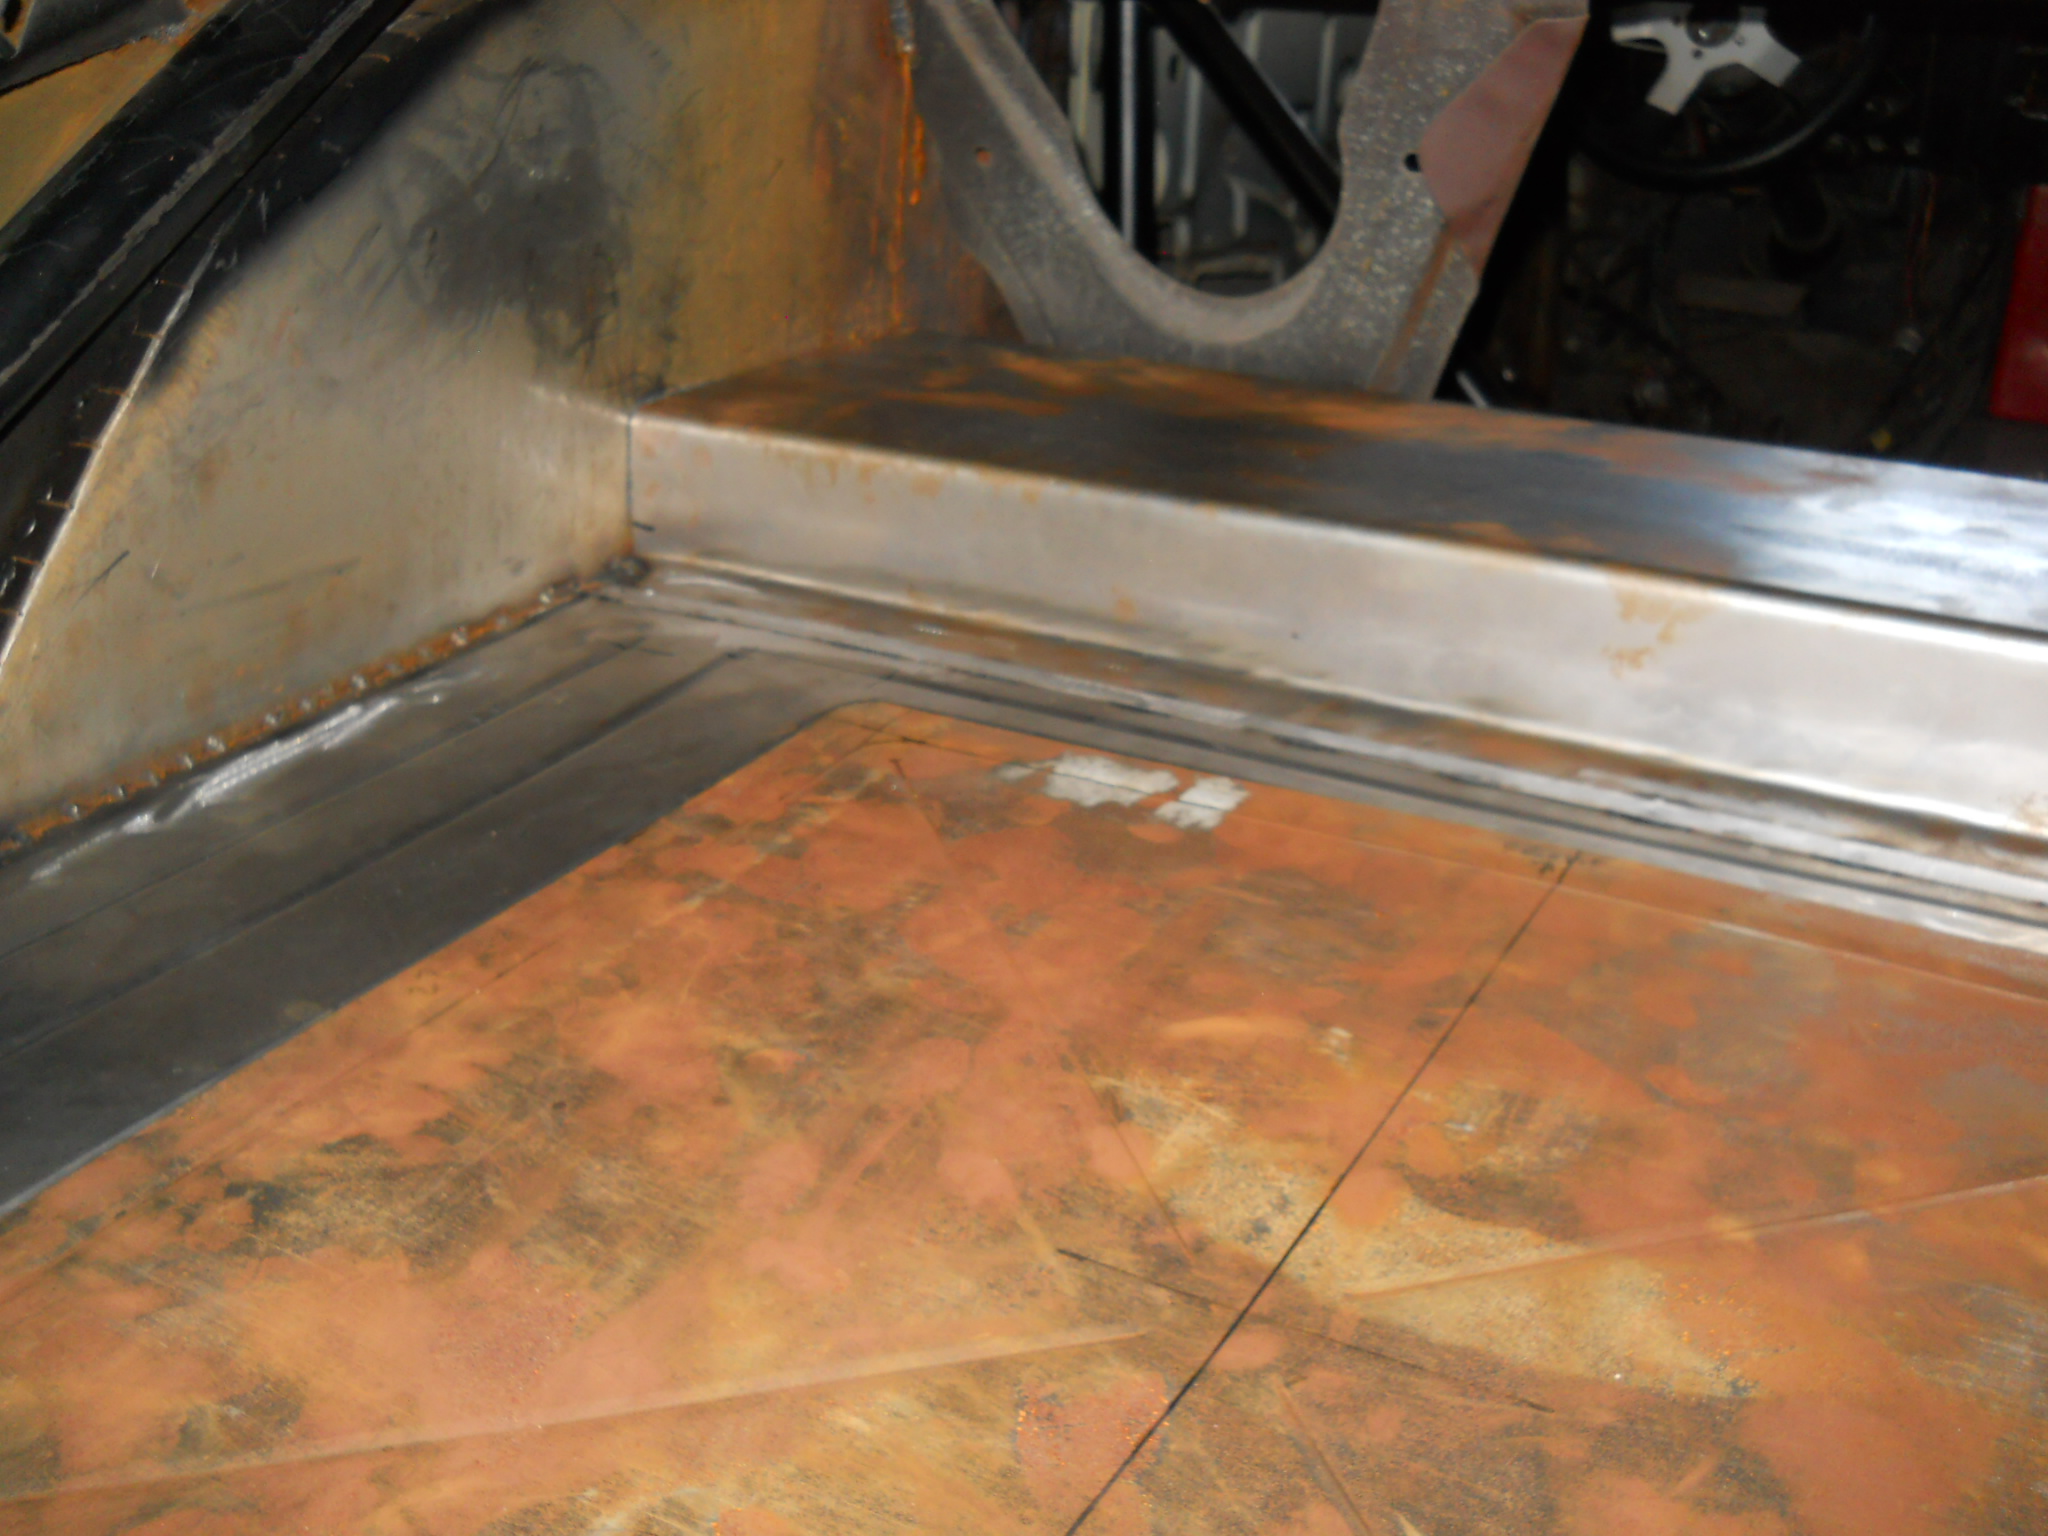
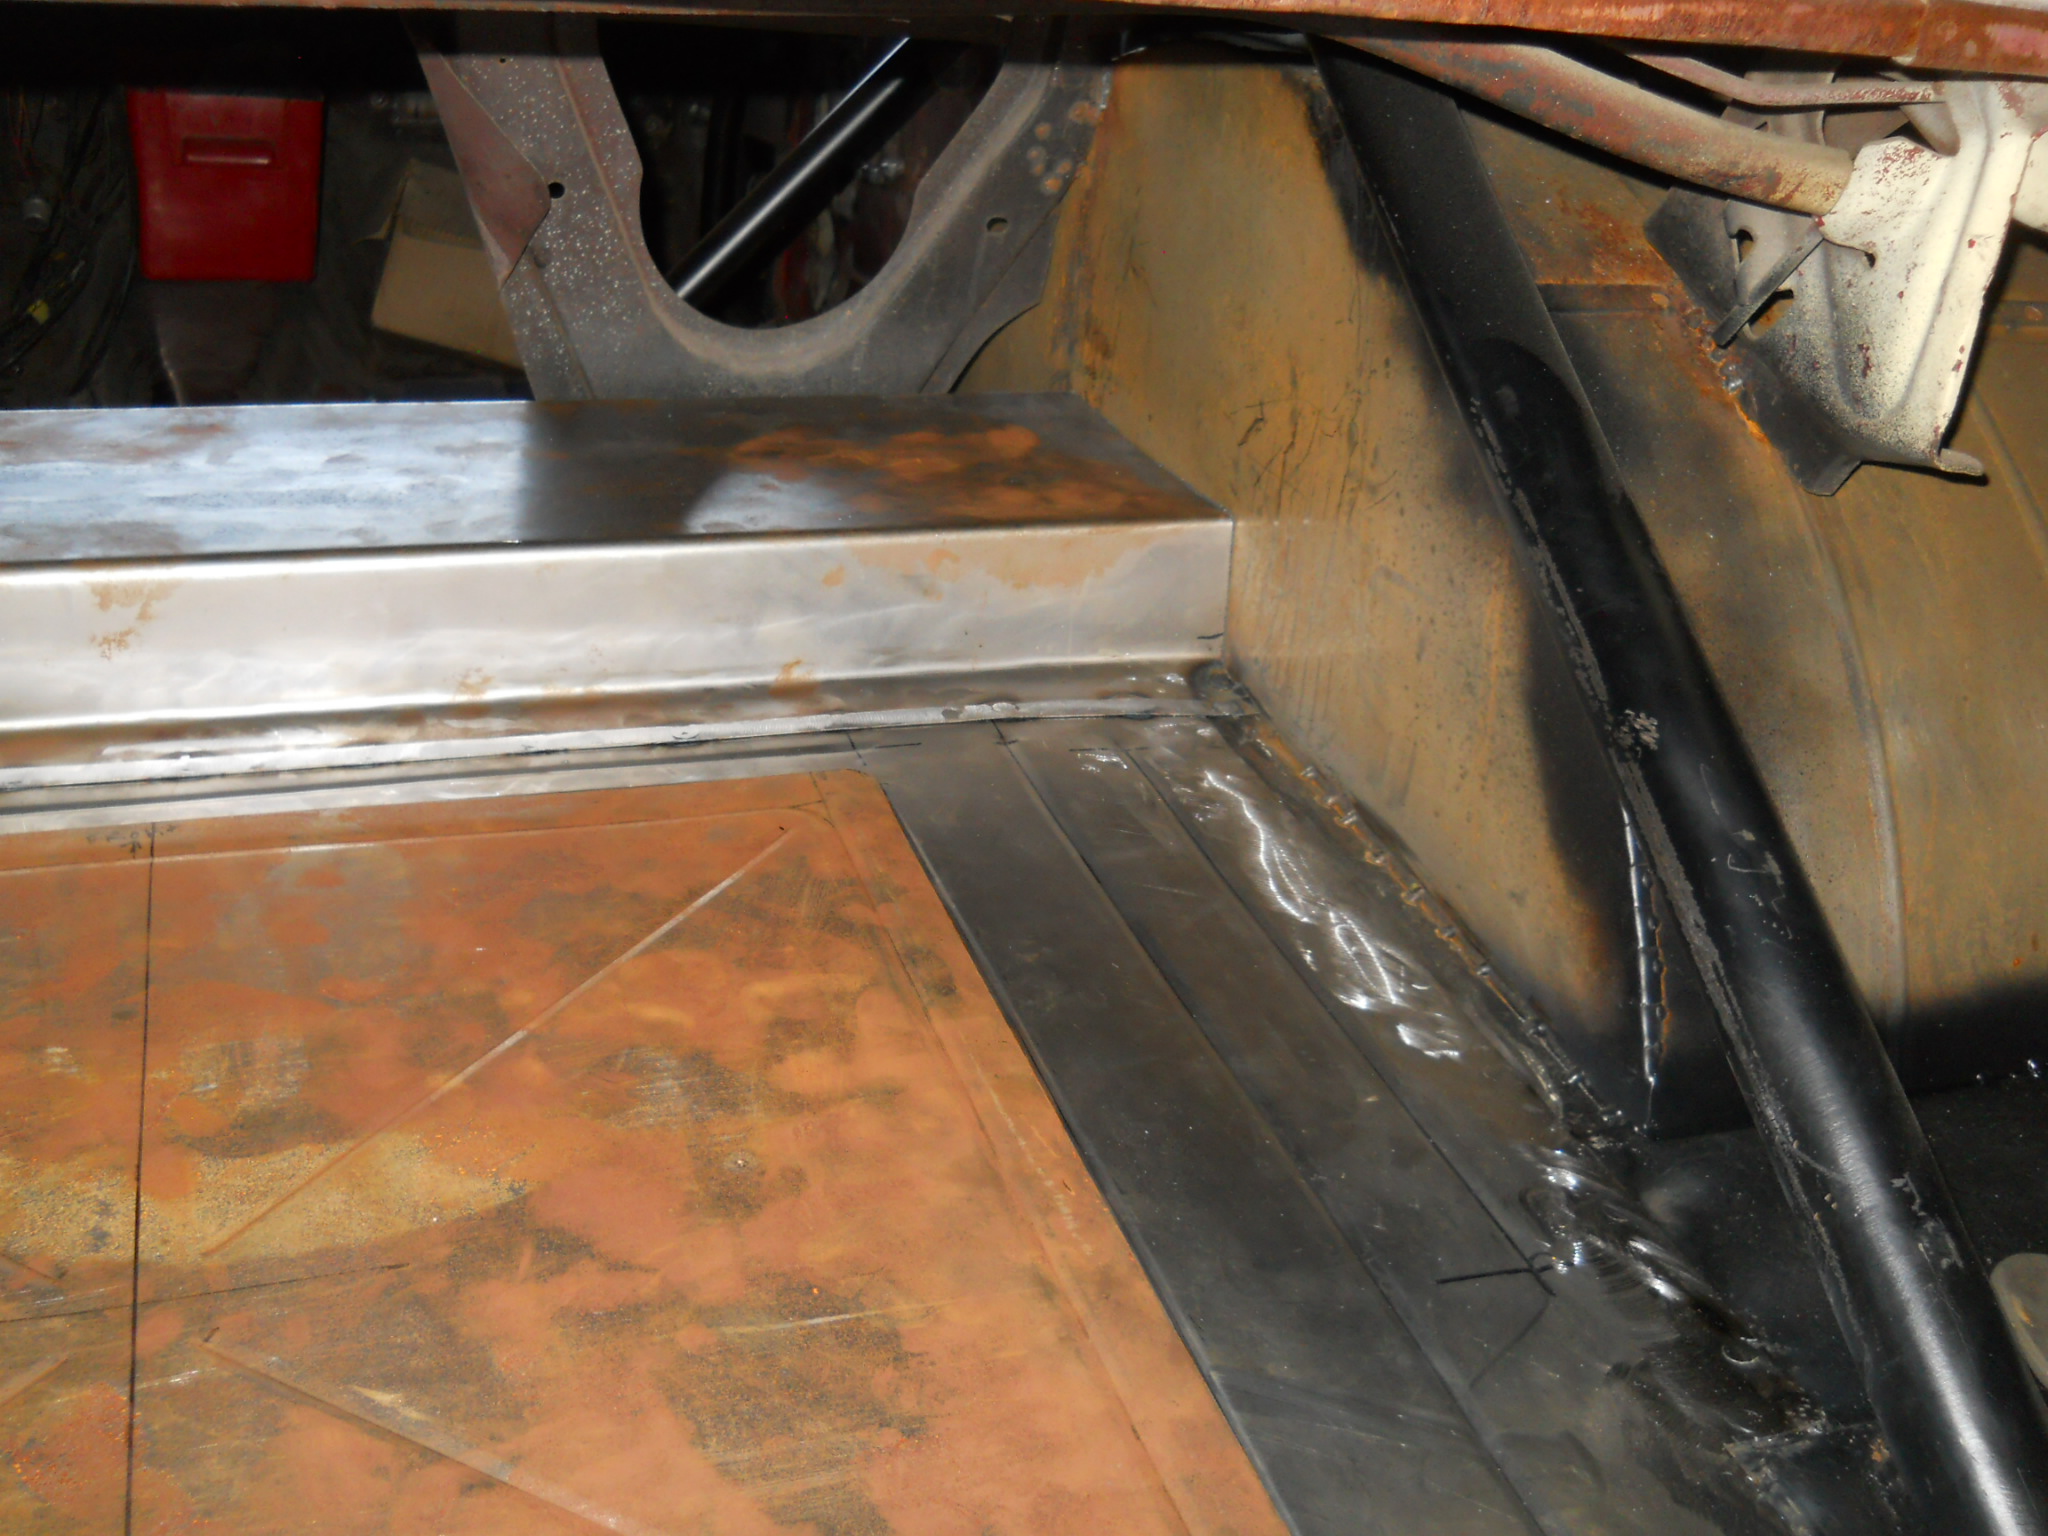
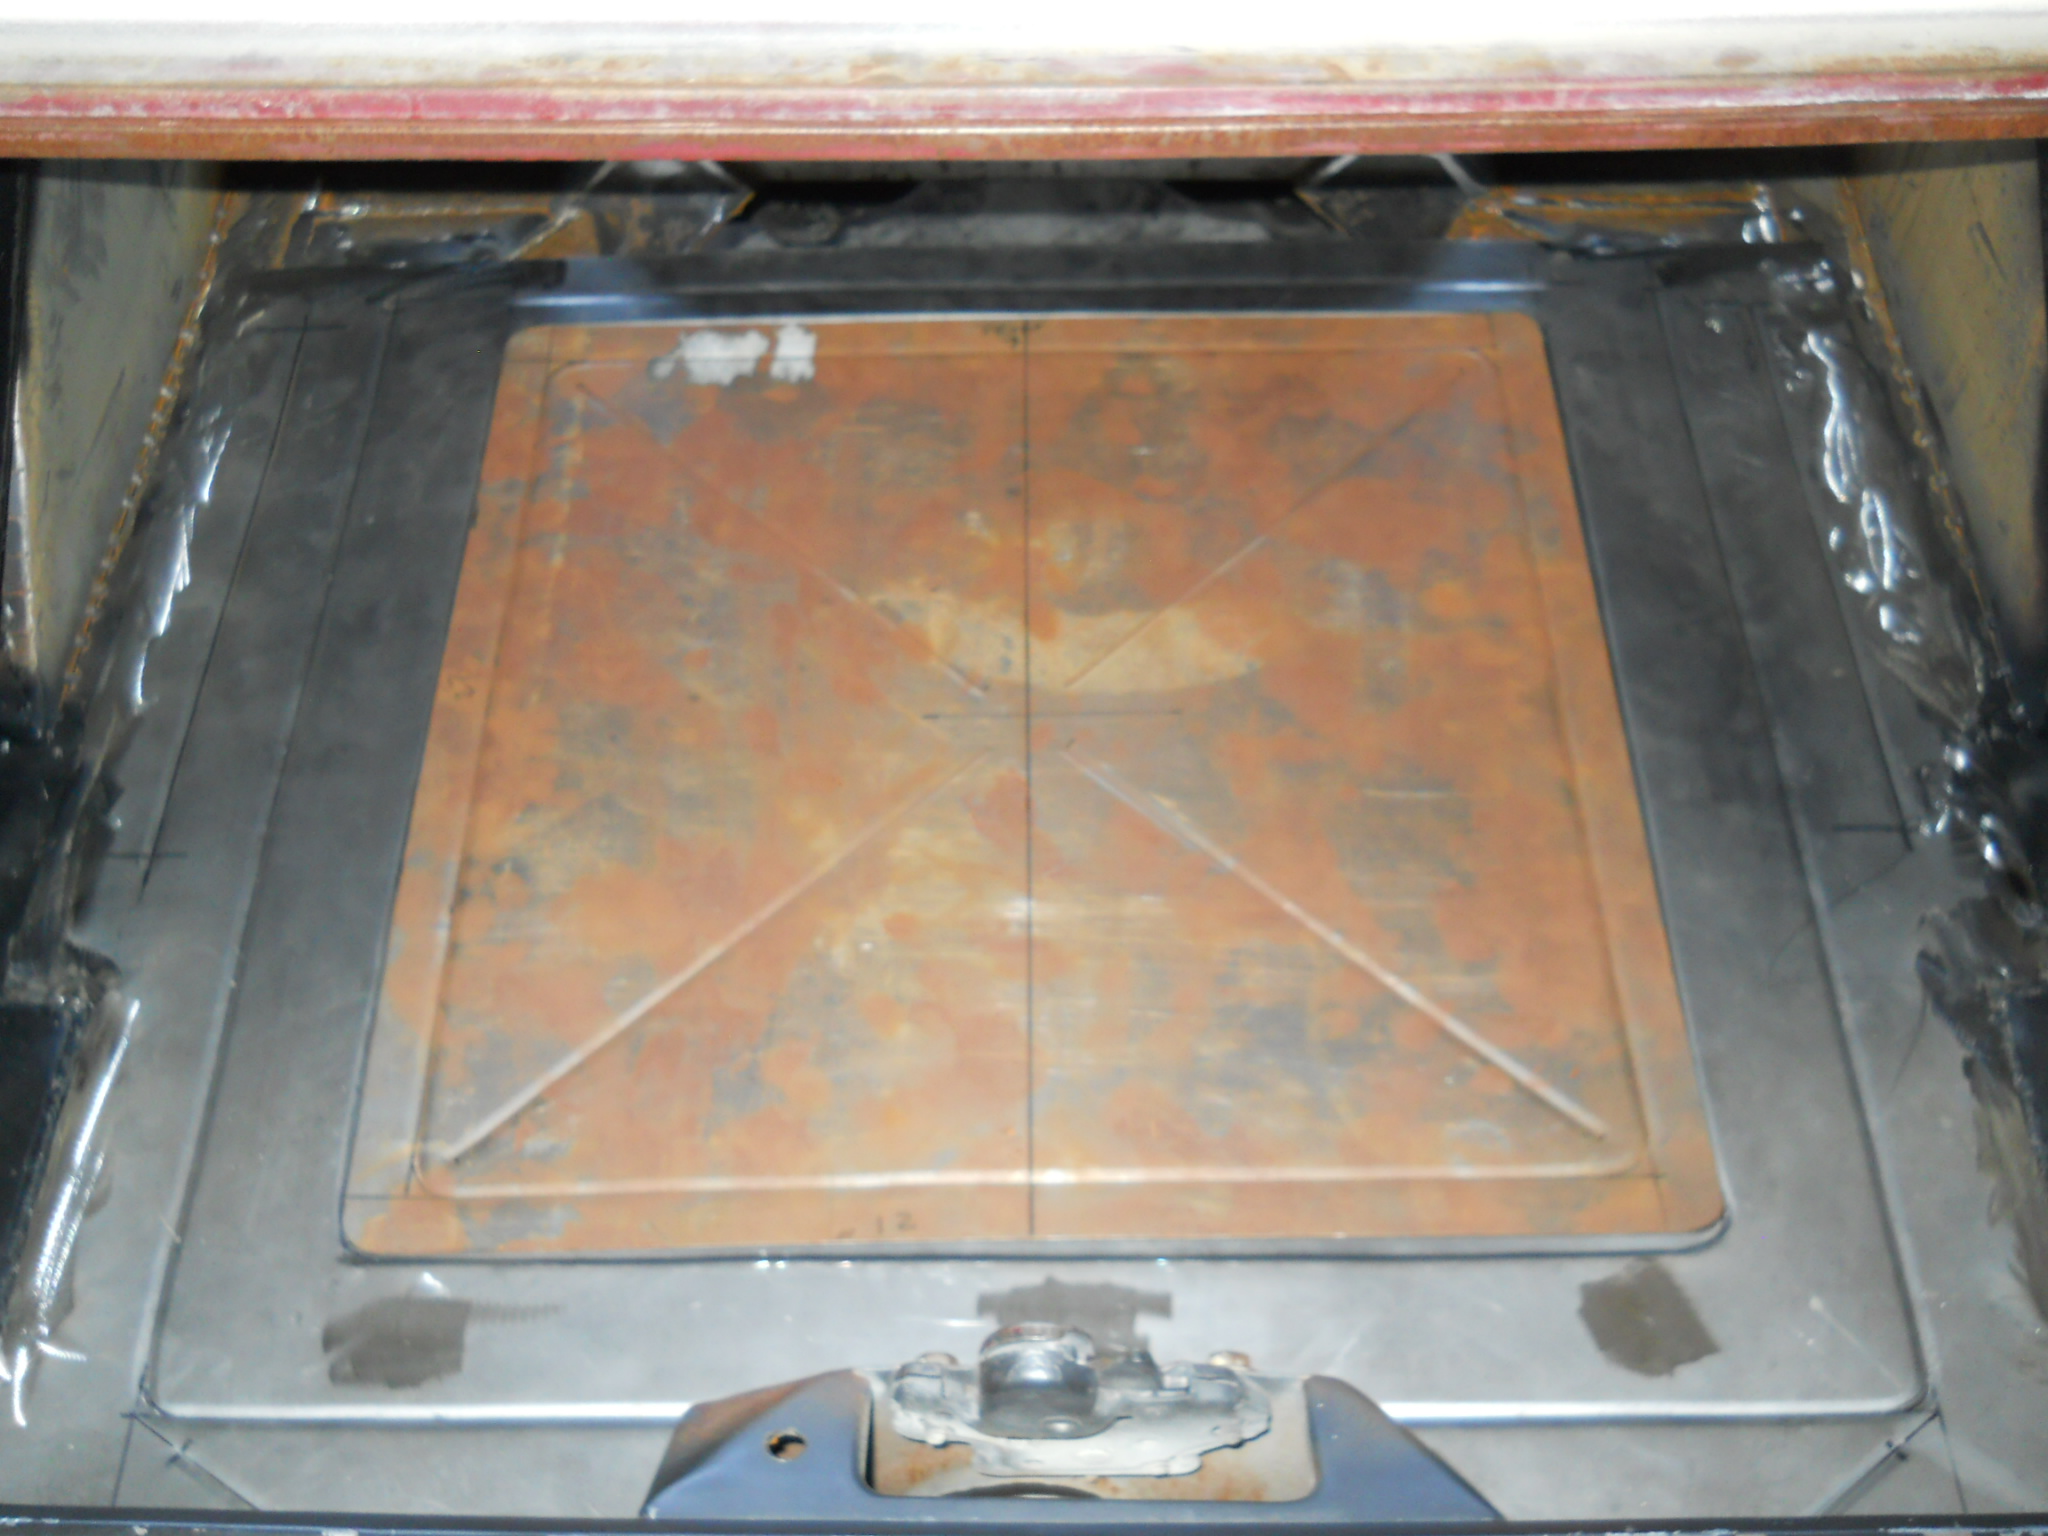
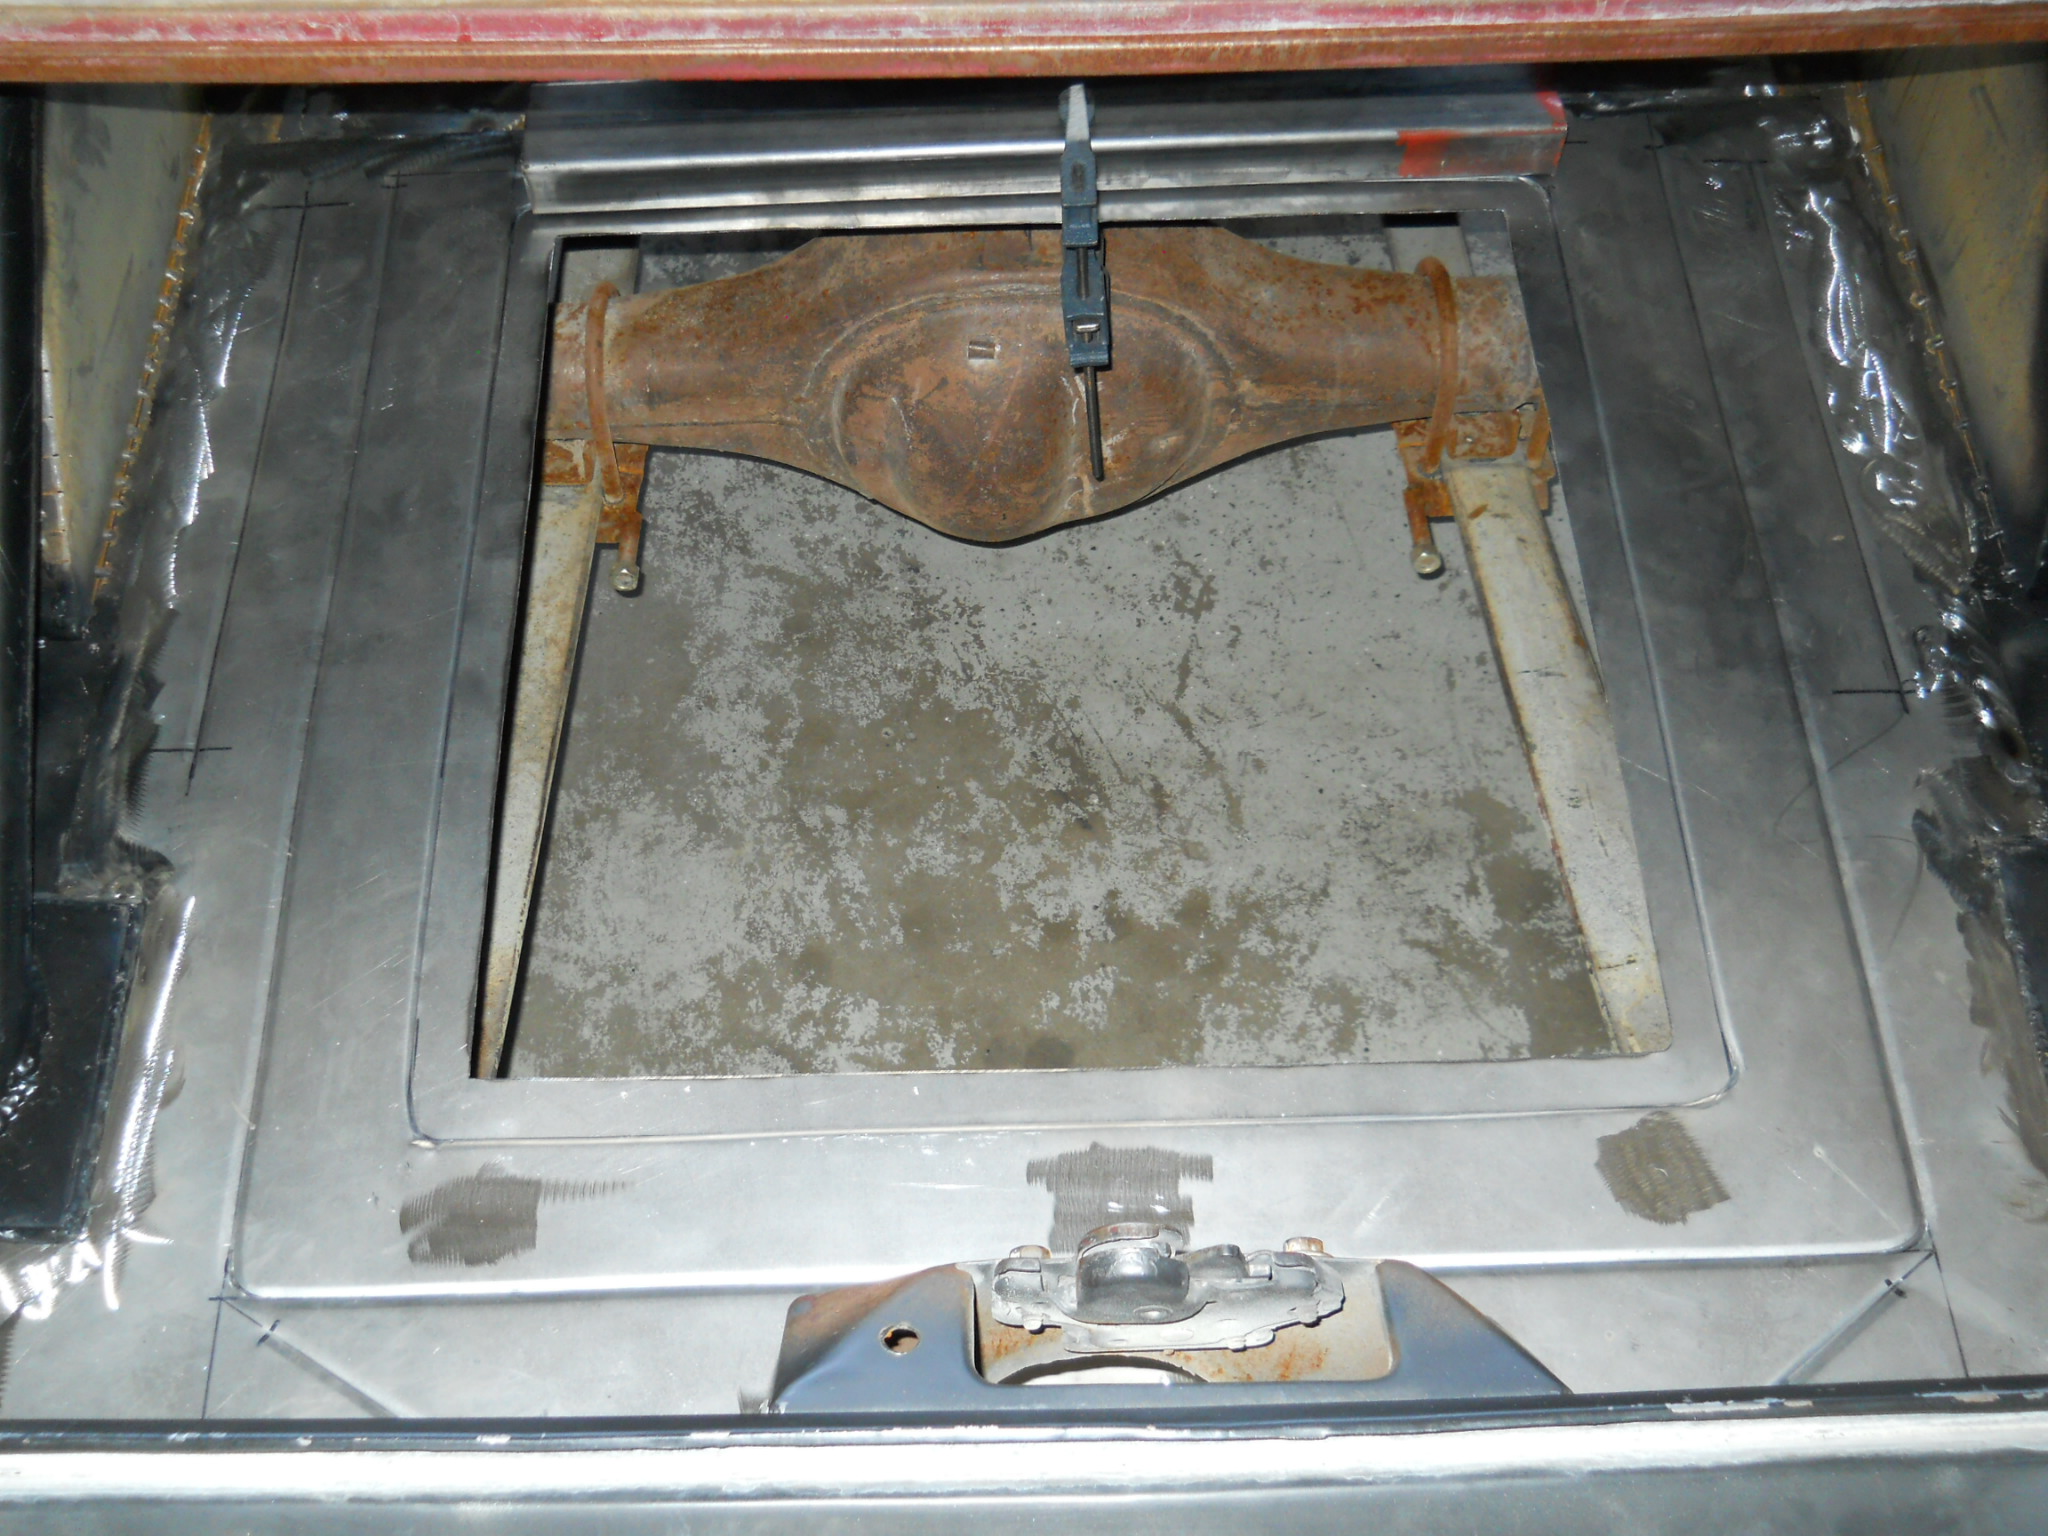
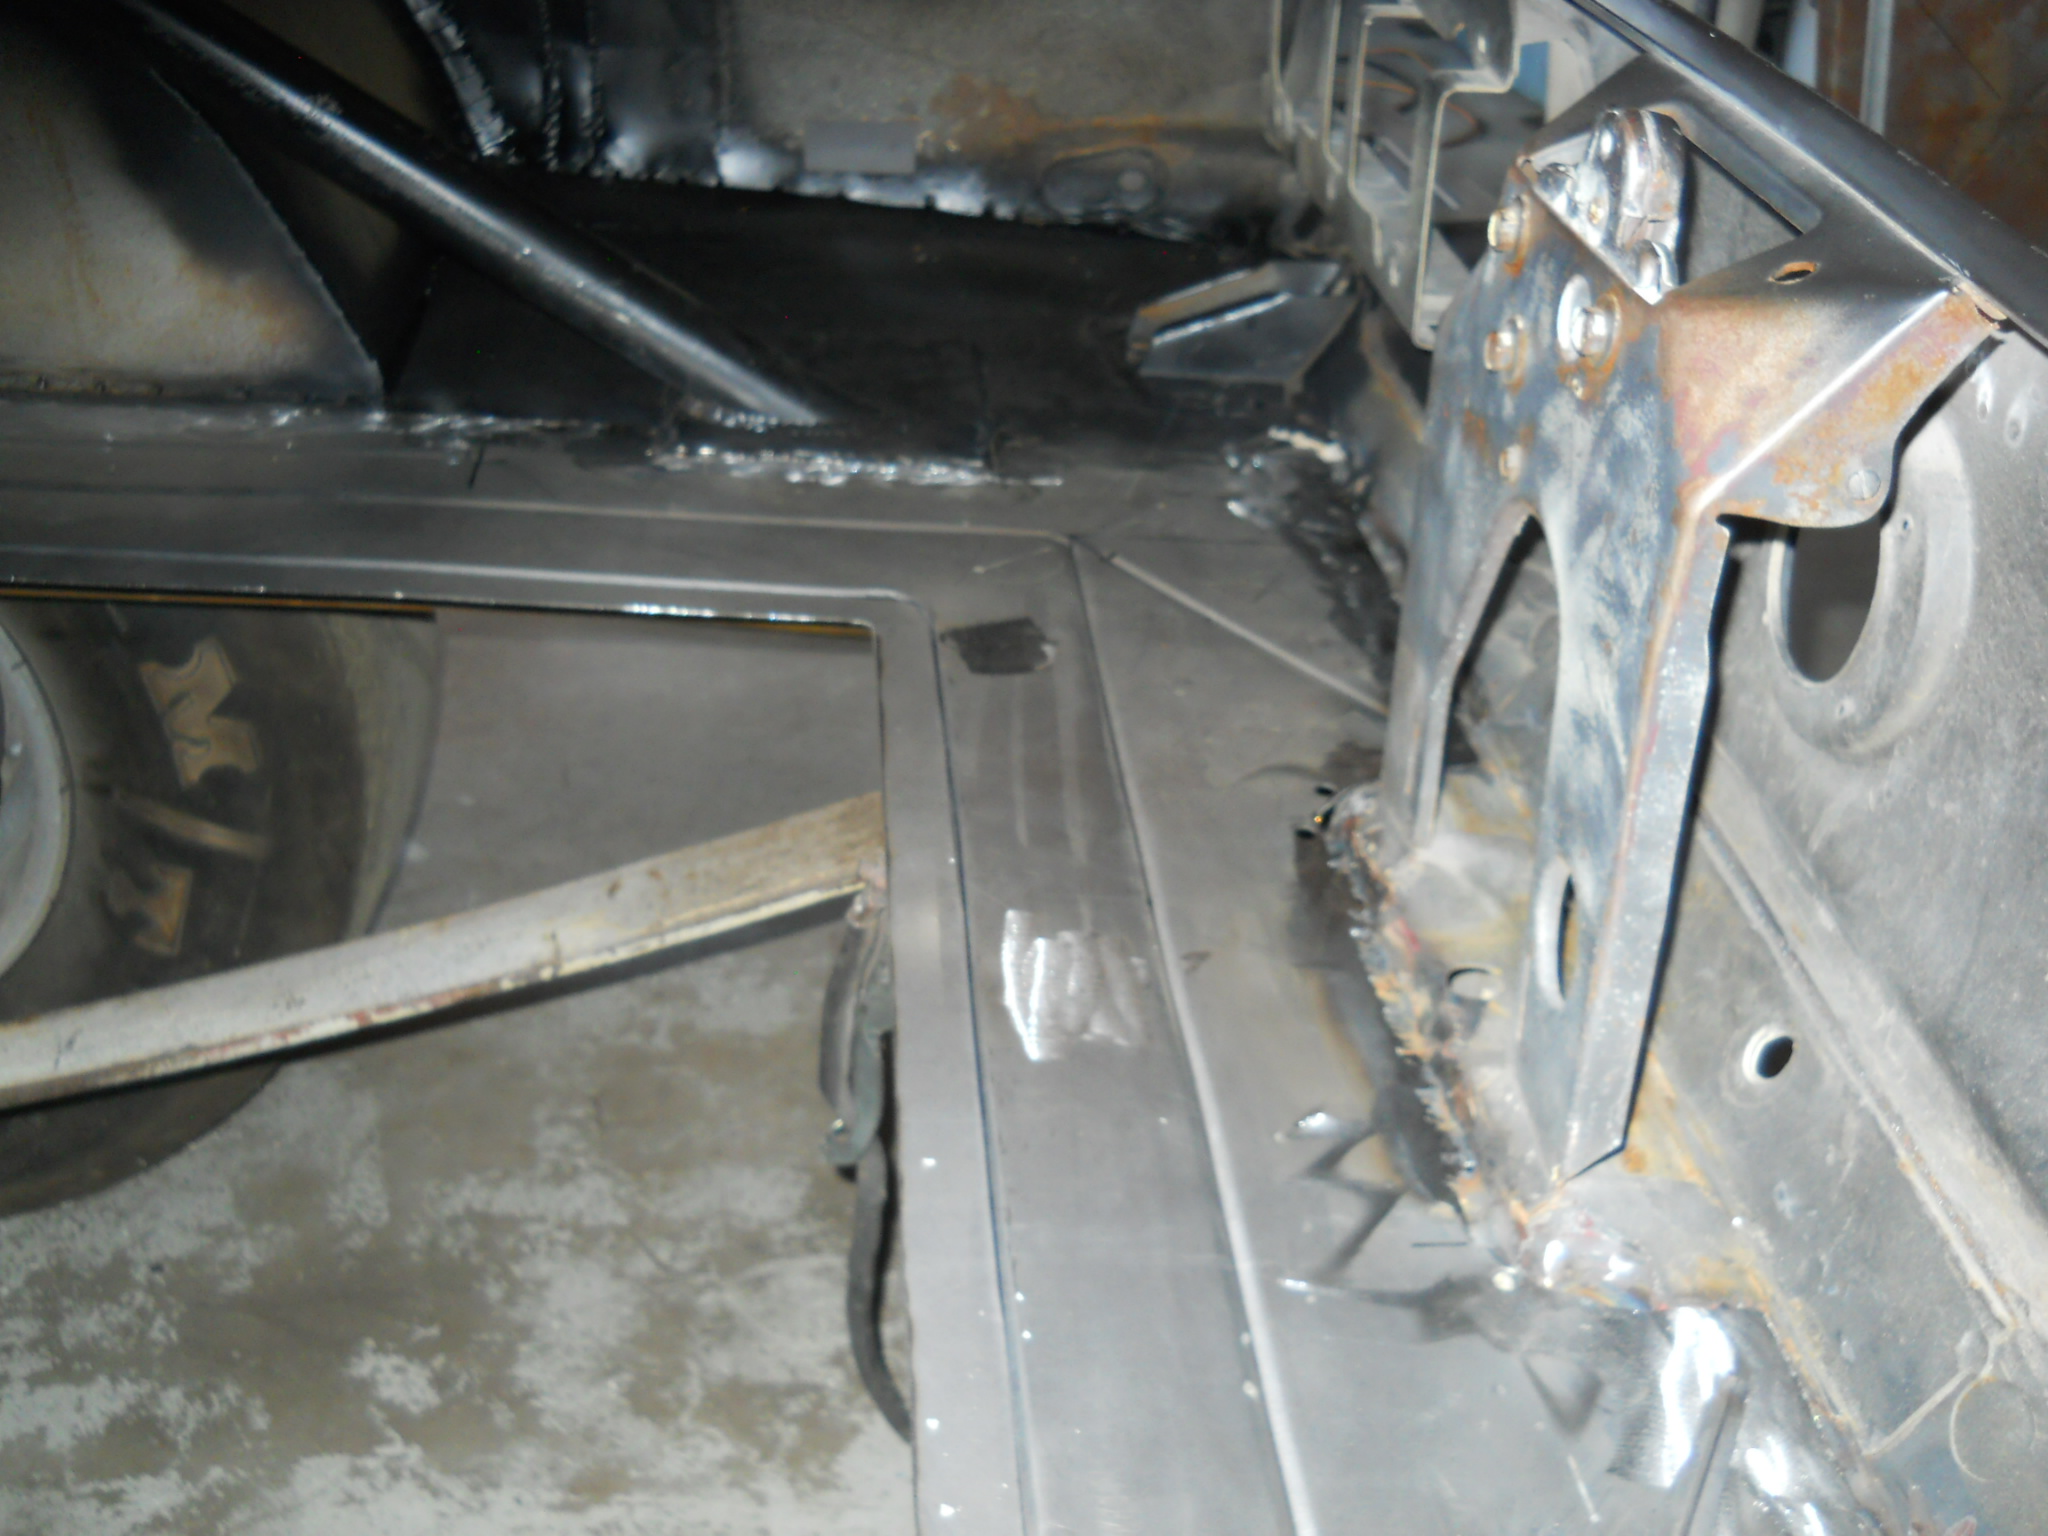
Trunk and Custom Fuel Cell Fabrication
With the quarter panels corrected, we shifted focus to the trunk area. Fabrication included sheet metal finishing and the creation of a custom 15-gallon fuel cell. The pump sits inside the tank, with all lines routed out the top for clean packaging. For easy maintenance, we built an access panel into the trunk floor, allowing service of the pump and lines without tank removal. Though final welding remains, the fuel cell has been mocked up and fitted securely.
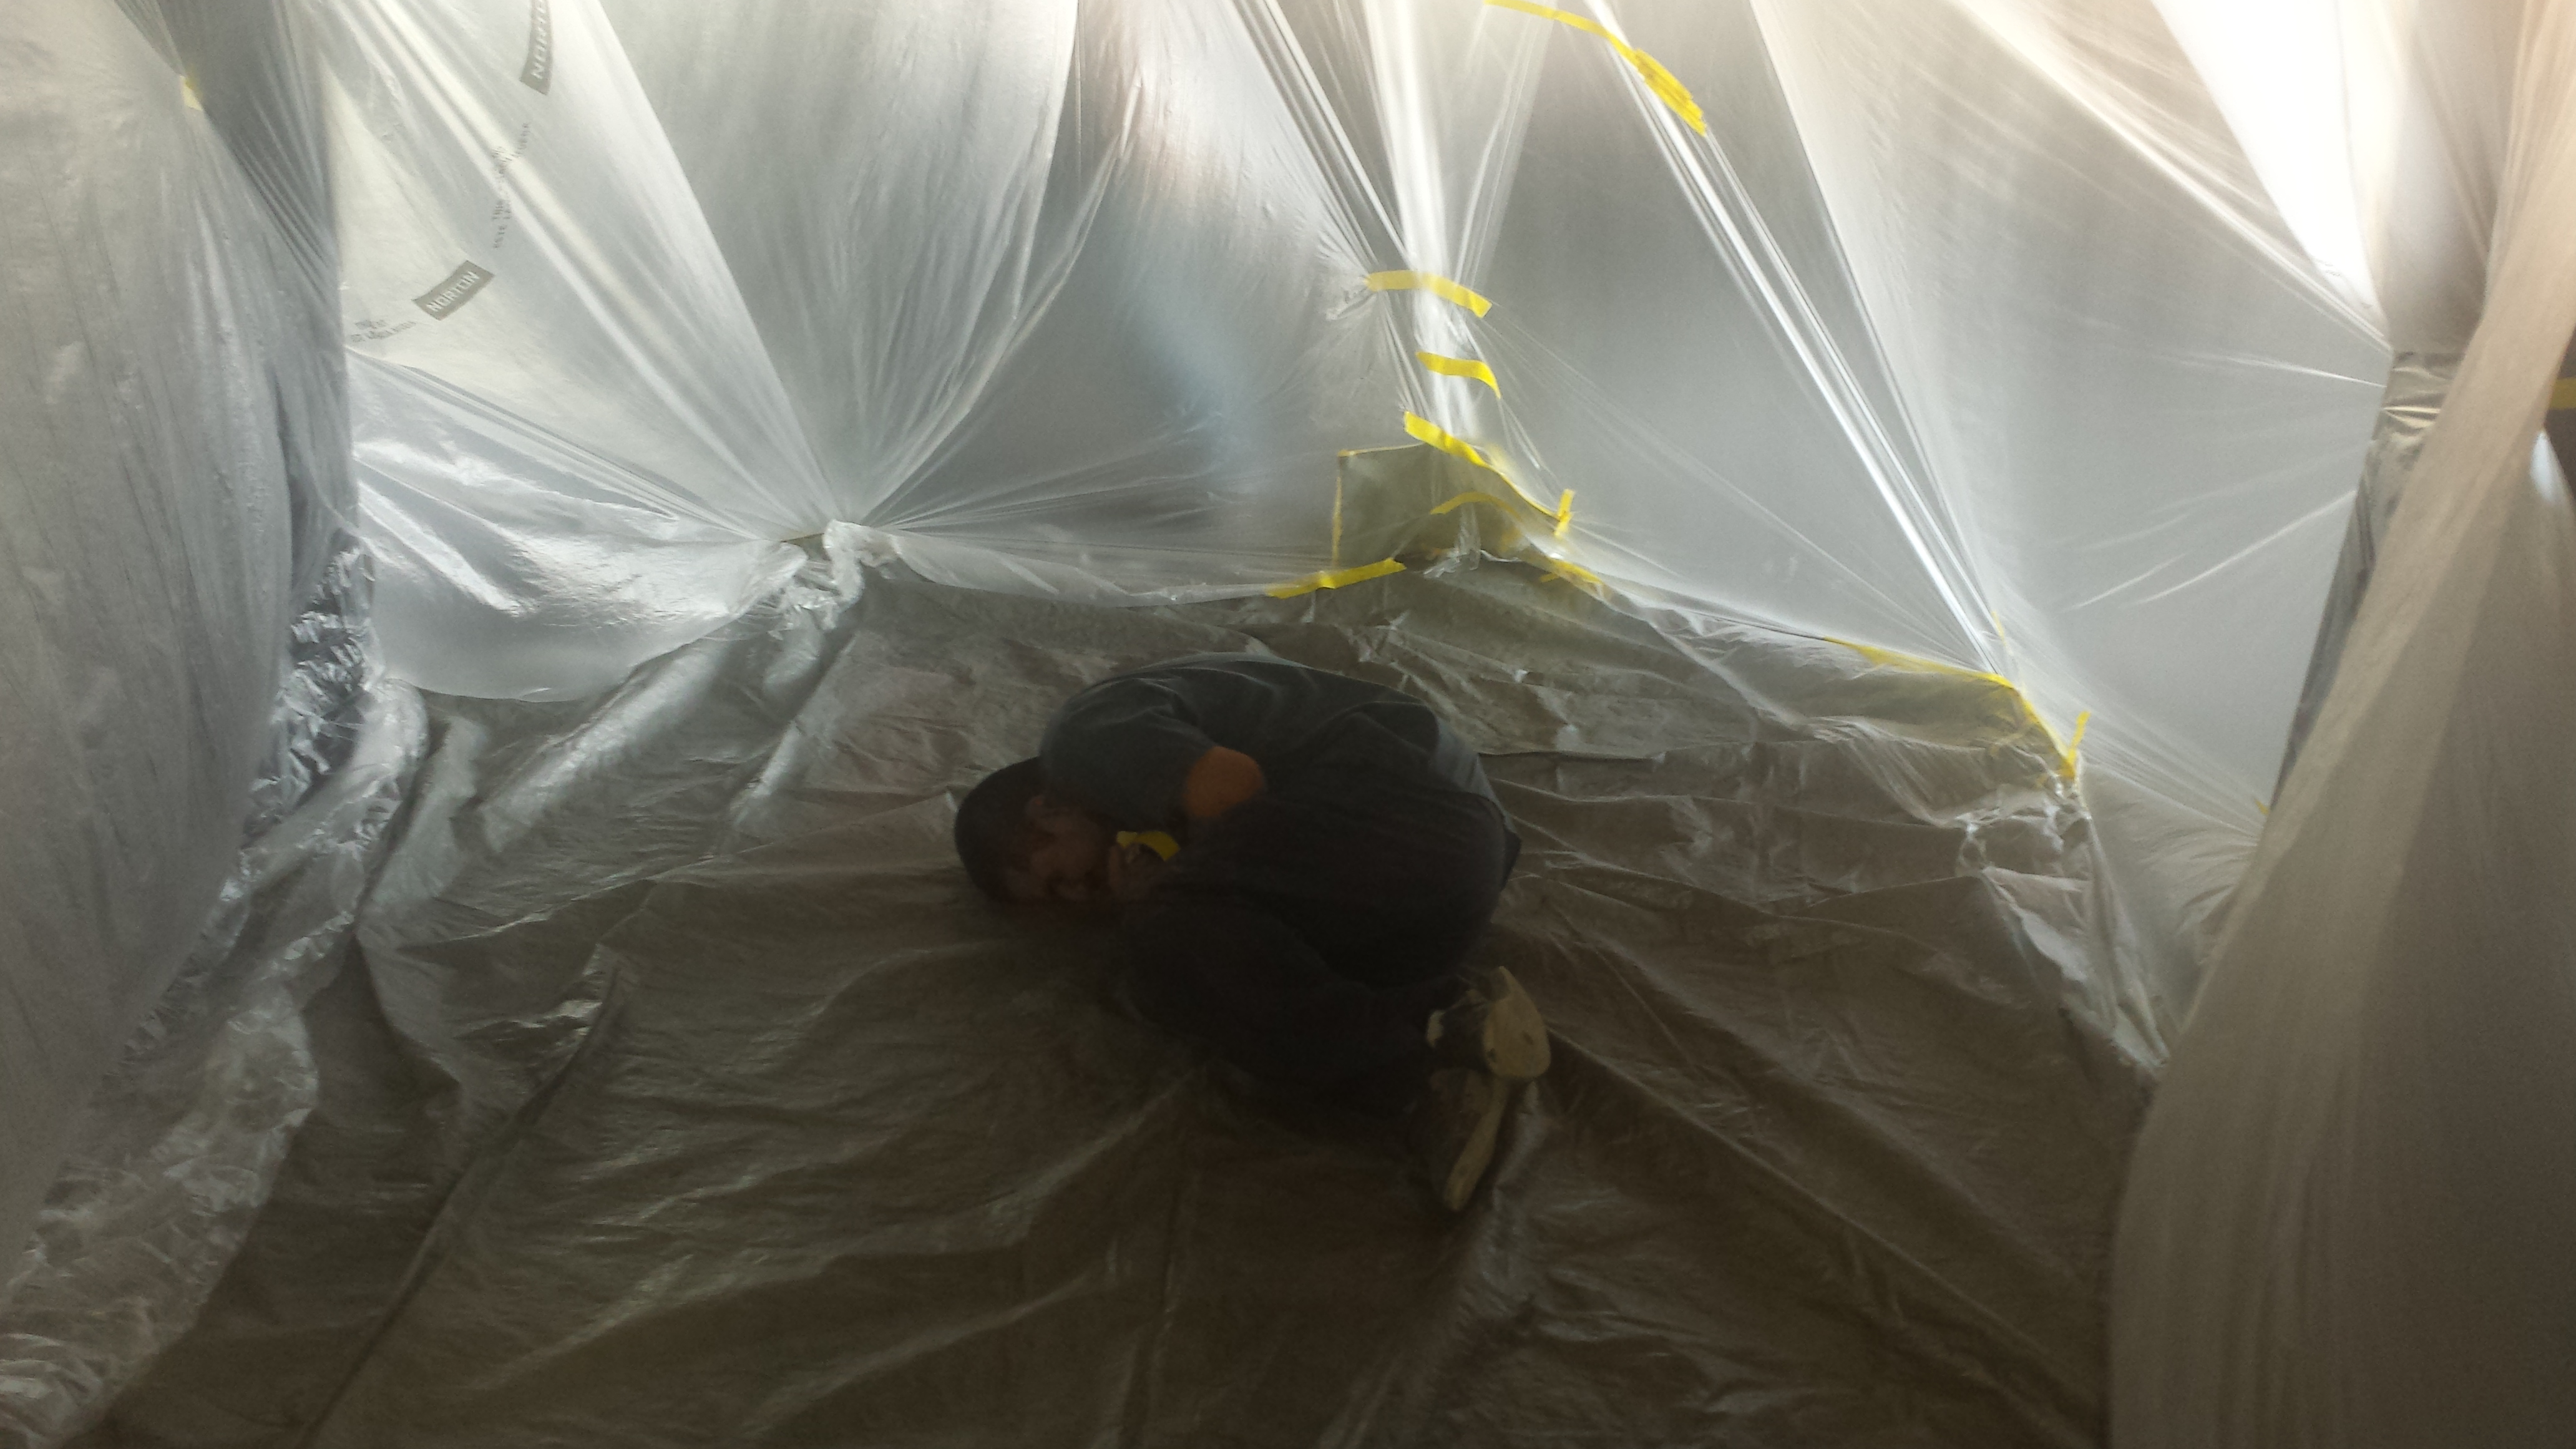
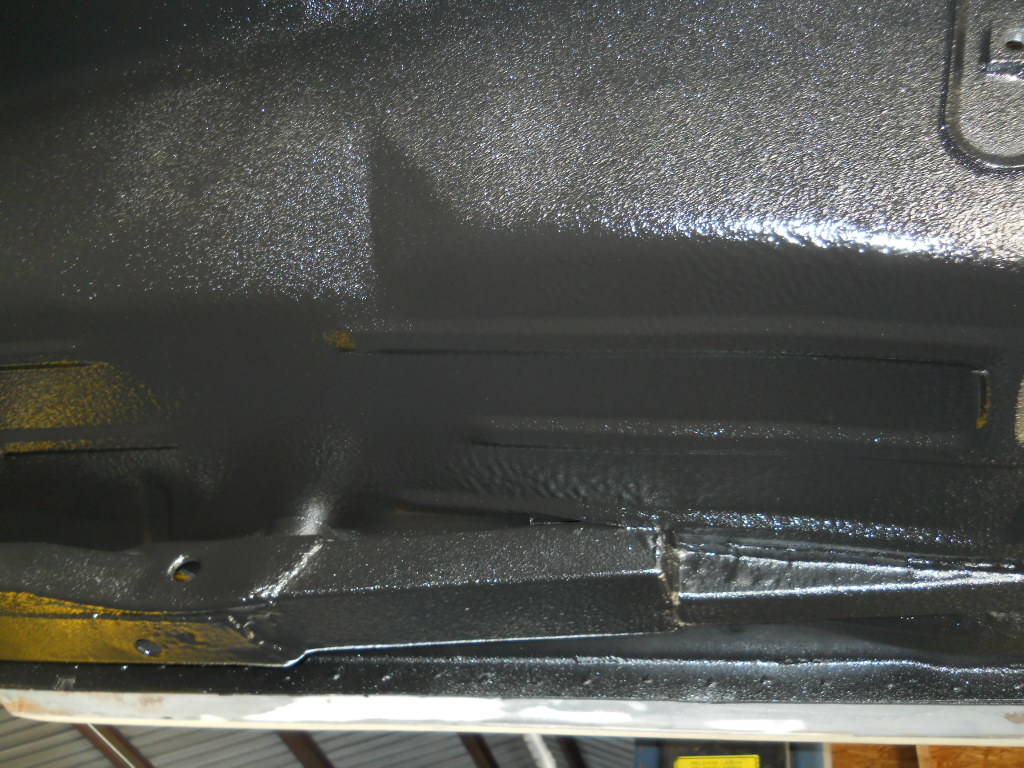
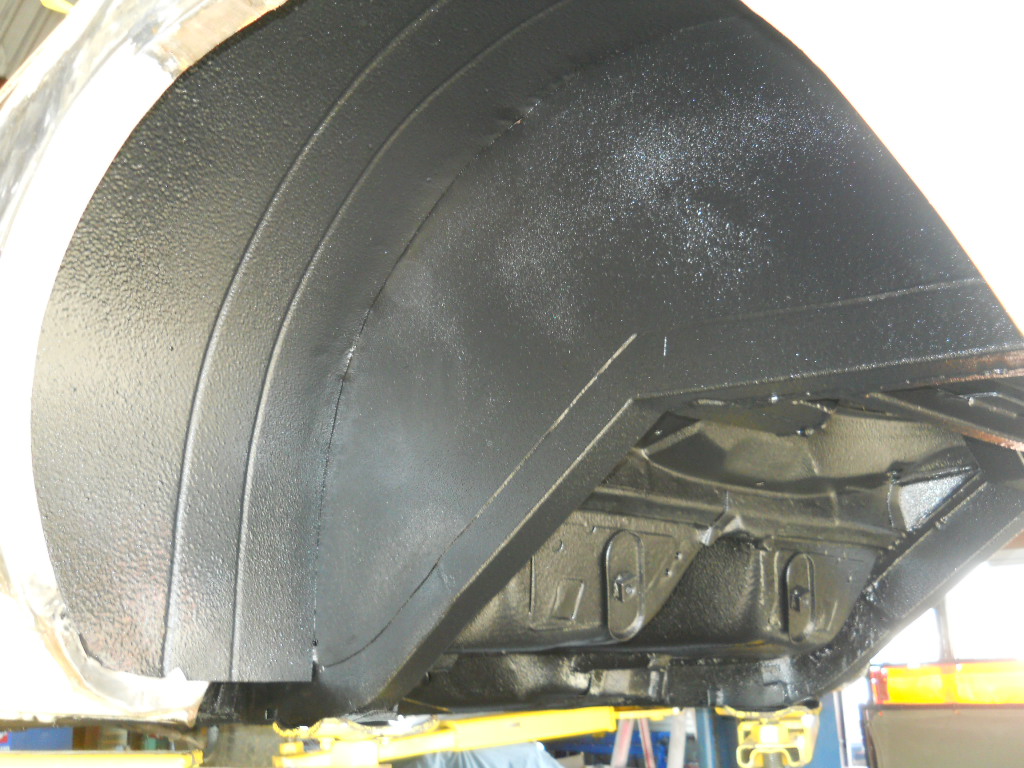
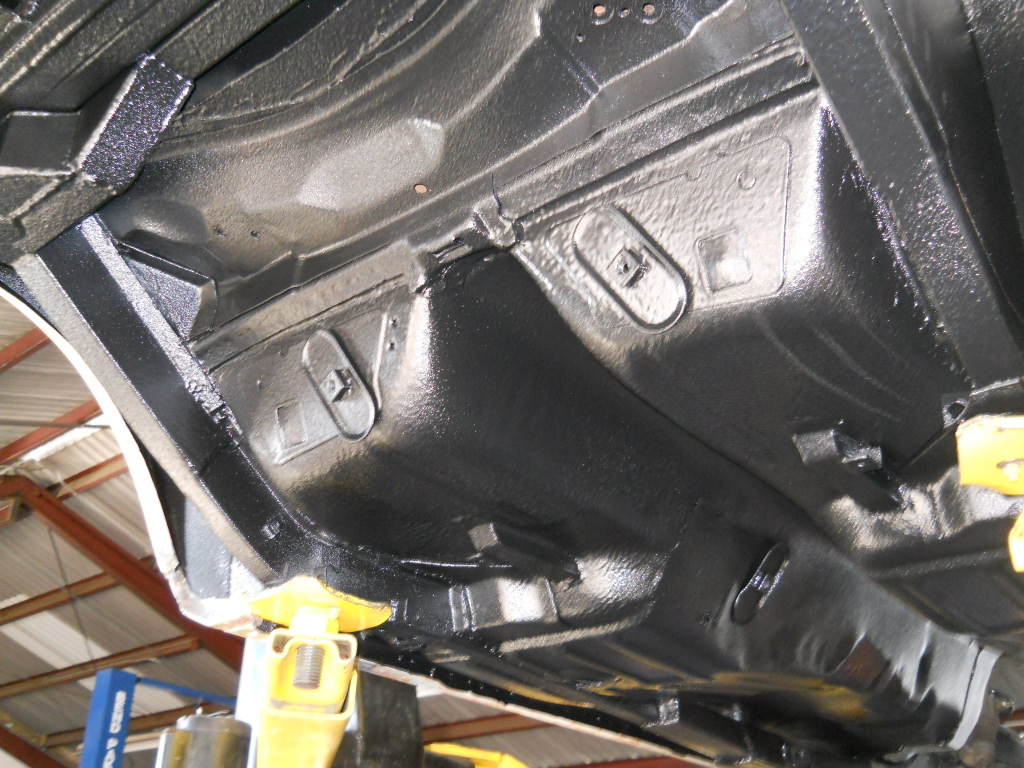
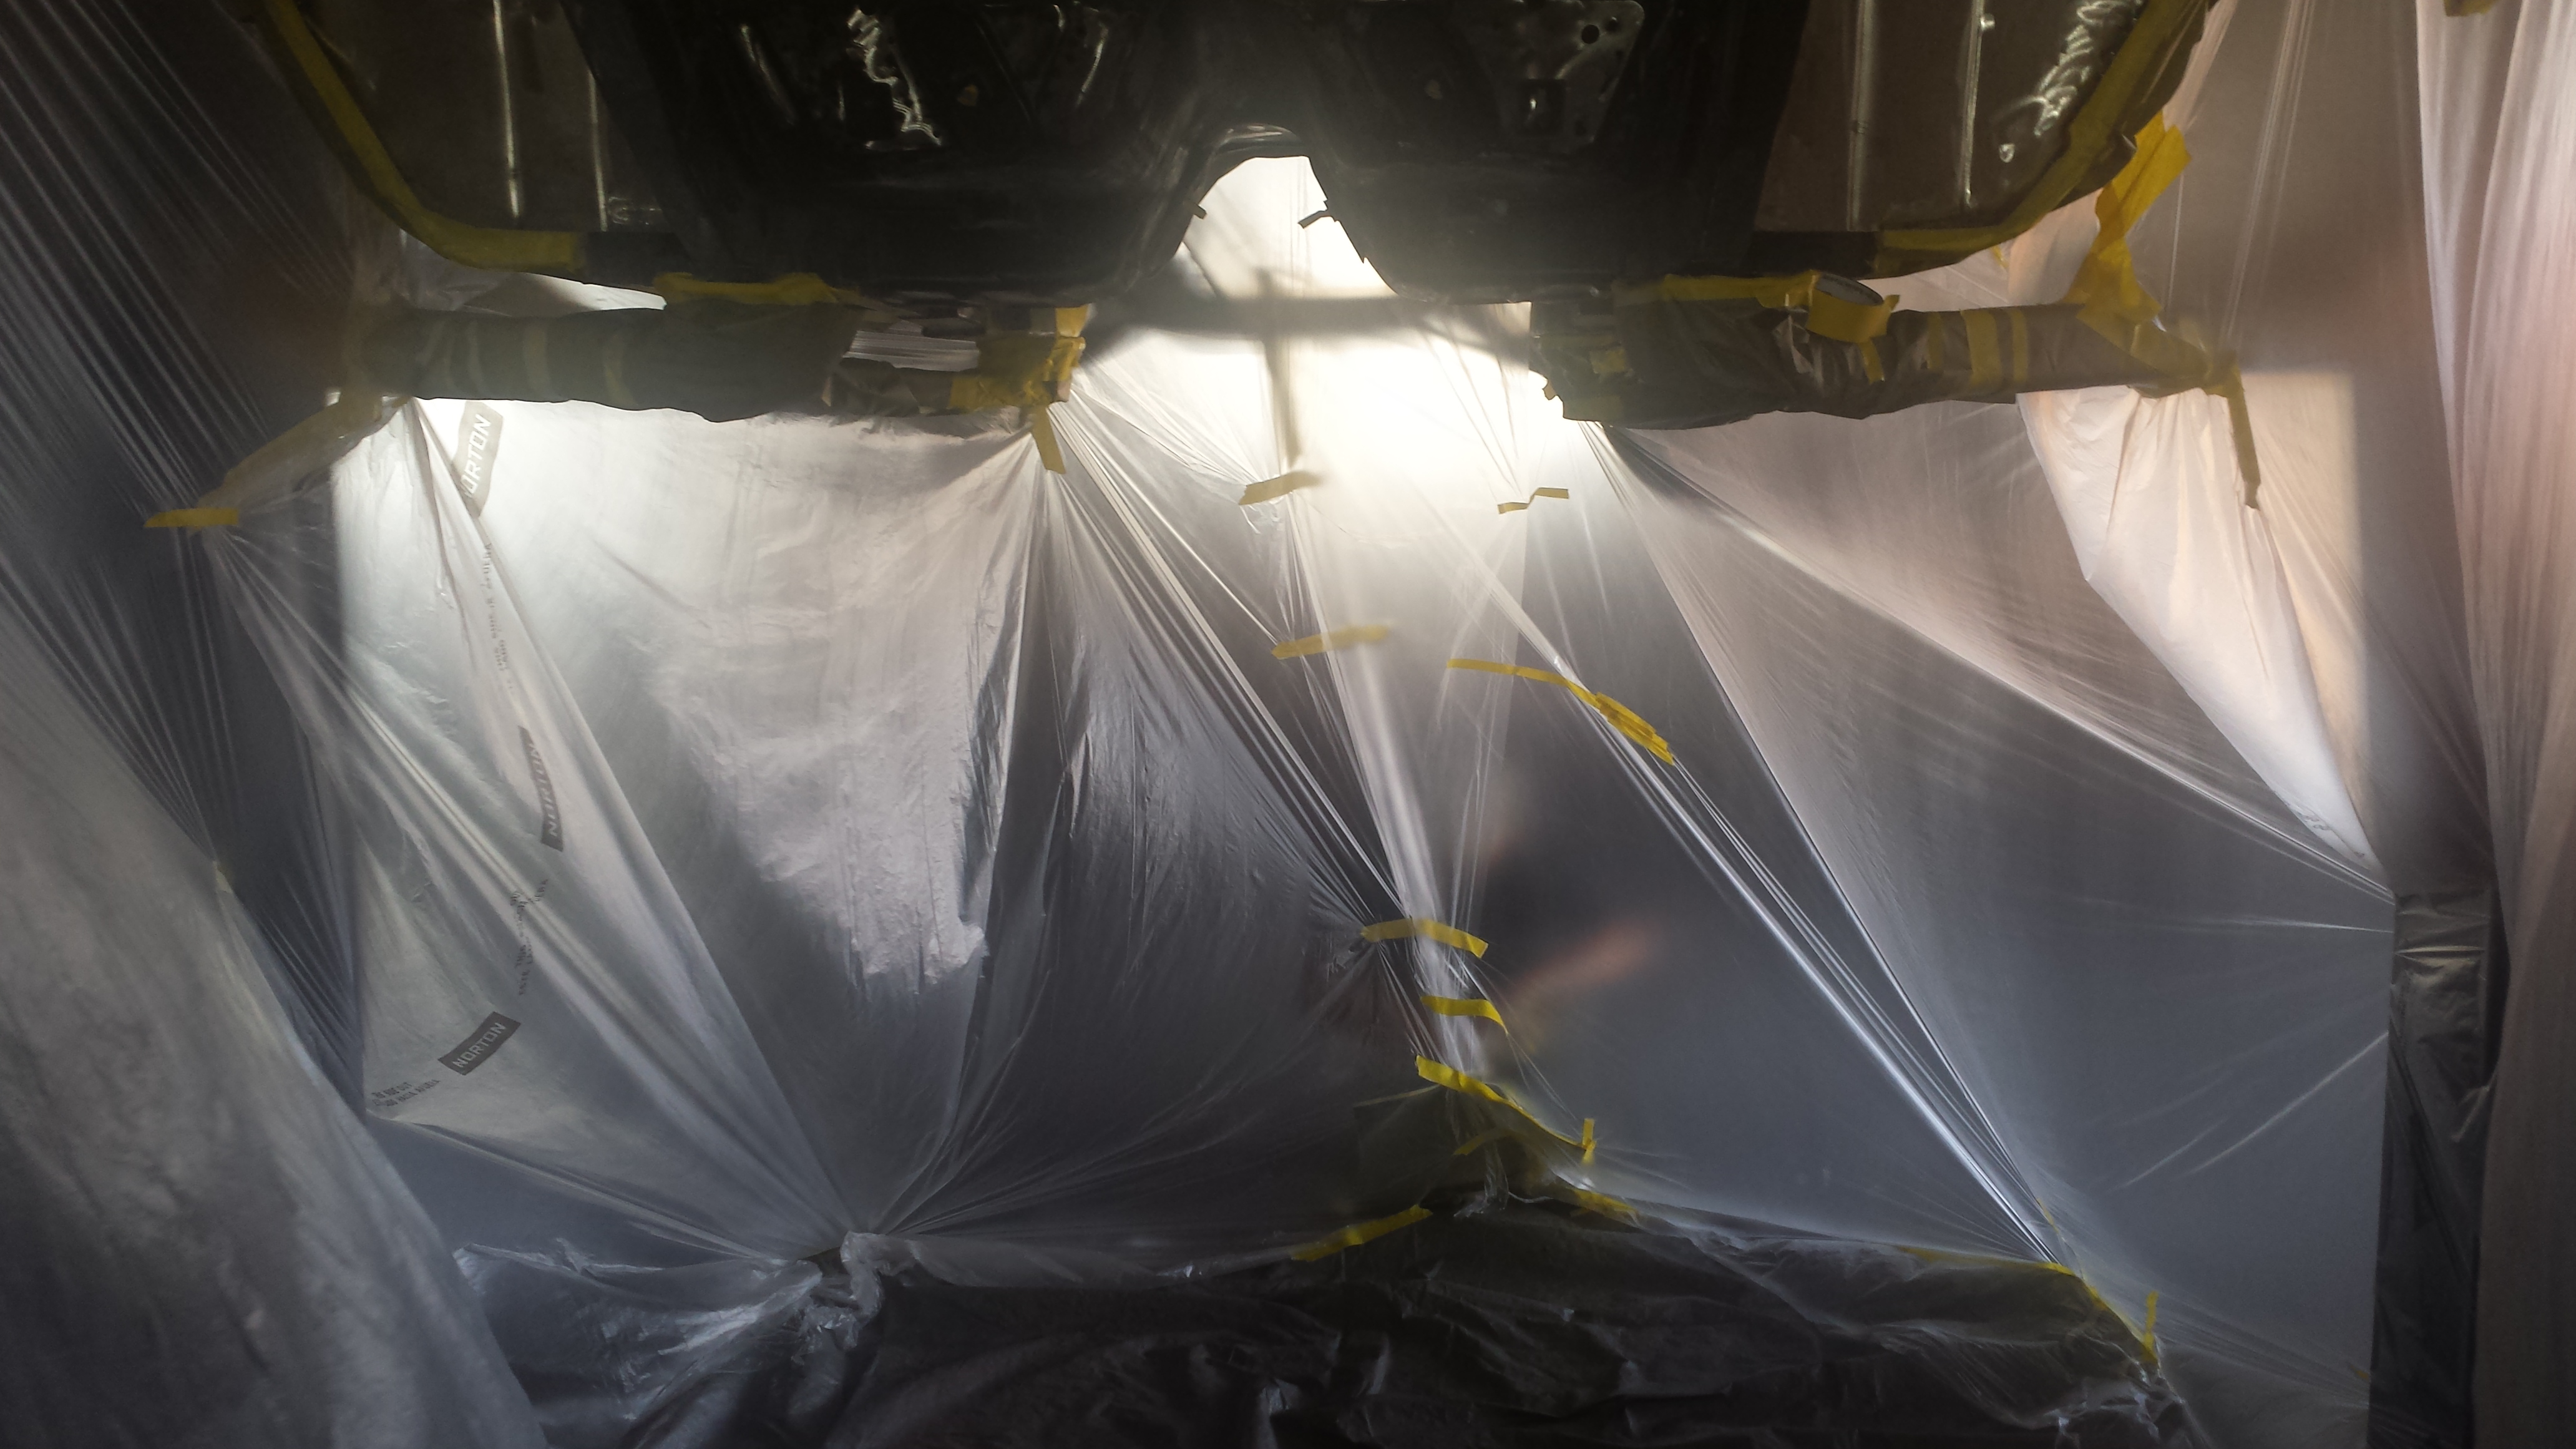
Undercarriage Preparation and Bedliner Application
After finishing the trunk, we prepped the undercarriage for protection. To apply the Armadillo Bedliner, we enclosed the Camaro in a temporary spray booth, jokingly called the “Ebola tent.” Armadillo was chosen for its durability and smooth finish, which also simplifies cleaning.
We then painted the trunk area in semi-flat black single-stage paint as a foundation for the interior. Eventually, this space will be insulated with Dynamat before receiving the completed interior trim.
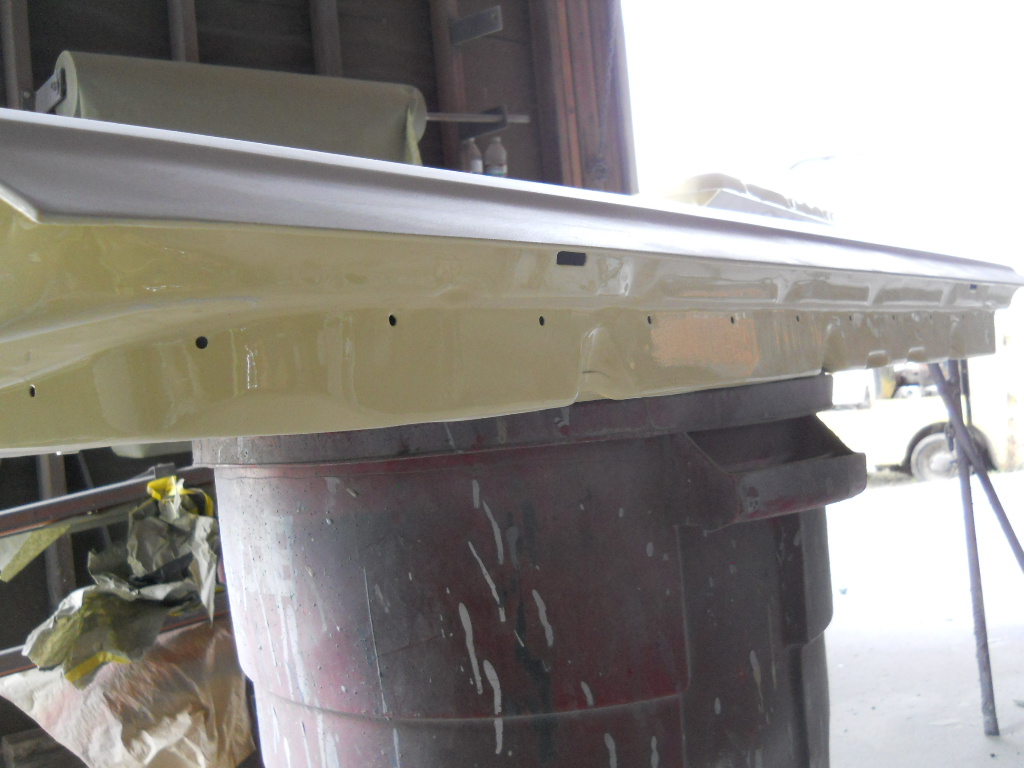
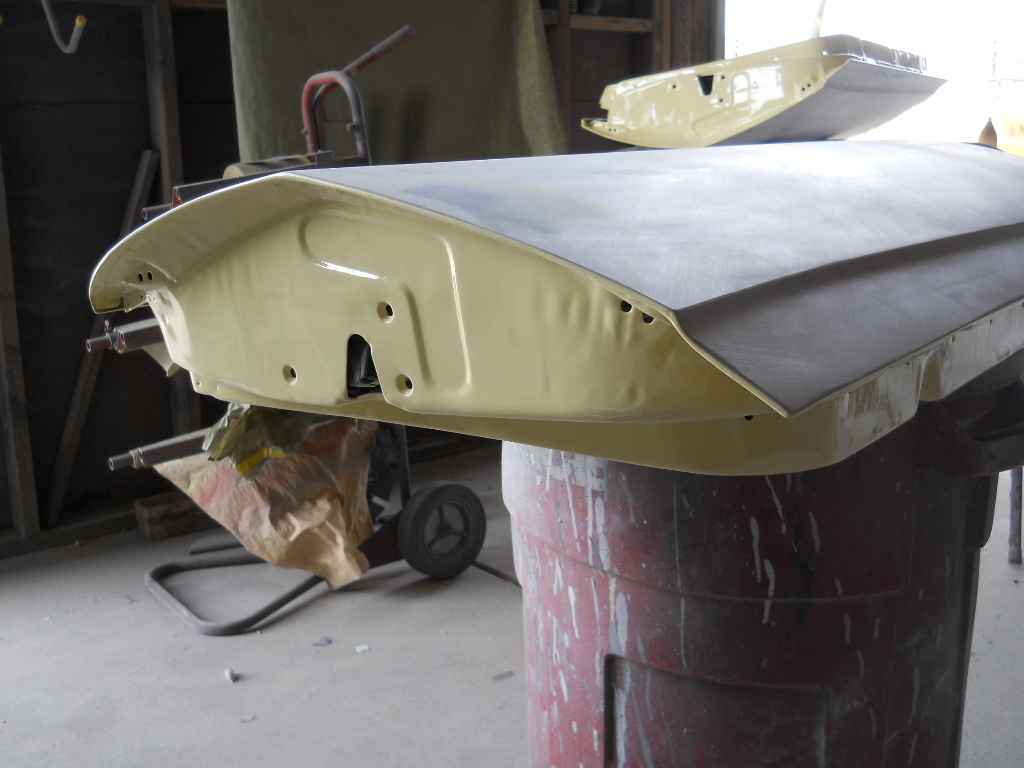
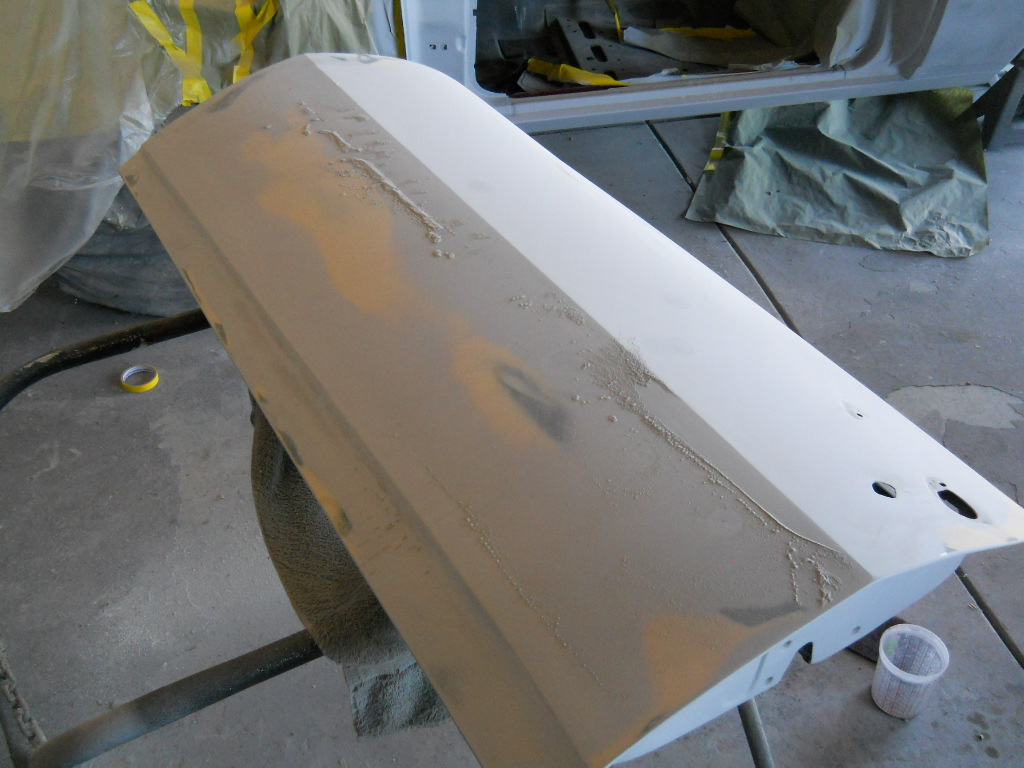
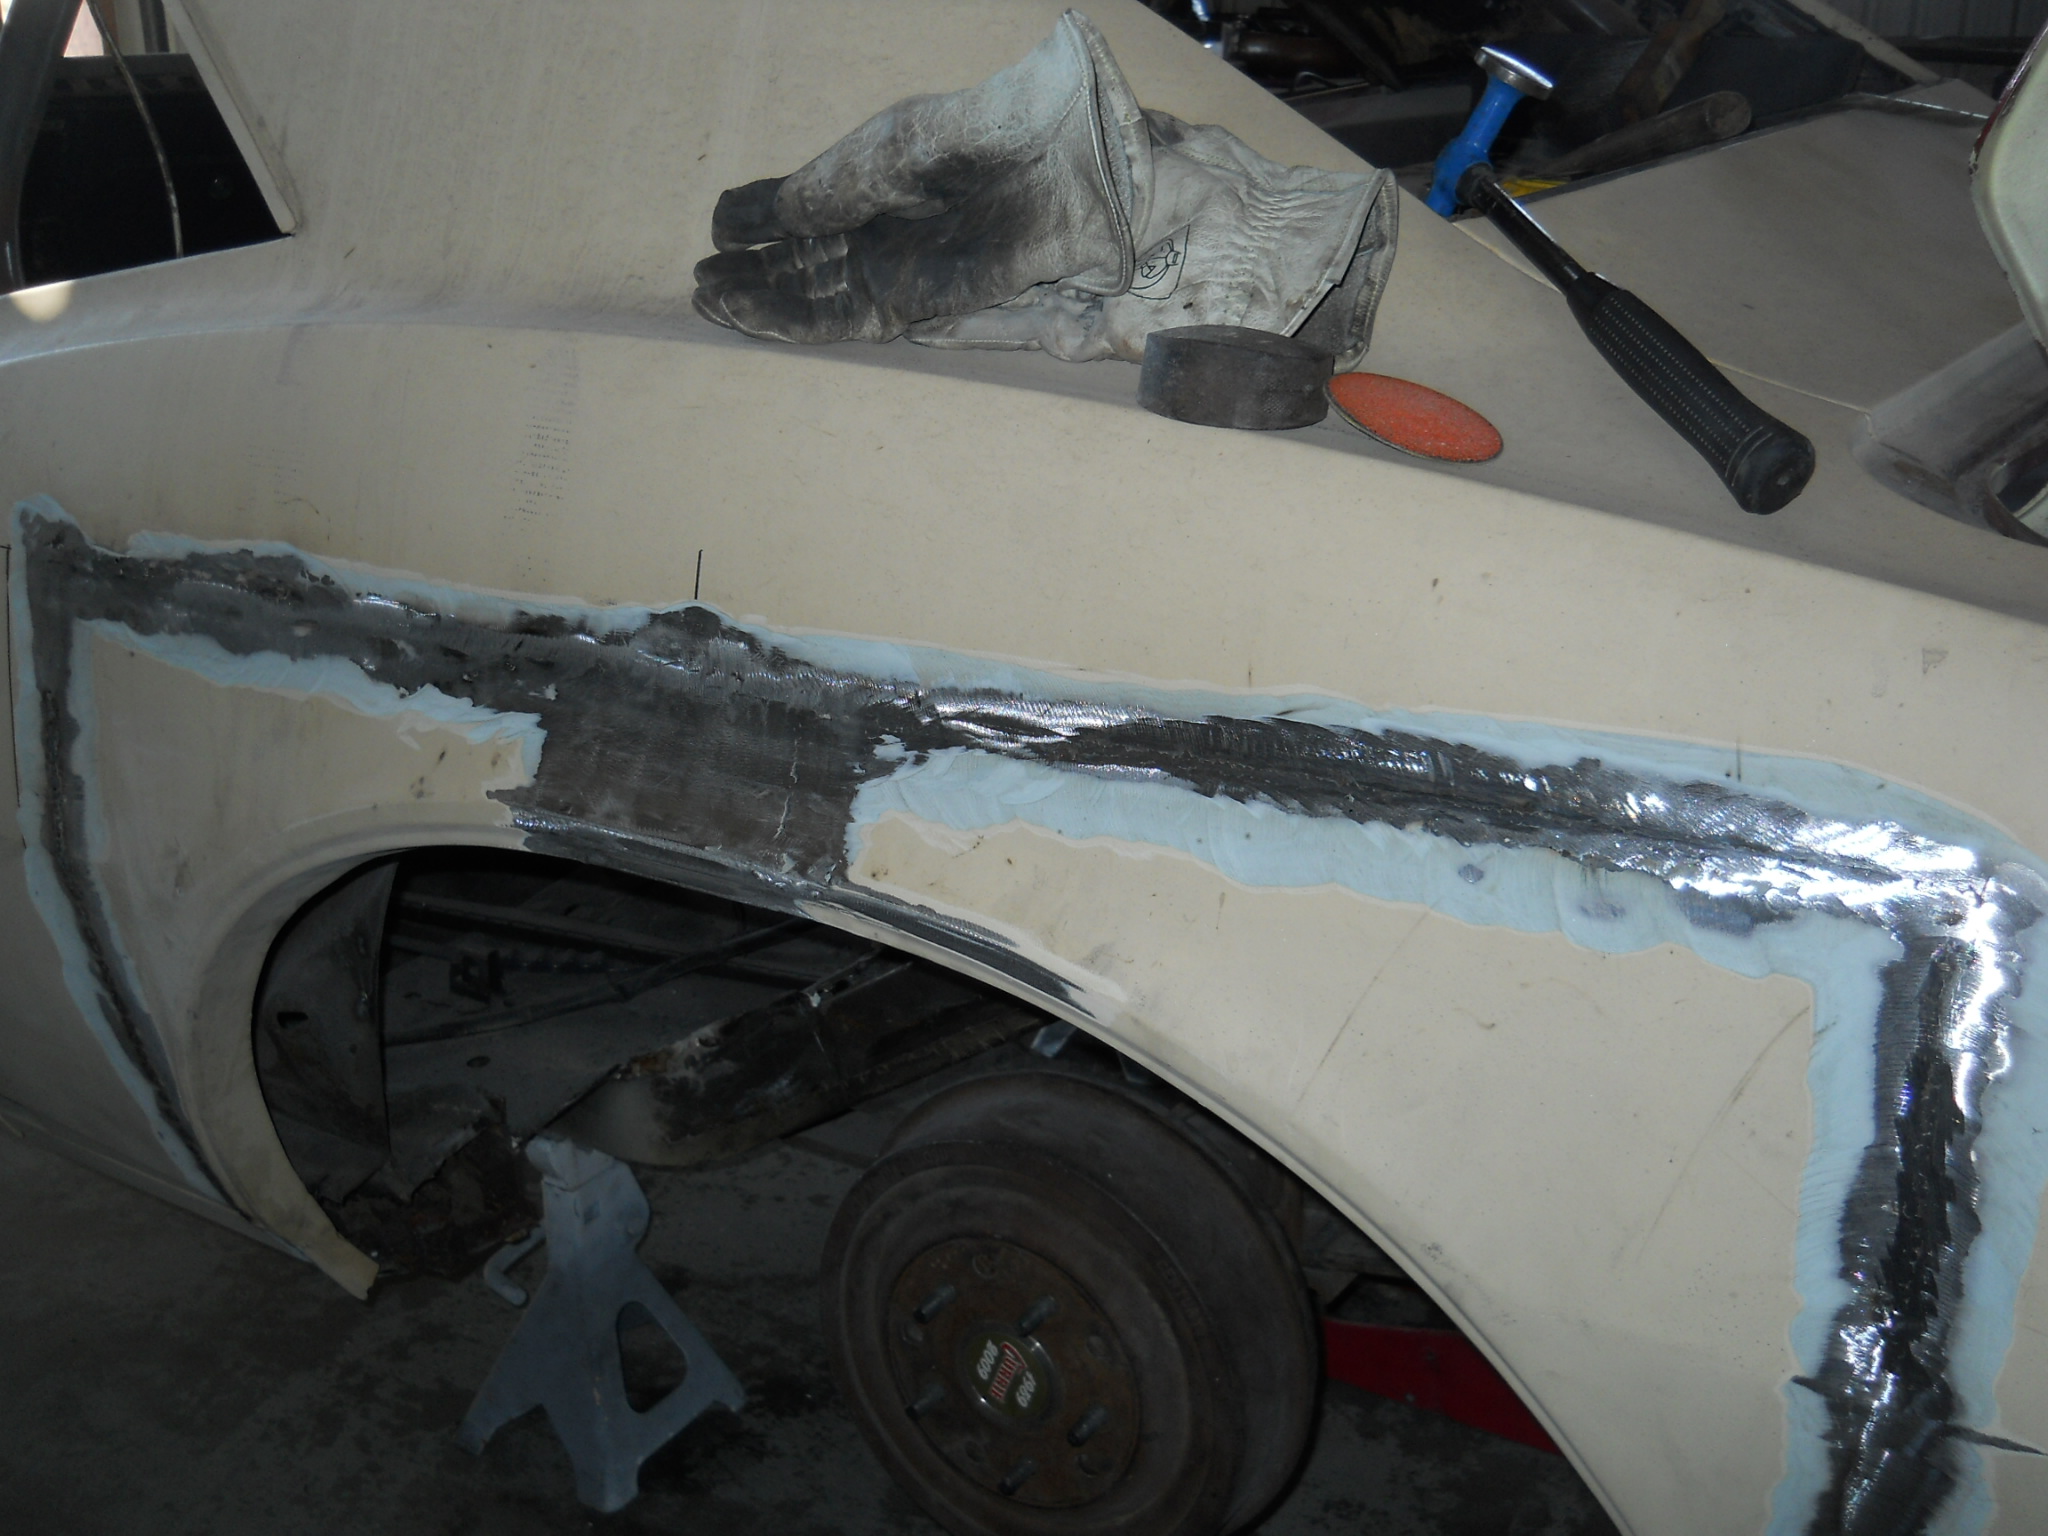
Bodywork and Paint Preparation
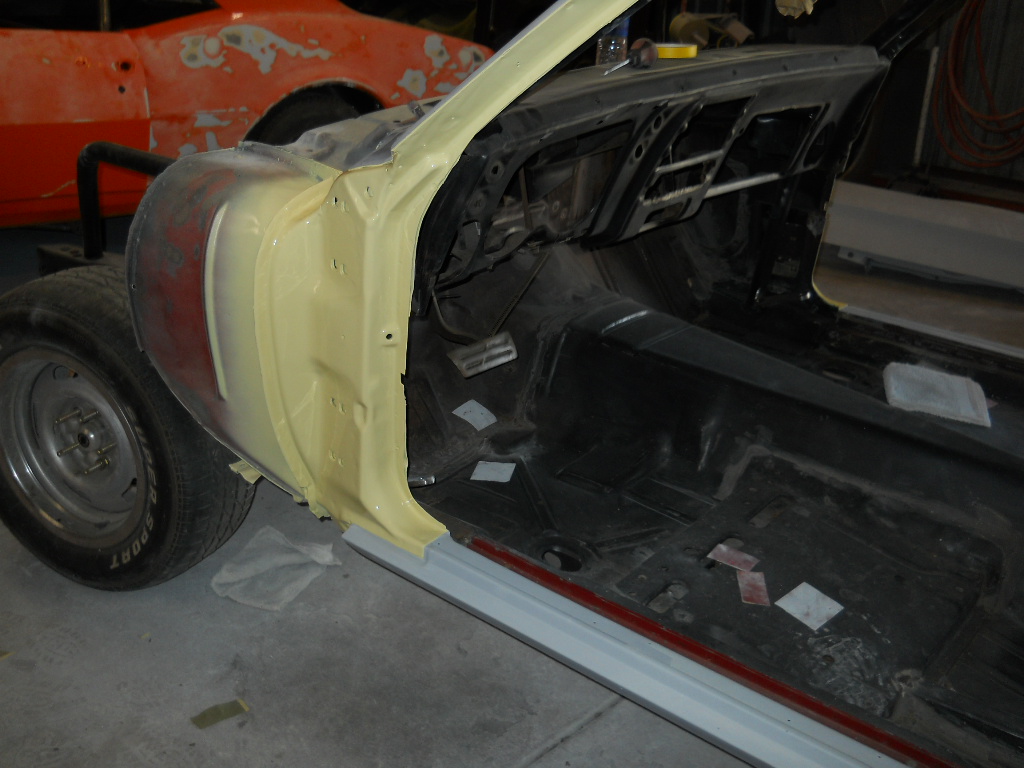
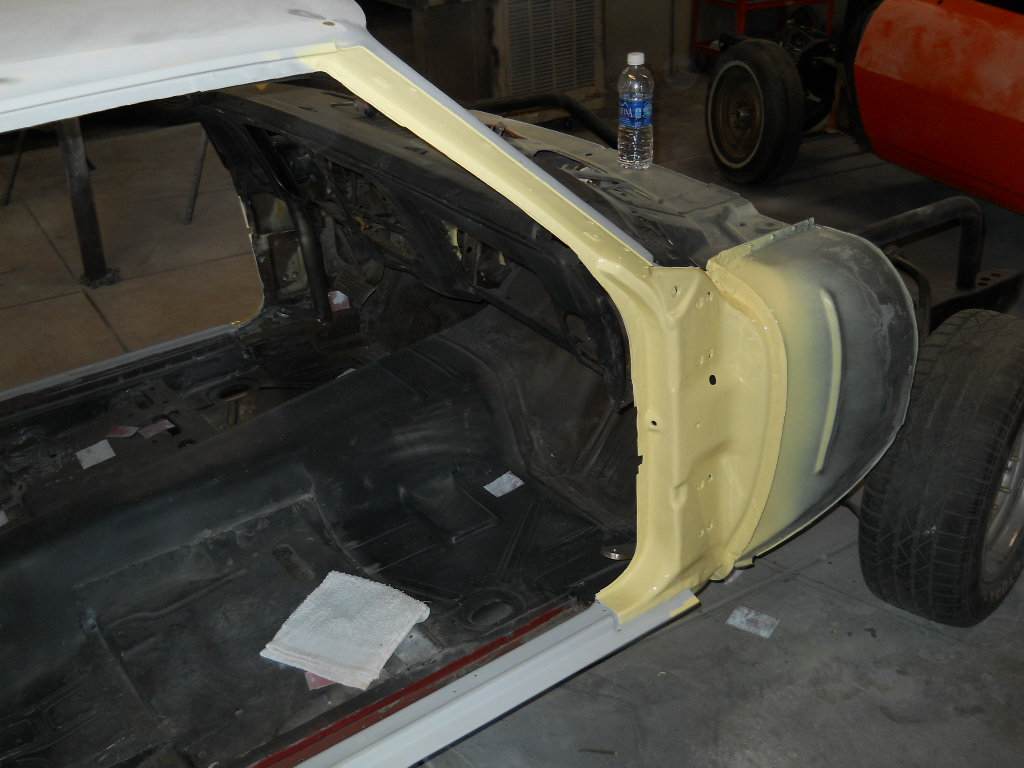
Bodywork focused heavily on correcting imperfections in the quarter panels. The doors had been re-skinned by another shop with subpar results, so our team reshaped and refined them extensively. Once corrected, we smoothed the doors and prepped the jambs for paint.
The customer selected Butter Nut Yellow, a striking factory shade that highlights the Camaro’s classic lines. Door jambs received paint first, with the remainder of the car scheduled for a full respray. This approach ensures consistent color without harsh cut lines.
Final Touches: Window Net Installation and Delivery
To meet safety requirements, we fabricated and installed a custom window net. Functionality and convenience guided the design, allowing the net to be removed easily for street driving.
While not every detail is fully complete, the customer plans to finish the remaining items independently. We take great pride in the craftsmanship that went into this build. Soon, this Procharger-equipped Camaro will hit the streets, turning heads with its blend of power, precision, and timeless style.


Gallery section